Staring at a brand new Raspberry Pi 5 sitting in its box can feel a bit intimidating, especially when you are not sure where to even begin. That confusion is completely normal, and honestly, most beginners feel exactly the same way before their first boot-up. The good news is that this tiny computer is far more approachable than it looks once you break the process into small, manageable steps.
By the end of this blog, you will be looking at your own working setup, coding, tinkering, and exploring exactly the way you imagined
Prepare Everything Before Turning It On
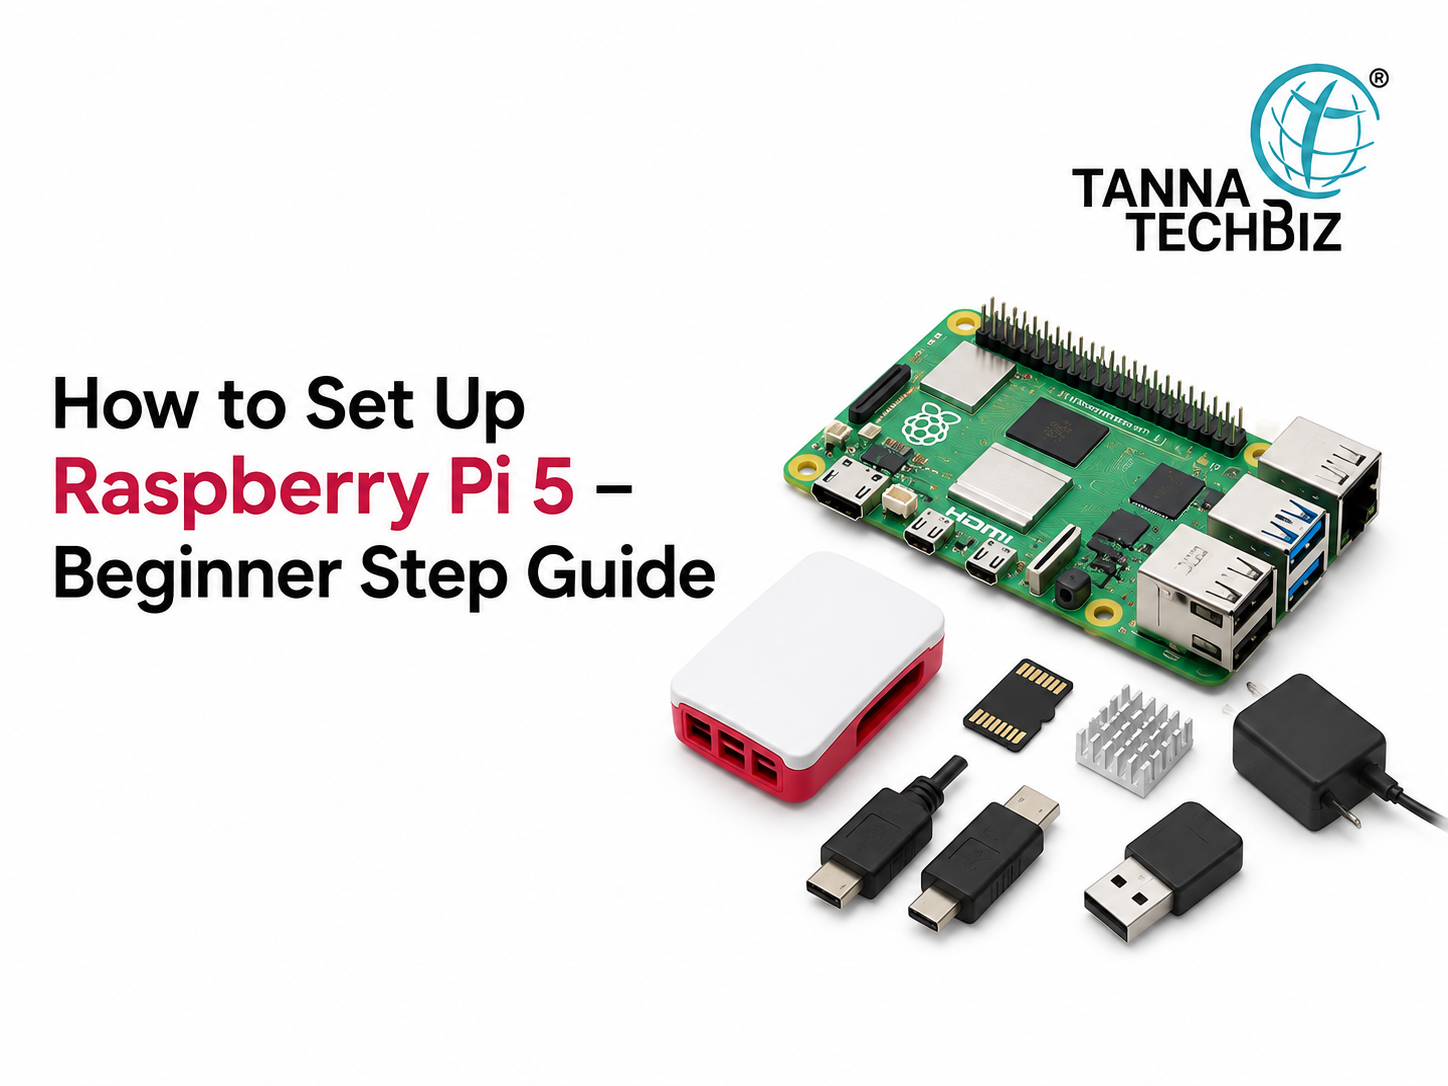
Before doing anything with your Raspberry Pi 5, you need to gather some necessary equipment. For example, a Raspberry Pi 5 itself, a power supply, and a microSD card with enough memory to install an operating system.
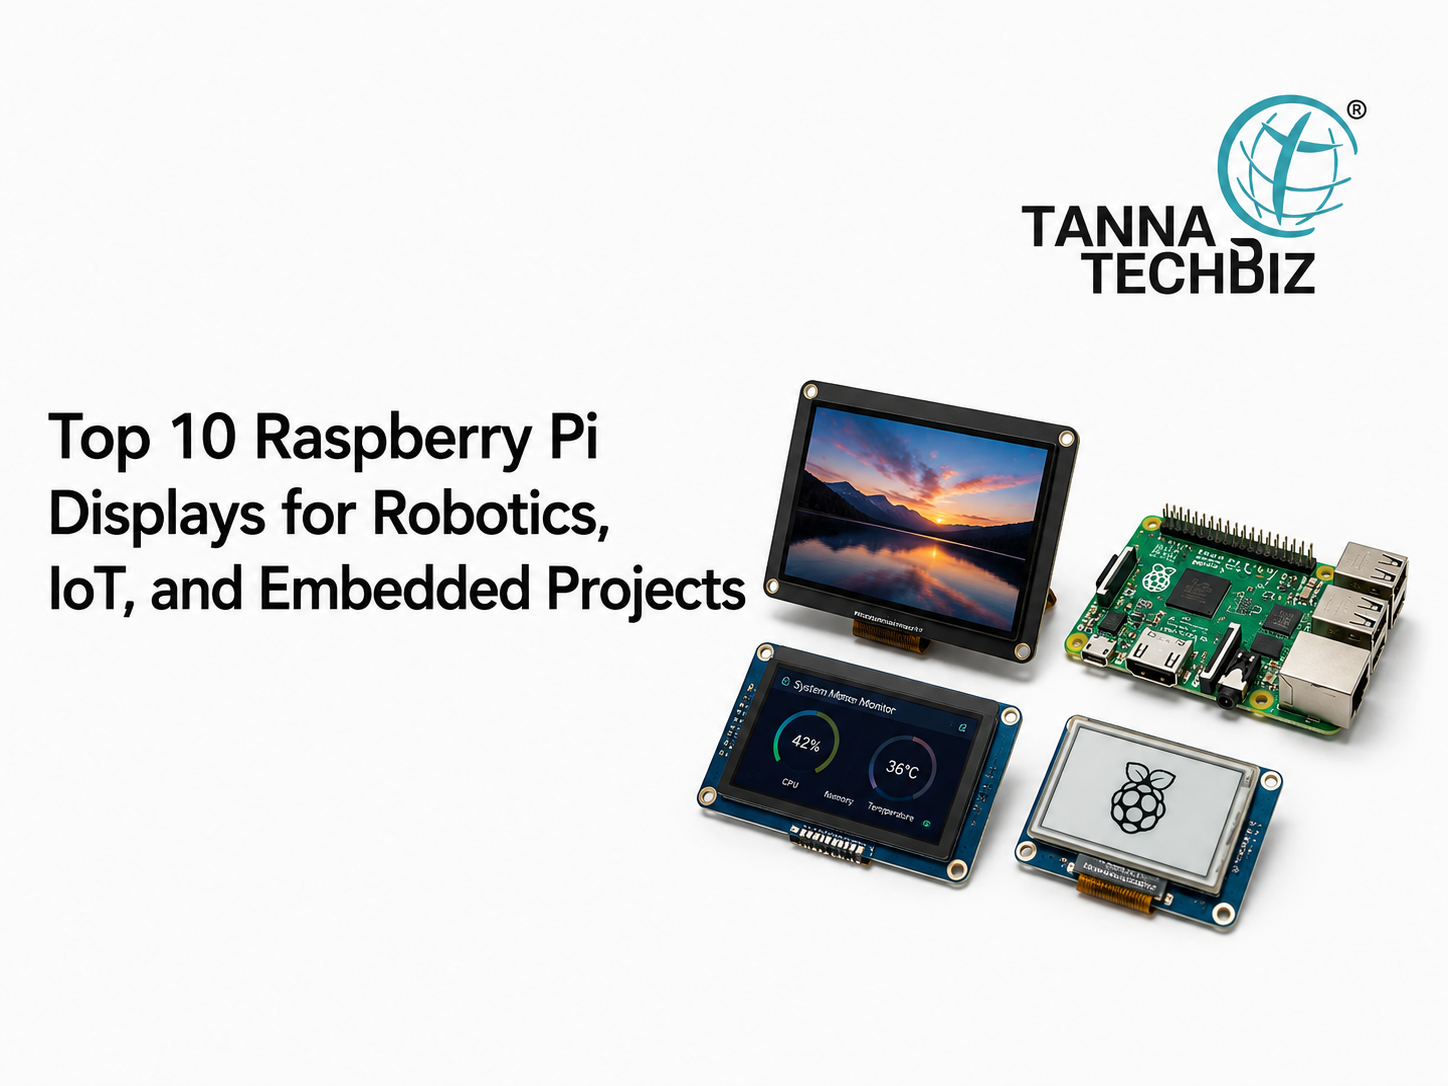
A micro-HDMI to HDMI cable is required to connect the Raspberry Pi 5 to your monitor or Raspberry Pi display. A keyboard and mouse are necessary to make the process of setting up your Raspberry Pi 5 easier.
Also, a case and cooling are useful if you plan to do heavy tasks, because it can get hot easily.
Prepare Your microSD Card
The first actual step in setting up your Raspberry Pi 5 is preparing your microSD card. Download Raspberry Pi Imager from the official website and run it on any other computer. Then insert your microSD card into the computer. Now, in Raspberry Pi Imager, you need to choose the Raspberry Pi 5 model and then the operating system, Raspberry Pi OS. Please double-check this step, because all the data will be erased from your microSD card during this operation.
Before installing the operating system, you can set up some Raspberry Pi 5 features using Raspberry Pi Imager. Such as your device name, username, password, time zone, and even WiFi connection information.
Assemble Hardware
Now disconnect the power supply and put your Raspberry Pi 5 into its case. Insert the prepared microSD card, then plug in a micro-HDMI cable and connect it to your Raspberry Pi 5 and monitor or Raspberry Pi display. Also plug in a keyboard and mouse and if you are going to use Ethernet, connect it now.
Turn It On and Complete Initial Configuration
Now connect the power supply and your Raspberry Pi 5 will automatically boot. You will have a couple of configuration screens where you can set your region, language, time zone, and configure your network.
Verify That Everything Is Working
Now, after booting, you can connect to the Internet via a browser to verify your connection, change the display settings, check that your keyboard and mouse work properly and try to open the terminal or launch Python.
Conclusion
Good ventilation and a reliable power adapter go a long way towards keeping your Pi healthy long term. Always shut down through the menu instead of yanking the power cord, and back up your projects regularly.
Tanna TechBiz can help you to purchase a Raspberry Pi 5, display, camera module and accessories. Contact us today to start your project right away!

 September 15, 2026