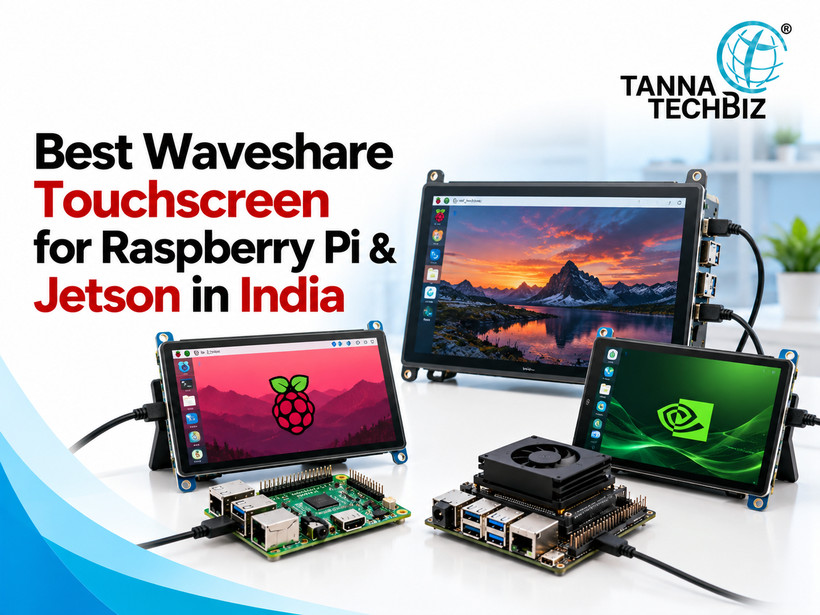
You've spent hours planning your project, choosing the right board and getting the software ready. Now comes another decision: which touchscreen should you buy? It's easy to get stuck here. Some screens look great but don't support your setup. Others have the right size but lack the touch features you need.
If you're comparing displays for Raspberry Pi, don't focus on screen size alone. Think about how you'll use the display every day. For instance, a 5-inch resistive touch LCD may work well for a workshop control panel, while a finger-operated screen may suit a smart kiosk.
Glove-Friendly, Finger-Friendly or Stylus: How Are They Touched?
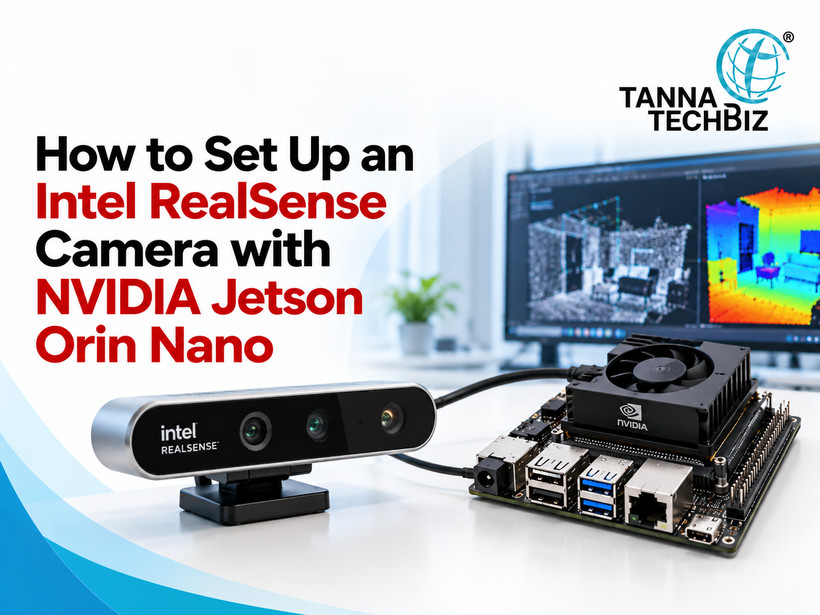
Setting up a depth camera for your robotics project sounds exciting until the technical problems begin. The camera is not detected, software installation fails, and the video feed stops abruptly. And the list goes on. But there are ways to make things simpler and quicker. In this article, we discuss how to connect and set up RealSense D435i to an NVIDIA Jetson Orin Nano.
The Orin Nano board is one of the best options for developers who need a robust platform for computer vision and robotics projects among NVIDIA Jetson developer boards. But just plugging in the USB cable is not enough. You will also need to ensure stable power delivery, compatible software and configure the device.
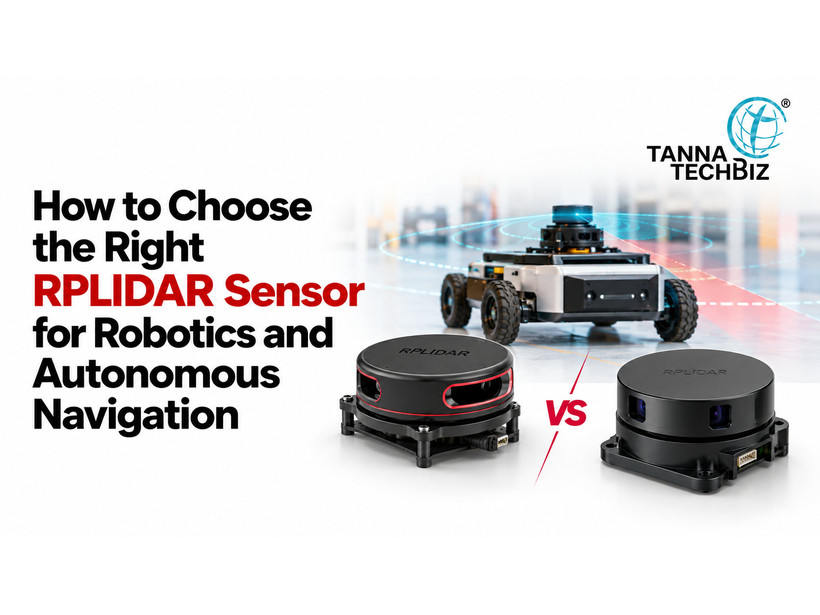
Creating a robot becomes a challenge when it starts avoiding obstacles improperly or finds no way home. You have put a lot of effort into selecting motors, controllers and software. Yet, a single mistake with a sensor might ruin the whole thing. And here comes the RPLIDAR. It helps robots detect nearby objects and perceive their environment. But making a choice may become a tough task itself. You should know the range, speed, power consumption and compatibility with your robot controller.
Whether your controller is a banana pi board or a Raspberry Pi, it should match your robot requirements. Here is how to make your choice with no fuss.
Decide What Kind of Robot You Are Going to Build
Small indoor and large outdoor robots have different tasks. An indoor warehouse robot should be able to
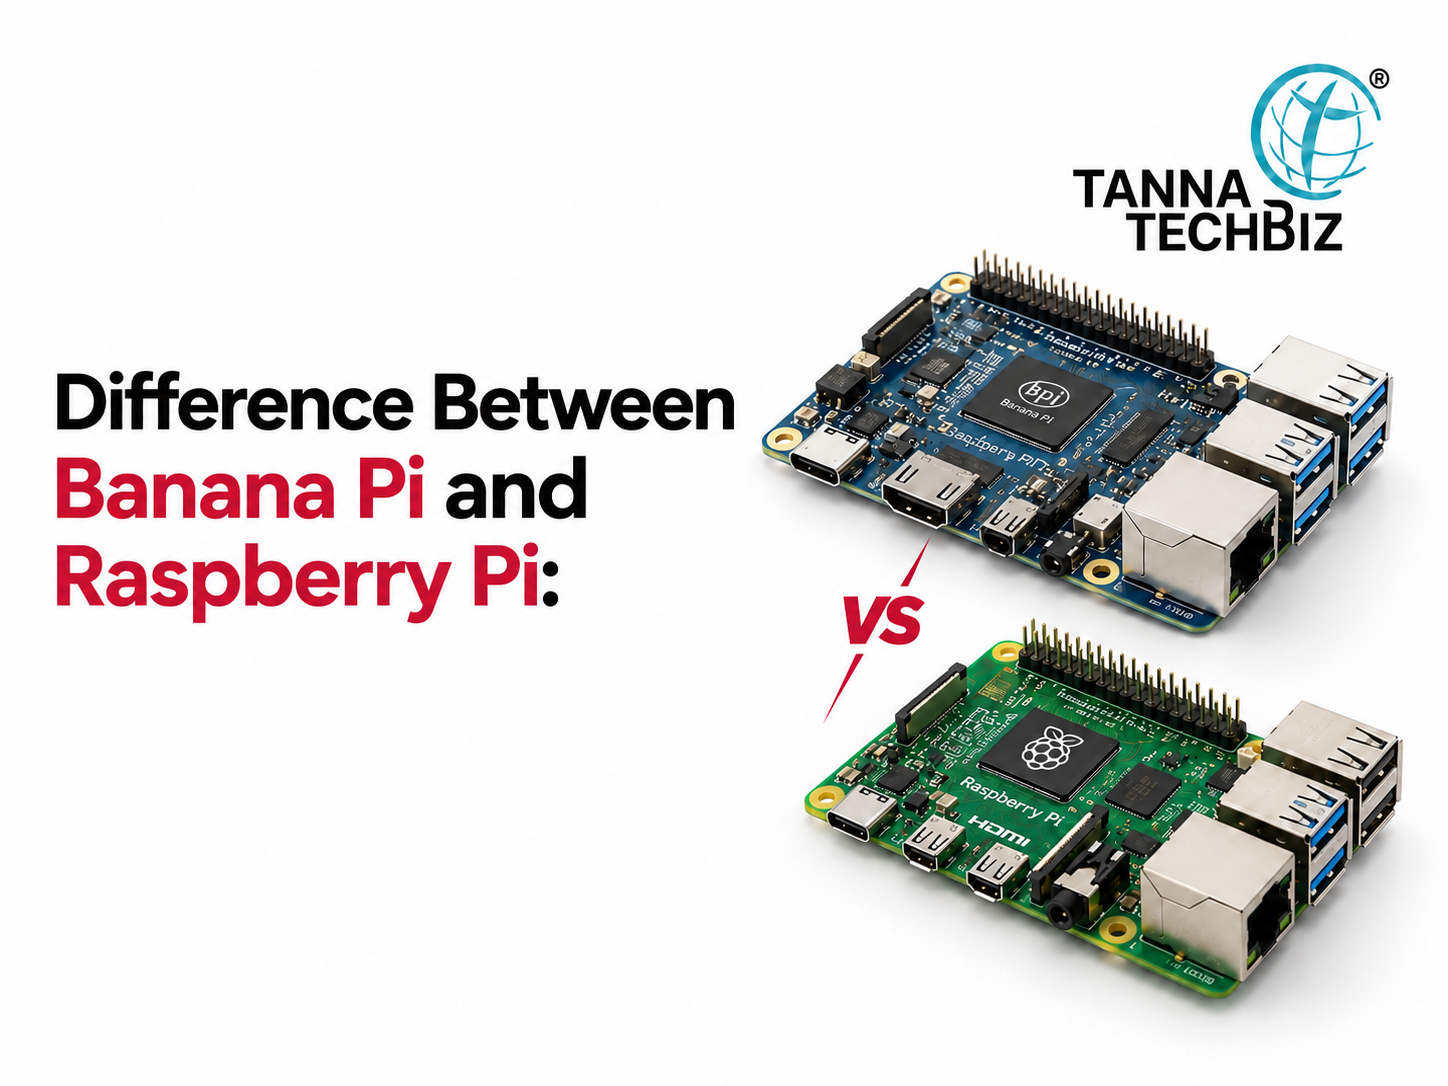
Choosing a small computer for your project can feel confusing. You want something affordable, easy to use and powerful enough to handle your tasks. However, with so many options, it's hard to know which one is worth your money.
Two popular choices are the Banana Pi board and Raspberry Pi. Both can support coding, automation and electronics projects, but they offer different features. One may suit a beginner learning programming, while the other may work better for networking or storage.
So, before spending your money, it helps to understand what makes these boards different and which one matches your needs.
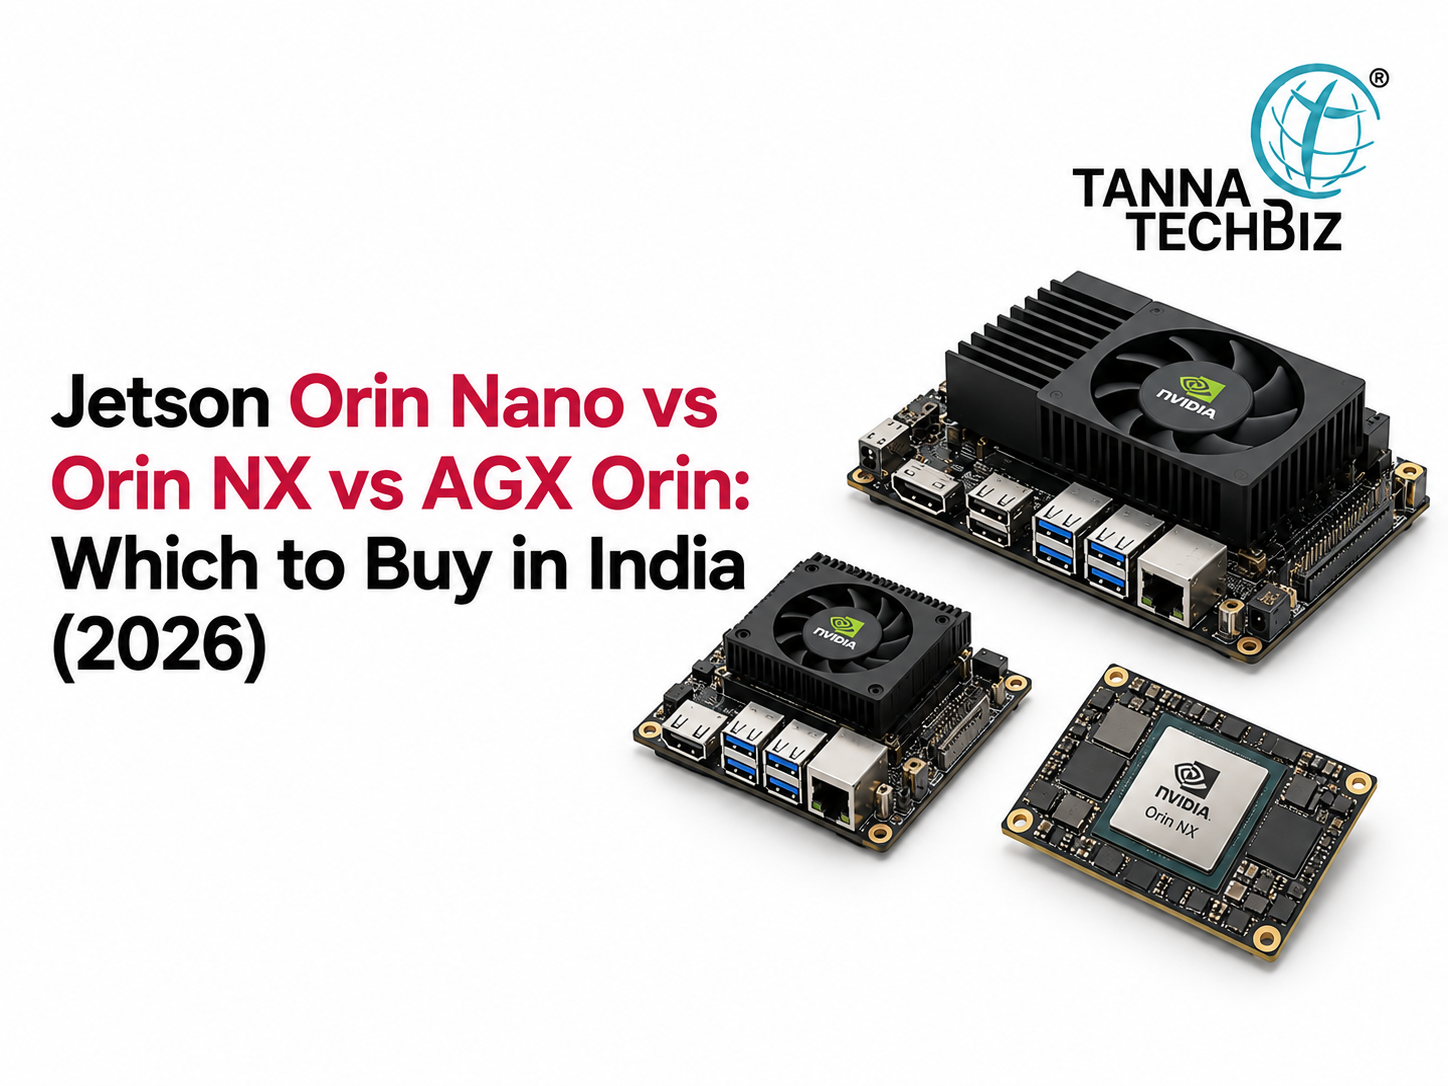
Choosing the rightNvidia Jetson board can get confusing fast. Specs, power limits, memory and AI performance all matter, but it is easy to lose sight of what the project actually needs. When evaluating an Nvidia Development Board to use for robotics, computer vision, or edge AI, the objective is not to pick the strongest option out there. It is about striking the right balance between performance, power, and price point.
The following comparison will minimise the amount of technical jargon to make your decision clear.
Staring at a brand new Raspberry Pi 5 sitting in its box can feel a bit intimidating, especially when you are not sure where to even begin. That confusion is completely normal, and honestly, most beginners feel exactly the same way before their first boot-up. The good news is that this tiny computer is far more approachable than it looks once you break the process into small, manageable steps.
By the end of this blog, you will be looking at your own working setup, coding, tinkering, and exploring exactly the way you imagined
Prepare Everything Before Turning It On
Before doing anything with your Raspberry Pi 5, you need to gather some necessary equipment. For example, a Raspberry Pi 5 itself, a power
NVIDIA has officially released JetPack 7.2, bringing significant improvements in AI performance, system optimization, developer tools, and production-ready edge AI capabilities for the NVIDIA Jetson ecosystem.
As agentic AI continues moving from the cloud to the edge, developers face increasing challenges related to memory limitations, deployment complexity, and production scalability. JetPack 7.2 directly addresses these challenges by delivering more performance from the same Jetson hardware through software innovations.
Whether you are a developer, robotics engineer, AI researcher, or edge AI solution provider, JetPack 7.2 provides access to NVIDIA's latest software stack while continuing to leverage the compact, high-performance, and industrial-ready NVIDIA Jetson platform.
Starting your first electronics project should feel exciting. Yet, choosing the board can quickly turn that excitement into confusion. Raspberry Pi and Arduino are equally common starting platforms, but they serve completely different purposes. So you will have difficulties building your project if you choose the wrong one.
Luckily, it becomes much easier when you concentrate on the project itself. If you need computing flexibility in software, Raspberry Pi will be the best option. Otherwise, choose Arduino if you need to control sensors, motors, and other electronic components.
Raspberry Pi is More Like a Small Computer
Raspberry Pi is a single-board computer that can be connected to a display, keyboard, mouse,
Choosing your first Arduino can feel confusing. The boards look similar, yet each one is built with a slightly different purpose in mind. The Uno is popular with beginners, the Nano is for compact projects, and the Mega offers more pins and room for larger builds.
So, which Arduino development board should you actually buy? The answer depends less on which board is “best” and more on what you want to build.
Arduino Uno: The Beginner-Friendly Choice
The Arduino Uno is usually the easiest place to start. It has a simple layout, plenty of beginner tutorials, and enough input/output pins for common electronics projects.
Want to connect LEDs, buttons, temperature sensors, or a small mot
A screen can completely change how a Raspberry Pi project feels. Instead of checking data through a laptop, you can see sensor readings, control a robot, display a camera feed, or interact with a smart device directly from the project itself.
That’s where a Raspberry pi display becomes useful. From compact touchscreens to larger HDMI panels, there are plenty of options for different kinds of builds. Here are 10 display types worth considering:
1. Raspberry Pi Official Touch Display
A natural choice for Raspberry Pi projects. Its touchscreen interface works particularly well for dashboards, smart home controls, and portable devices.

 October 27, 2026