Monthly Archives: March 2025
- 25 MarRead more »
Raspberry Pi 5 vs Raspberry Pi 4: Detailed Comparison of Models (2GB, 4GB, 8GB)
The Raspberry Pi has long been a popular choice for hobbyists, developers, and professionals looking for an affordable
- 24 MarRead more »
Do you want to change the way your Waveshare display looks and feels? A couple of adjustments can make a huge difference. If this is your first time setting it up, or you simply want to enhance the performance, the following steps outline how to maximize your display.
1. Modify the Settings in the Display
Are you using an HDMI display?
Ensure that the resolution, refresh rate, and configuration in the config.txt file corresponds, with the capabilities of your device. For example, use a 7 inch screen with 1024x600 resolution, 60Hz, as your default screen.
On a DPI interface display?
Displays that run on the DPI666 interface have their refresh rates capped at 60Hz. Make sure that your Raspberry Pi GPIO settings are properly configured to run the DPI display without any glitches.
2. Increase Accuracy in Touchscreen Interaction
If your display has a capacitive touchscreen, make sure that the I2C interface is properly
- 20 MarRead more »
It is important to select the best display for your Banana Pi computer so as to optimize performance and enhance user experience. Below is a list of the best displays that have been noted to work well with Banana Pi, whether you are doing a multimedia setup or a small scale project.
Top 7 Monitors and Displays Compatible with Banana Pi Computers
7 Inch LCD Touchscreen Display
This 7-inch touchscreen with a resolution of 1024×600 pixels has incredible accuracy in portraying touch and visual elements. This makes it suitable for many home and office applications including automation, media centers, and advanced interactive systems.
OLED Display Module
The OLED display module strives to achieve greatness in projects that have strict space constraints without compromising dynamism. These monitor modules of sizes 0.96 and 1.3 inches are
- 17 MarRead more »
Top 3 Sensors and Accessories for Intel-Based Development Boards
Intel development boards excel on their own, but pairing them with the correct sensors and accessories unlocks their full potential. Whether you are working on a smart robot, AI, or IoT project, picking the correct add-ons is always crucial. In this article, we identify the important considerations for selecting the best peripherals for Intel development boards and some examples.
Utilize Intel® RealSense™ Cameras to Give Your Project “Eyes”
For robotics, computer vision, and gesture tracking, Intel® RealSense™ D415 or D435 cameras provide depth-sensing capabilities. They provide powerful real-time 3D imaging for the recognition of people, objects and even terrain. Additionally, they are able to plug directly into your Intel development board with no extra setup needed.
Get Your IoT Produ
- 10 MarRead more »
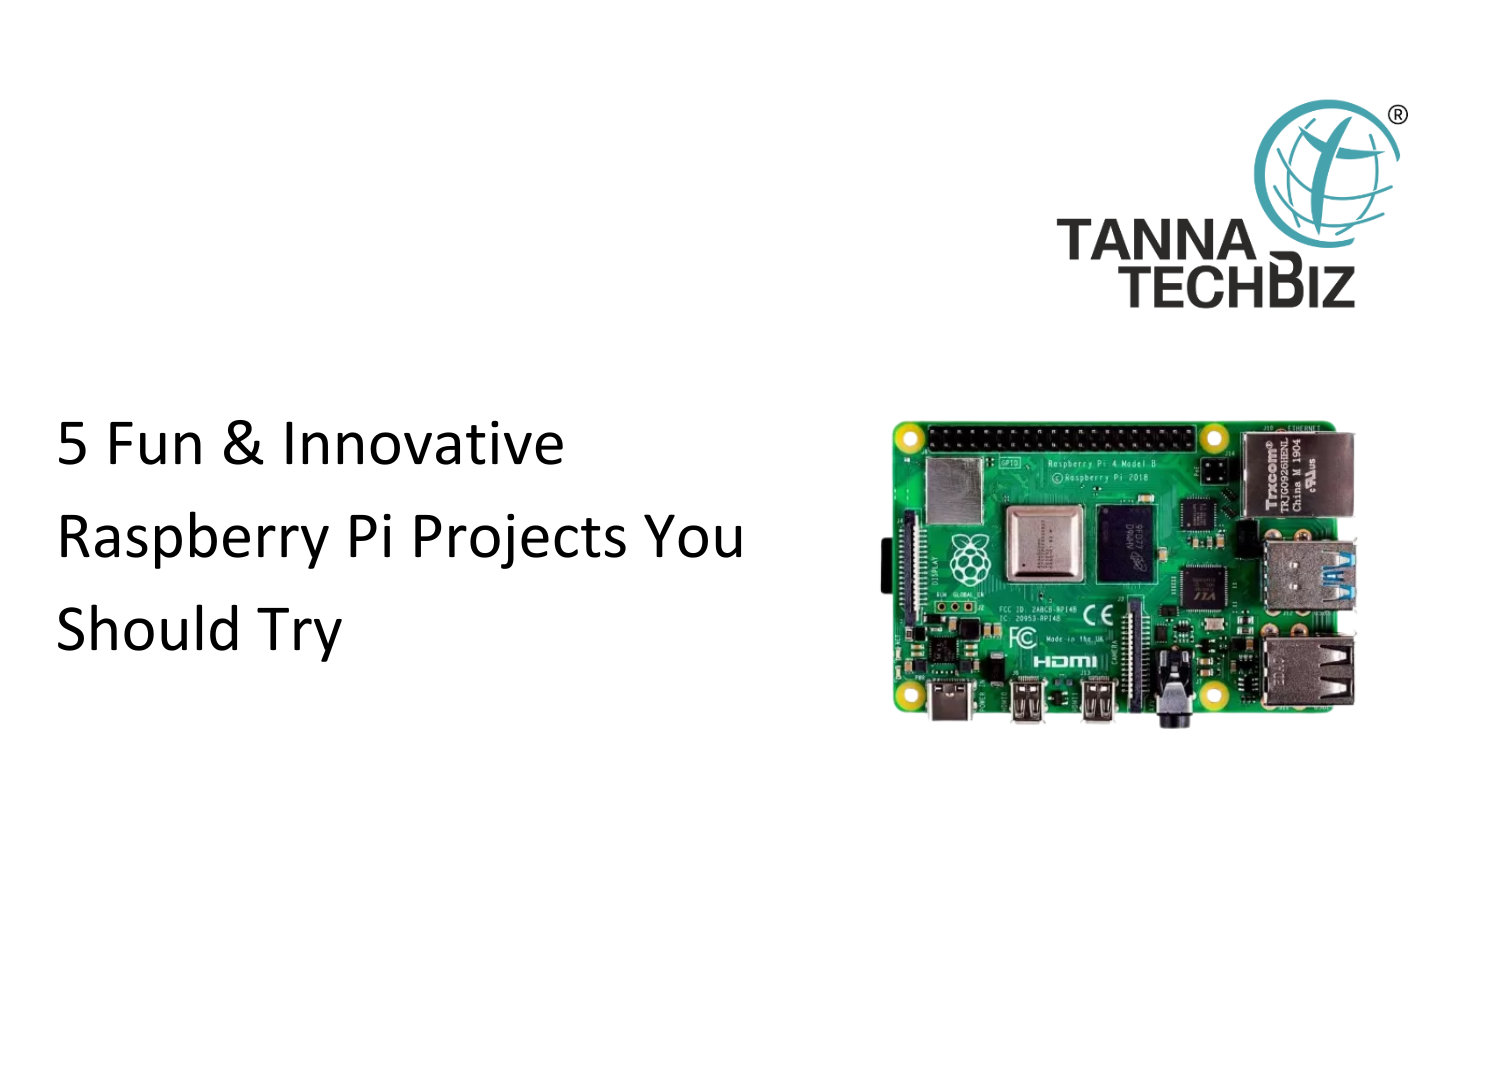
Whether you are new to electronics or into DIY projects, you are likely to have heard of the Raspberry Pi and Arduino. On the surface, they look alike, like two siblings in the tech industry, but there is certainly more than meets the eye. Depending on one's particular project, one can capitalize on the strengths of any of the two. So, it’s easier to understand without sounding overly complex.
What is Arduino All About?
Arduino is a microcontroller board that excels in completing one task perfectly while repeating it. Picture wiring a light bulb so it turns on when dark, reading a temperature sensor, or turning on a small motor. Since there is no operating system, there are no multitasking capabilities, only a single program being executed in loops indefinitely.
It is incredibly light, ultra low power, and simple, to program with the Arduino IDE. It is perfect for starters and hobbyists, who need to automate basic tasks without a complicated setup.
Meet R
- 10 MarRead more »
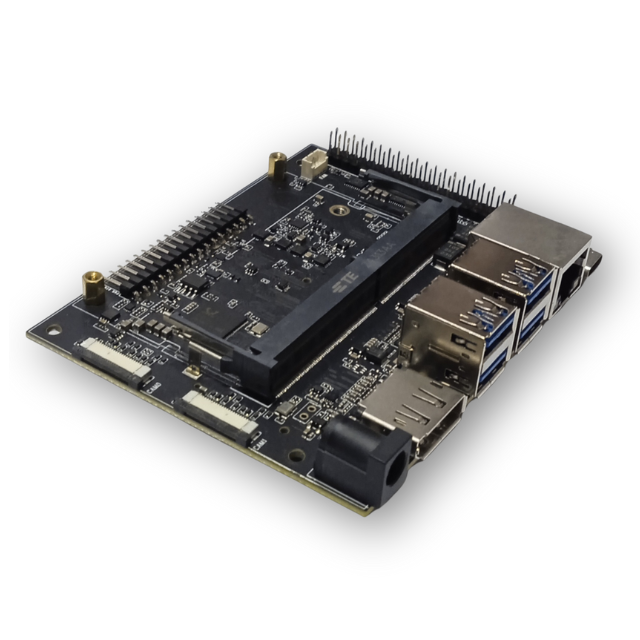
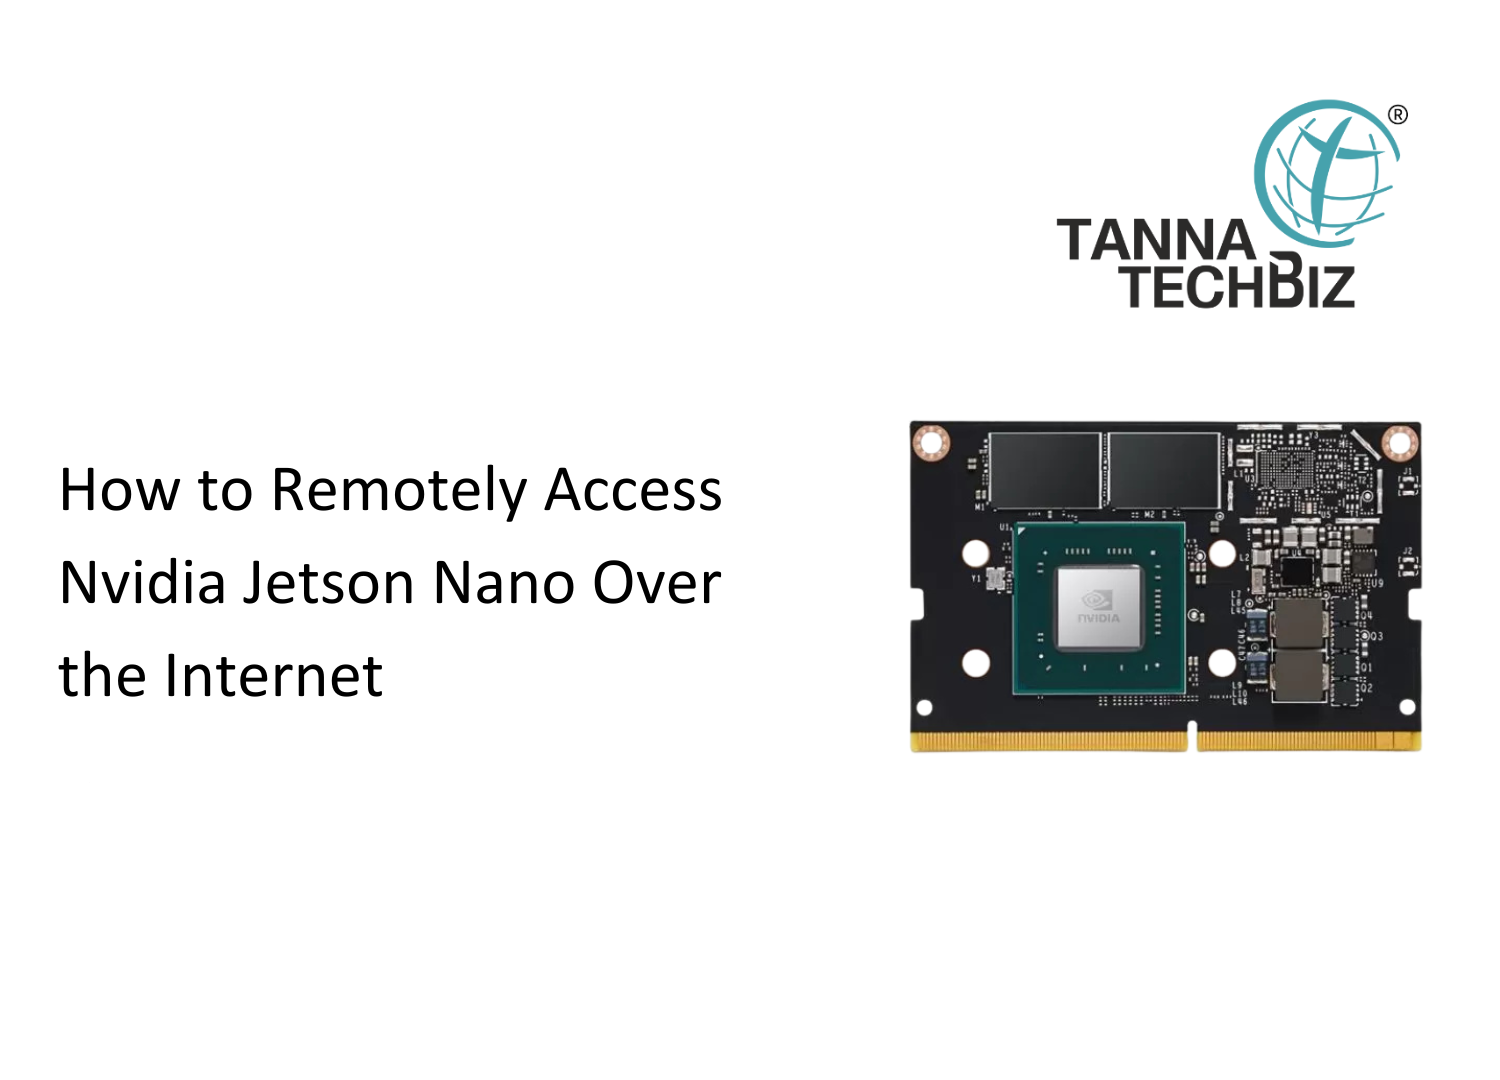
How to Flash JetPack (BSP) on Tanna TechBiz Eagle-101 for NVIDIA Jetson Nano
- 8 MarRead more »
How to Flash JetPack (BSP) on Tanna TechBiz Eagle-201 for NVIDIA Jetson Orin Nano™/NX


