How to Flash JetPack (BSP) on Tanna TechBiz Eagle-201 for NVIDIA Jetson Orin Nano™/NX
Flash JetPack
Here, we will show you how to flash Jetpack to an NVMe SSD connected to the Eagle-201.
Eagle-201 series comes with JetPack 6.2 pre-installed on the included NVMe SSD, so that you do not need to flash it. However, if you want to flash it again with JetPack, you can follow this guide.
Supported Module
NVIDIA® Jetson Orin™ Nano Module 4GB
NVIDIA® Jetson Orin™ Nano Module 8GB
NVIDIA® Jetson Orin™ NX Module 8GB
NVIDIA® Jetson Orin™ NX Module 16GB
Prerequisites
Ubuntu Host Computer Version 18.04 or 20.04 or 22.04
Tanna TechBiz Eagle - 201 Carrier Board
USB Type-C data transmission cable
Power Adapter (9-19V ⎓ 5A MAX)
❕info
We recommend that you use physical ubuntu host devices instead of virtual machines. Please refer to the table below to prepare the host machine.
JetPack Version
Ubuntu Version (Host Computer)
18.04
20.04
22.04
JetPack 5.x
✅
✅
JetPack 6.x
✅
✅
Enter Force Recovery Mode
❕NOTE
We do not recommend using virtual machines and ARM architecture Ubuntu for flashing.
Before we can move on to the installation steps, we need to make sure that the board is in force recovery mode.
Step-by-Step
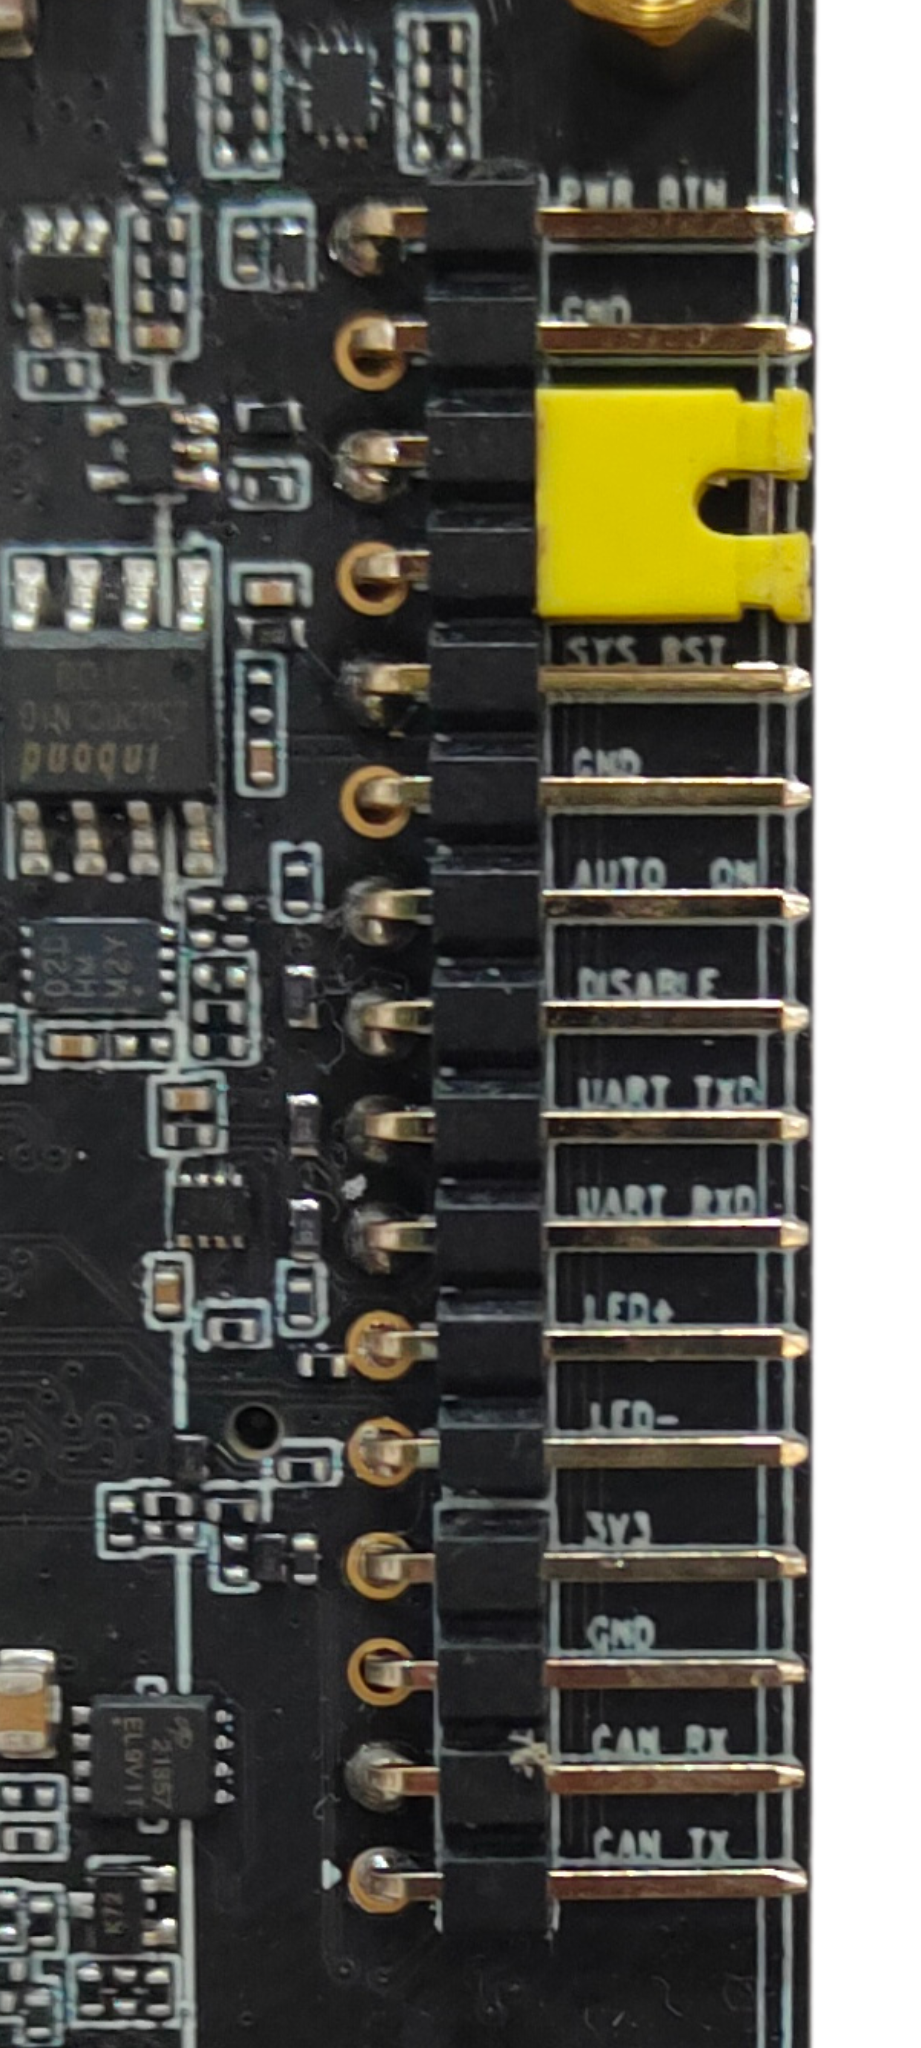
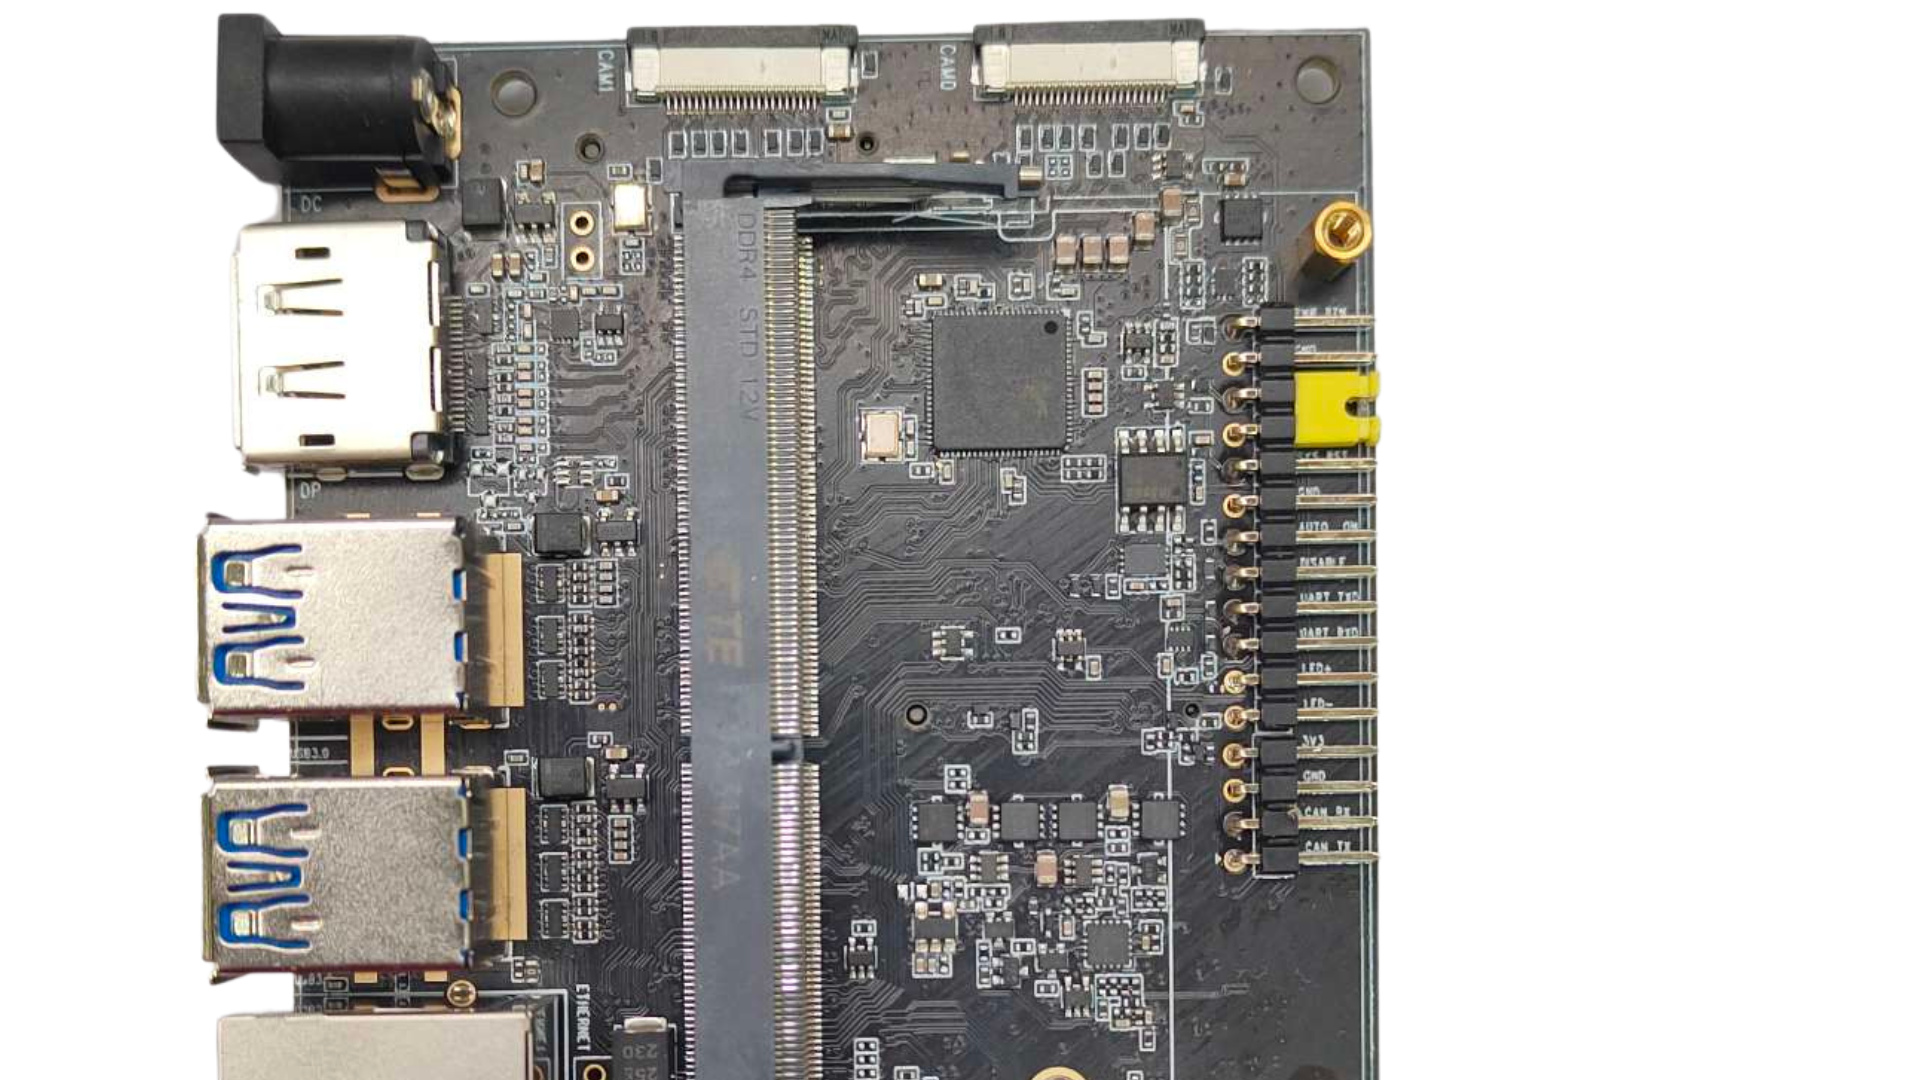
Step 1. Use a jumper wire to connect the FC REC pin and the GND pin.
Button Header
Description
Button Header
Description
1
PWR BTN
9
UART TXD
2
GND
10
UART RXD
3
FC REC
11
LED +
4
GND
12
LED -
5
SYS RET
13
3V3
6
GND
14
GND
7
AUTO ON
15
CAN_RX
8
DISABLE
16
CAN_TX
Step 2. Power up the Eagle-201 by connecting the cable from the power adapter and connect the board with the Ubuntu host PC with a USB Type-C data transmission cable
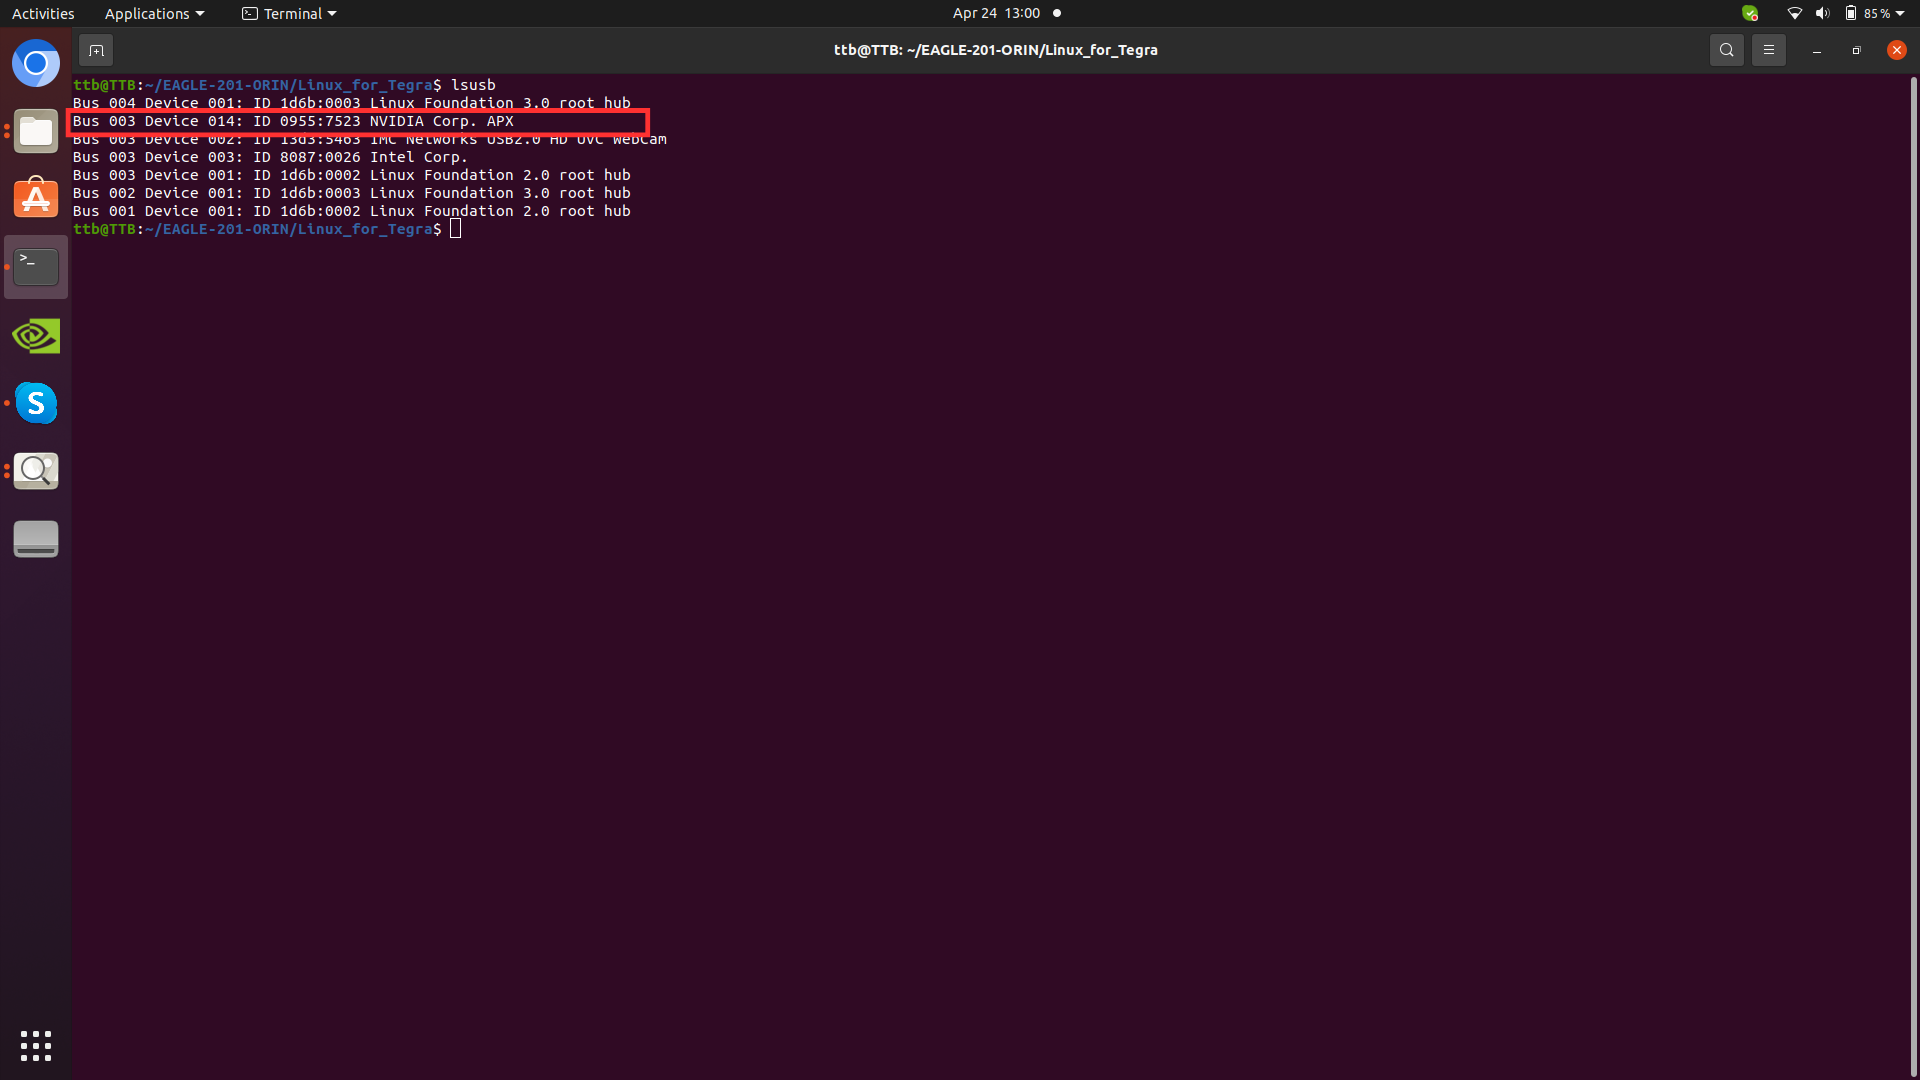
Step 3. On the Linux host PC, open a Terminal window and enter the command lsusb. If the returned content has one of the following outputs according to the Jetson SoM you use, then the board is in force recovery mode.
Note: NVIDIA Jetson Linux 36.4.3 corresponds to Jetpack 6.2
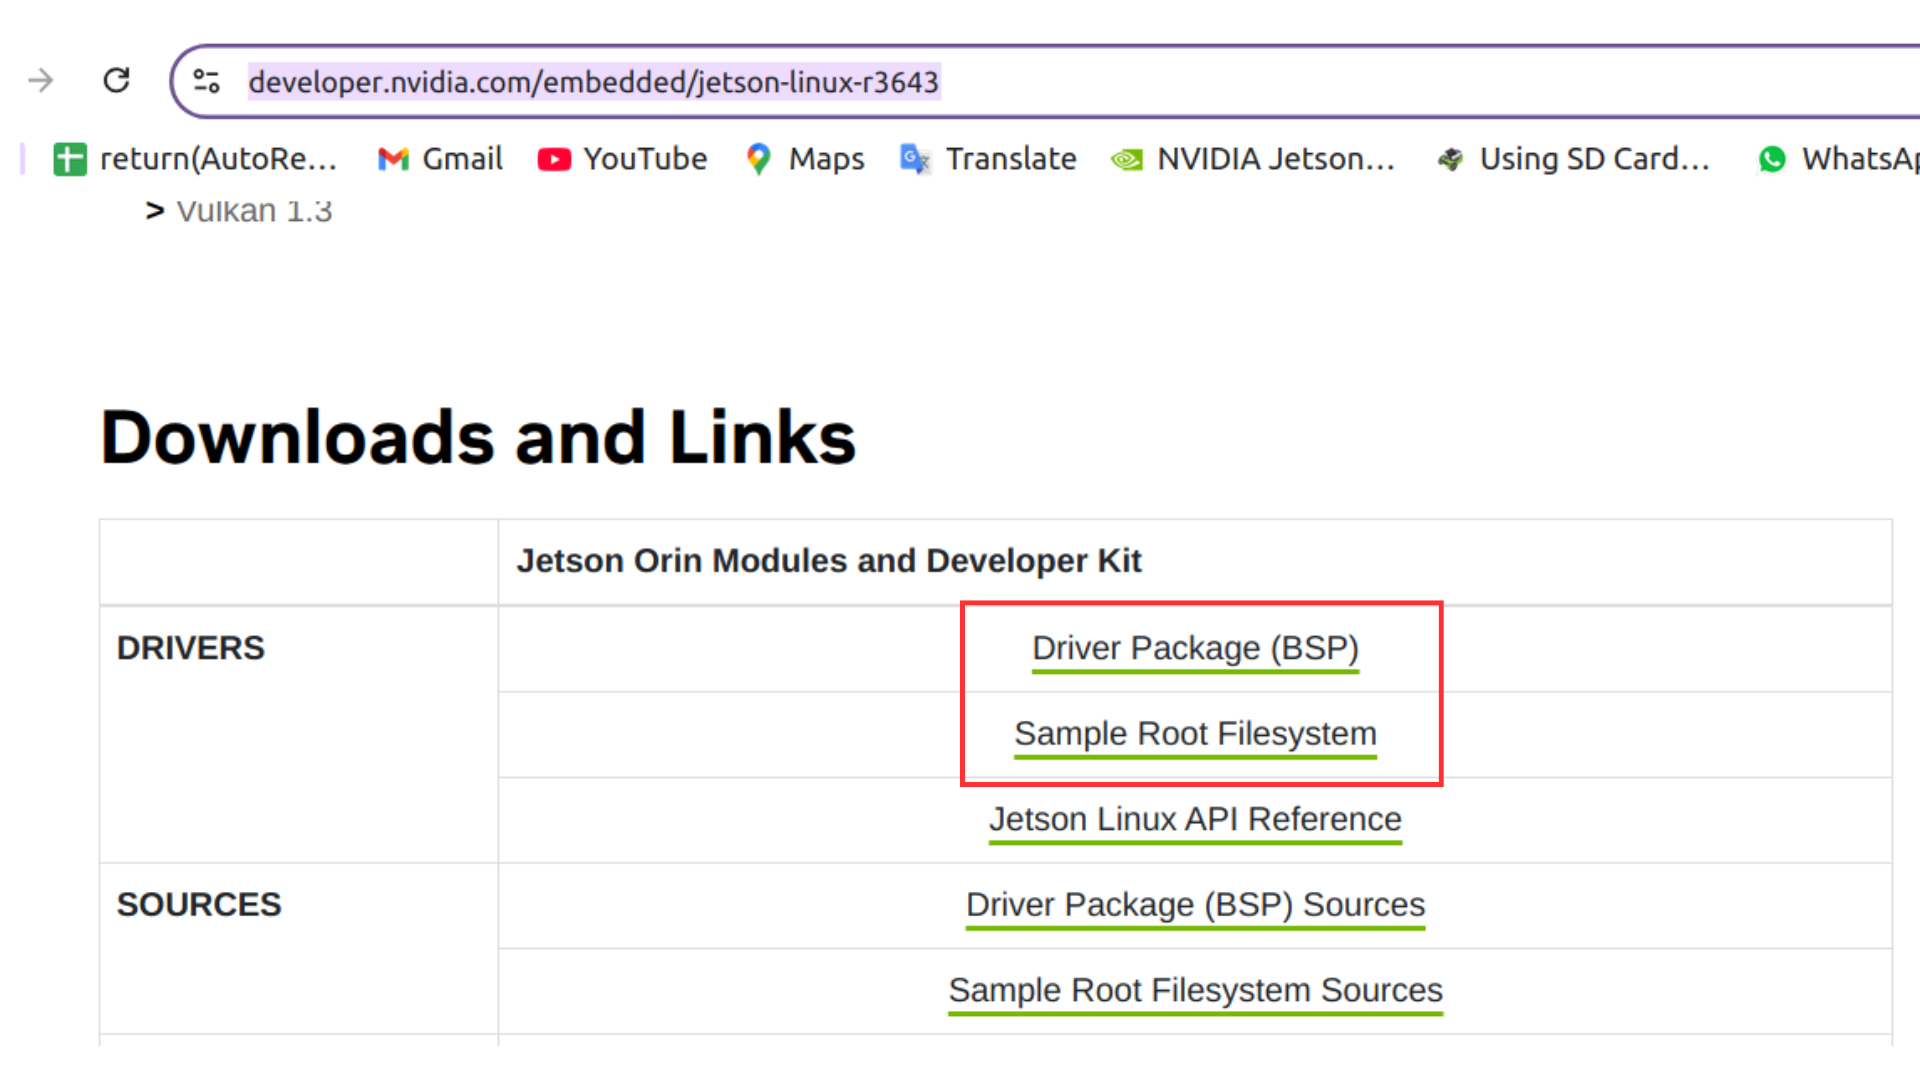
Download the compressed files corresponding to Driver Package (BSP) and Sample Root Filesystem:
2. Flashing mode
2.1. Hardware connection
Use a jumper cap to short-circuit the FC REC and GND pins under the Tanna TechBiz Eagle - 201 carrier board: the Tanna TechBiz Eagle - 201 carrier board can be left unassembled, the picture is just for a clearer observation
2.2. Software connection
The Tanna TechBiz Eagle - 201 carrier board is successfully connected to the Ubuntu system, and the lsusb command will show the NVIDIA Corp. APX information:
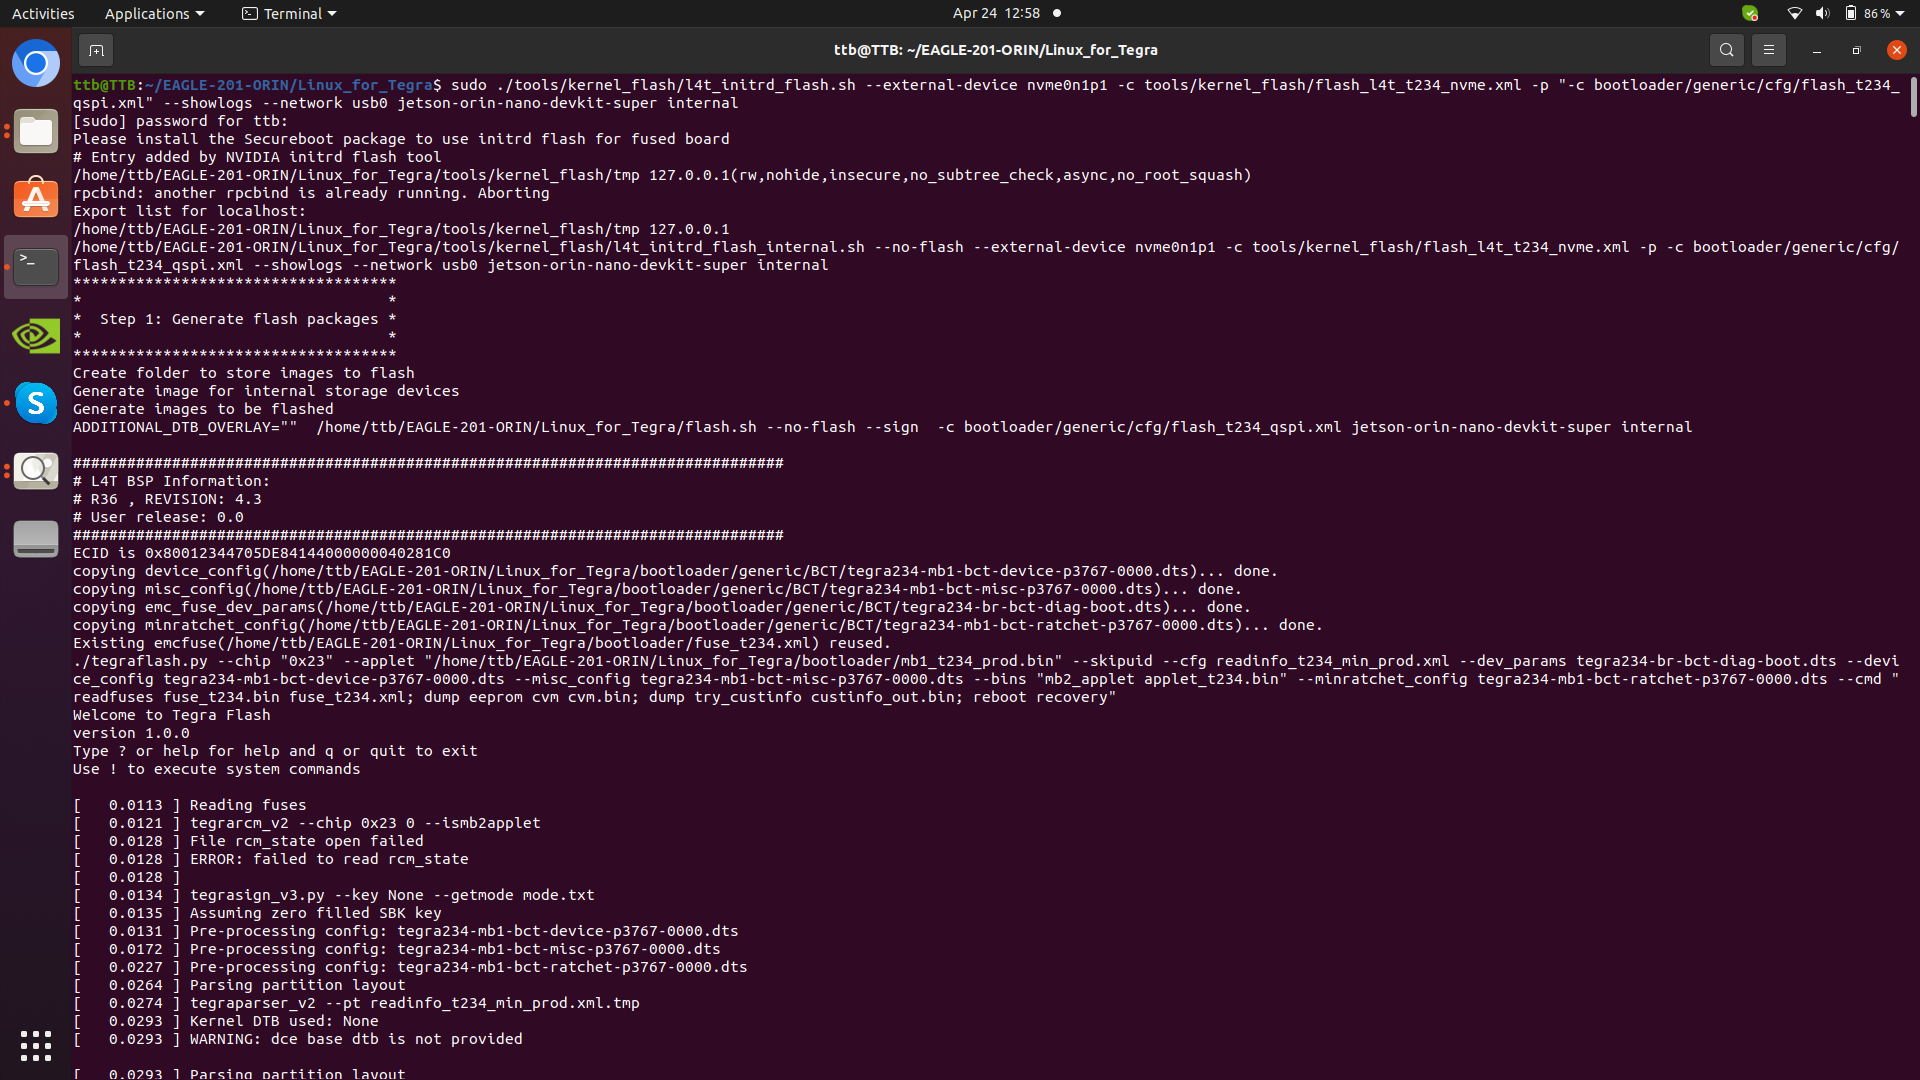
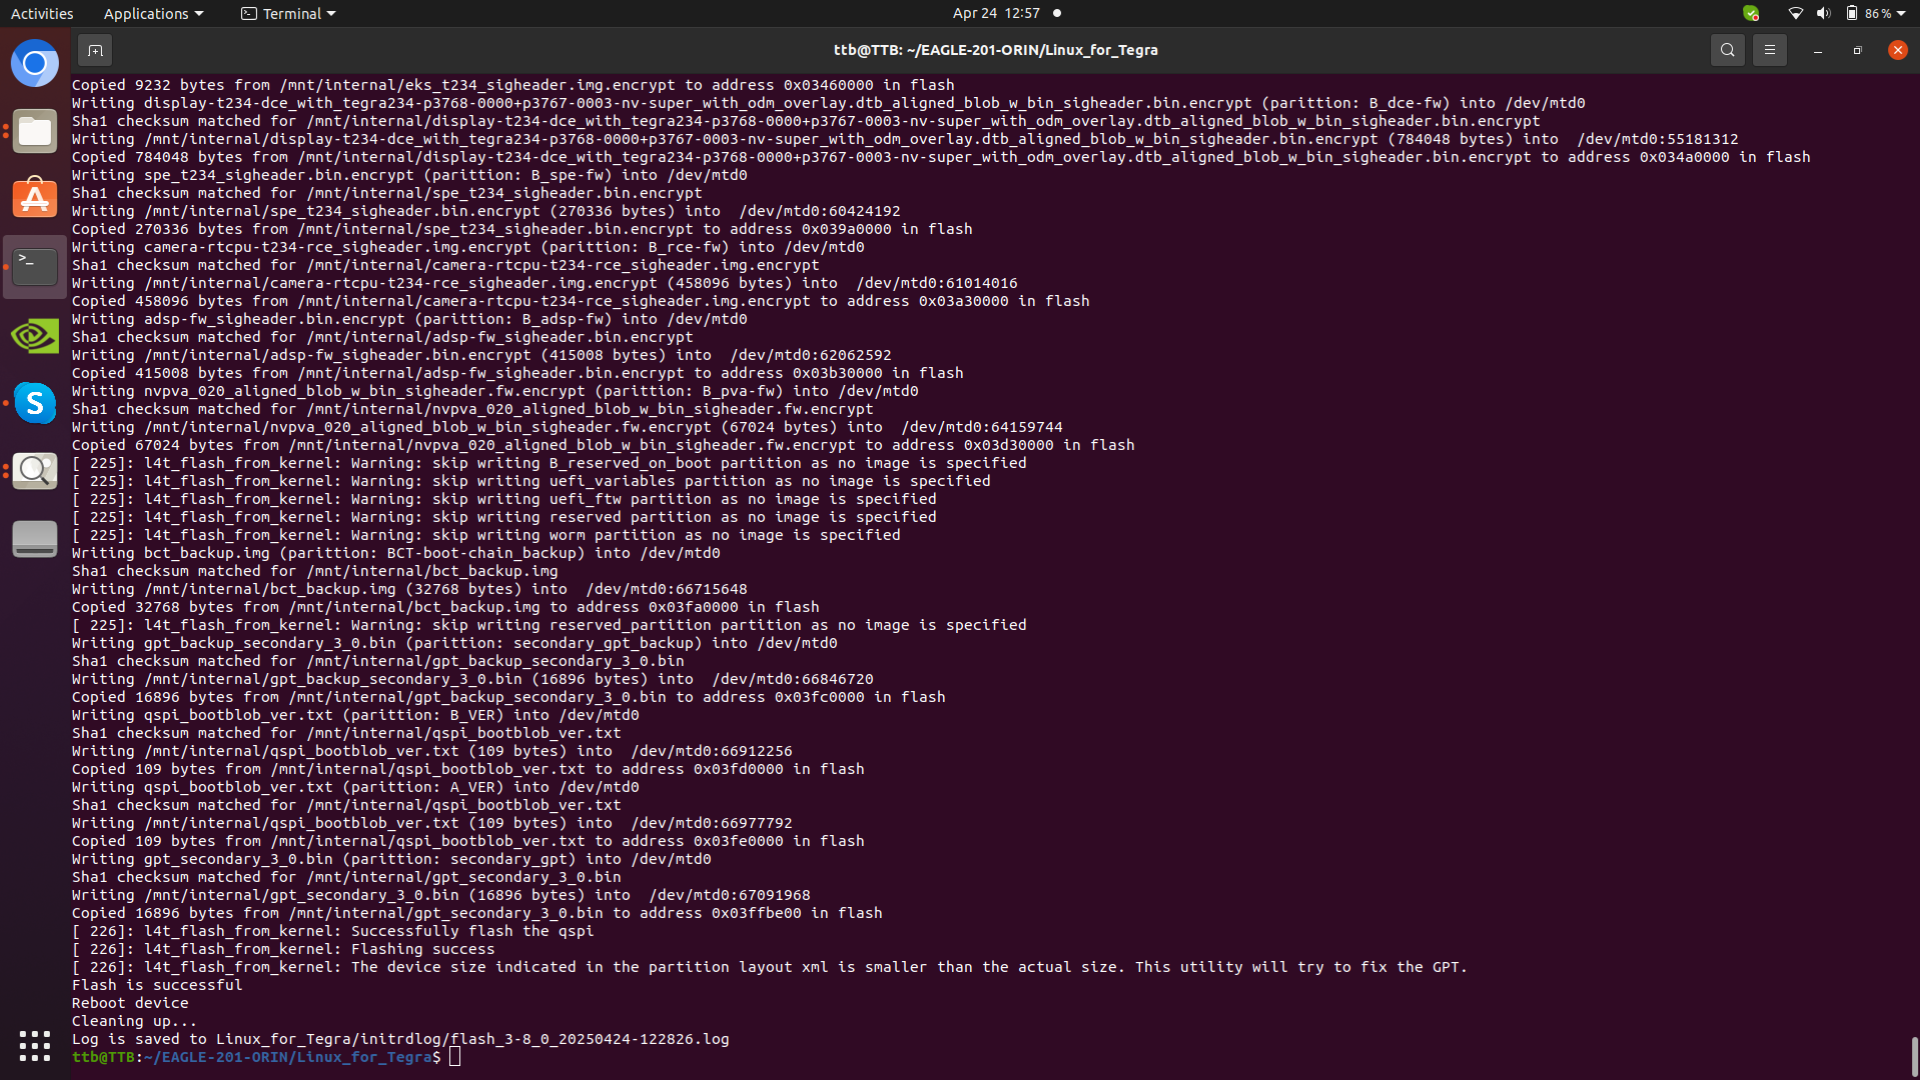
3. Burn the system
3.1. Unzip the file
Create a New Folder & Copy this download two Files in same Folder then open the terminal:
tar xf Jetson_Linux_R36.4.3_aarch64.tbz2
sudo tar xpf Tegra_Linux_Sample-Root-Filesystem_R36.4.3_aarch64.tbz2 -C Linux_for_Tegra/rootfs/
cd Linux_for_Tegra/
sudo ./apply_binaries.sh
sudo ./tools/l4t_flash_prerequisites.sh
Note: Both Jetson Orin Nano and Jetson Orin NX can use the same command to burn the system to the SSD
4. Start the system
After the system is successfully burned, disconnect the Tanna TechBiz Eagle - 201 power supply (disconnect the DC power adapter and Type-C data cable), and then unplug the jumper cap that shorts FC REC and GND under the Tanna TechBiz Eagle - 201 board; after confirming that the above operations are completed, reconnect the DC power adapter and DP data cable (connect to the display) to start the system and connect keybord and mouse.
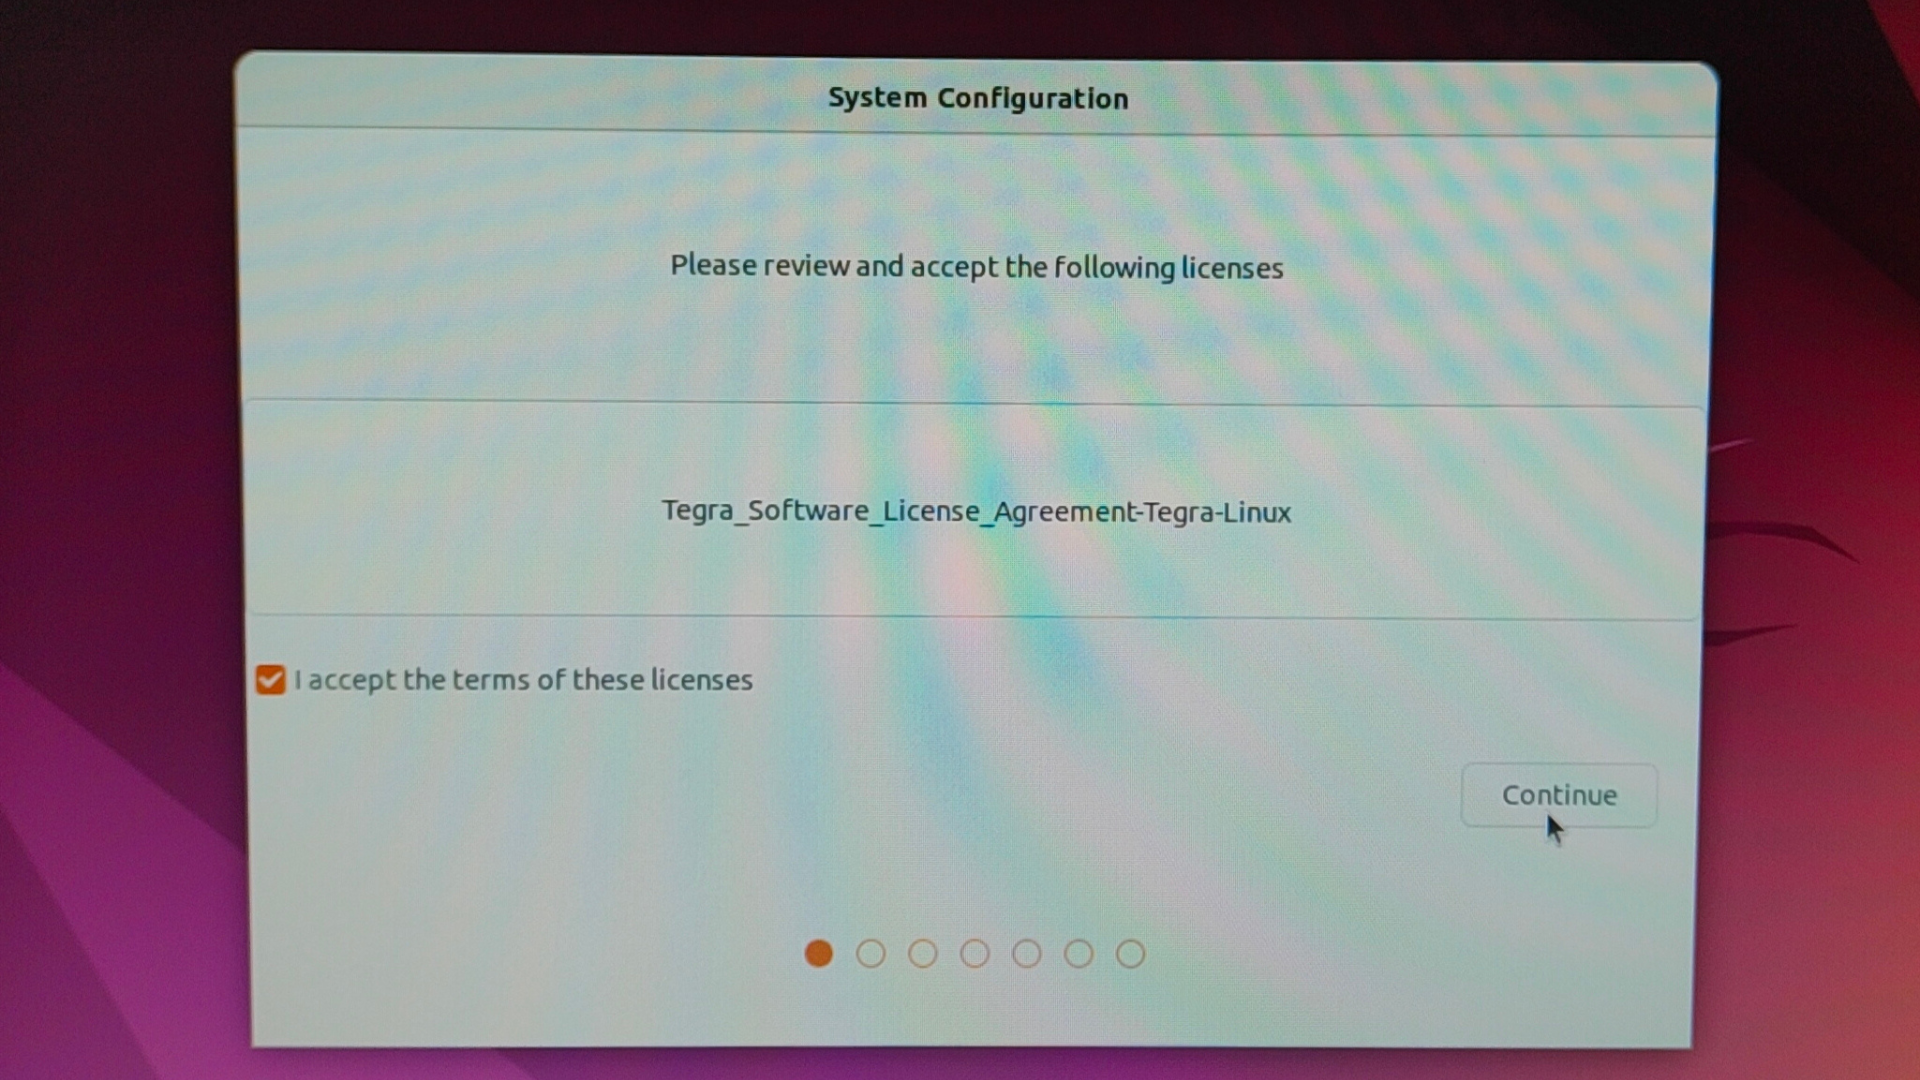
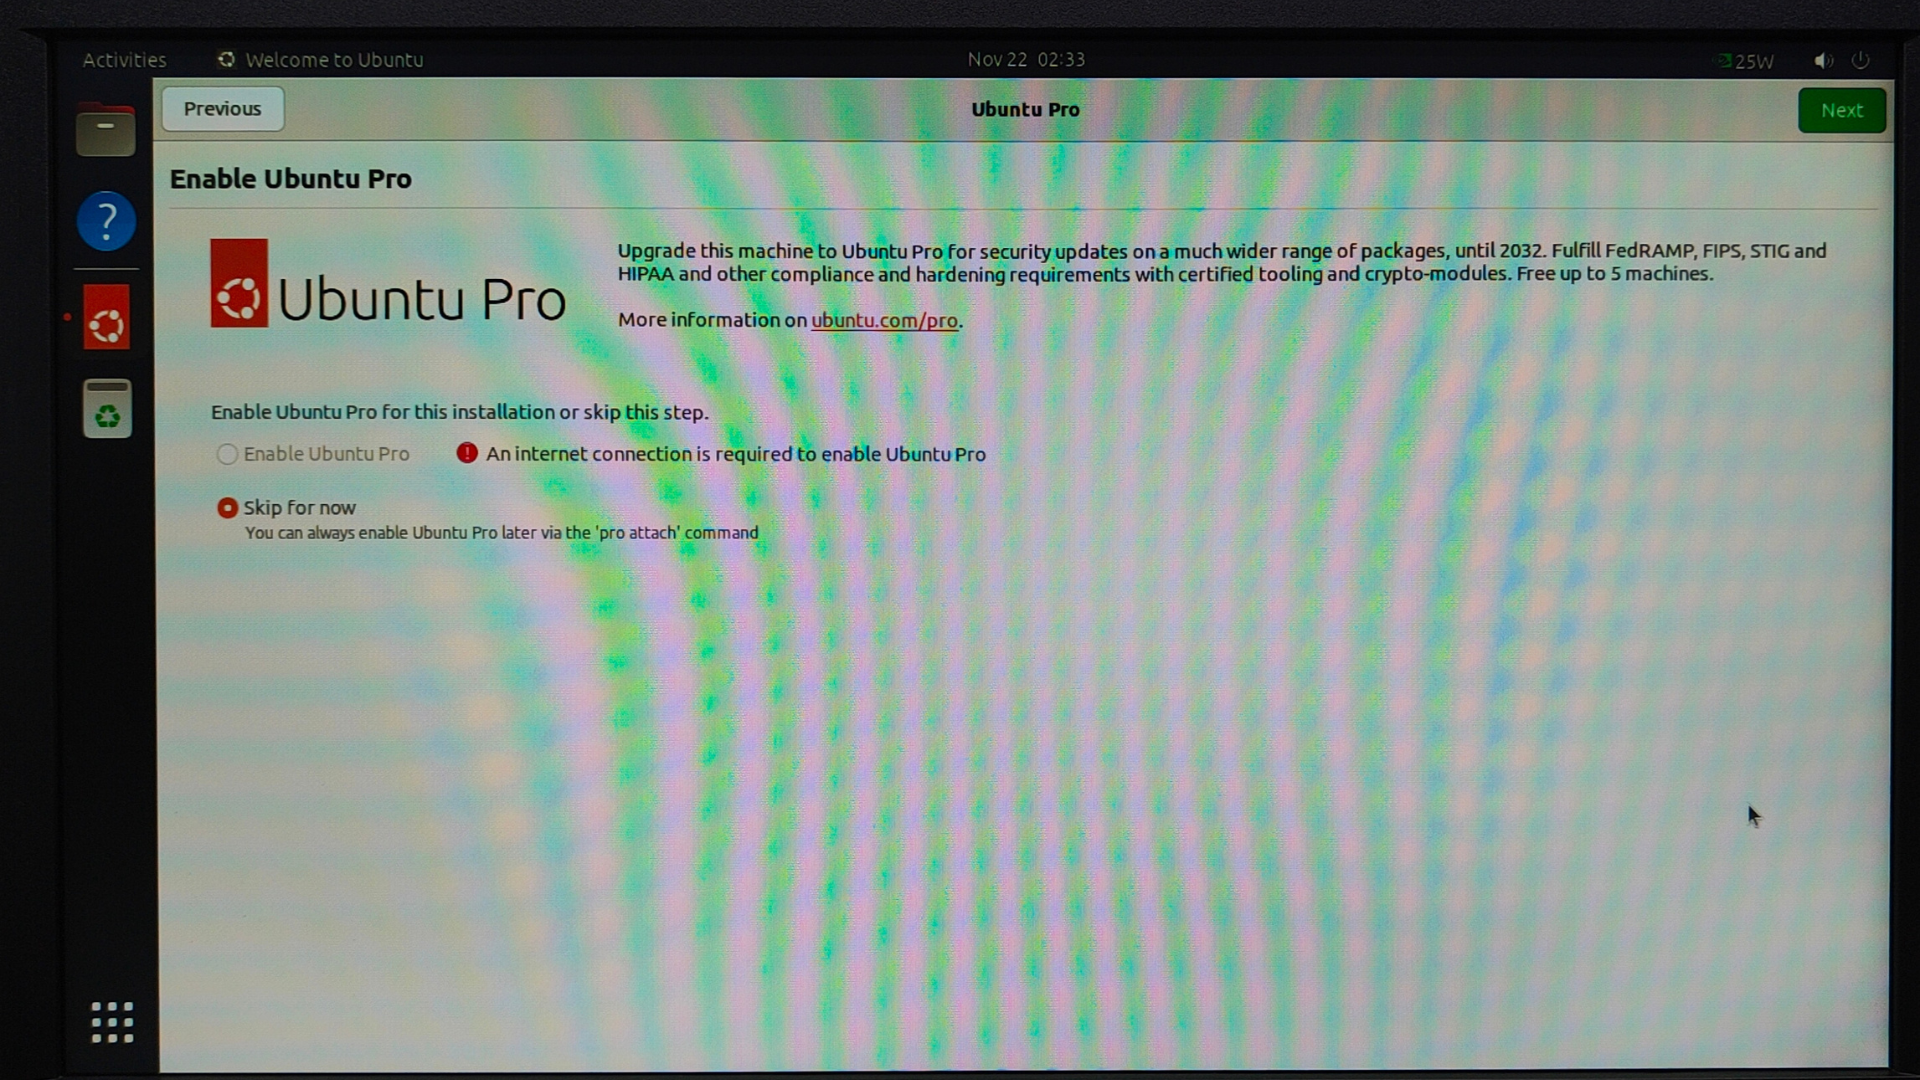
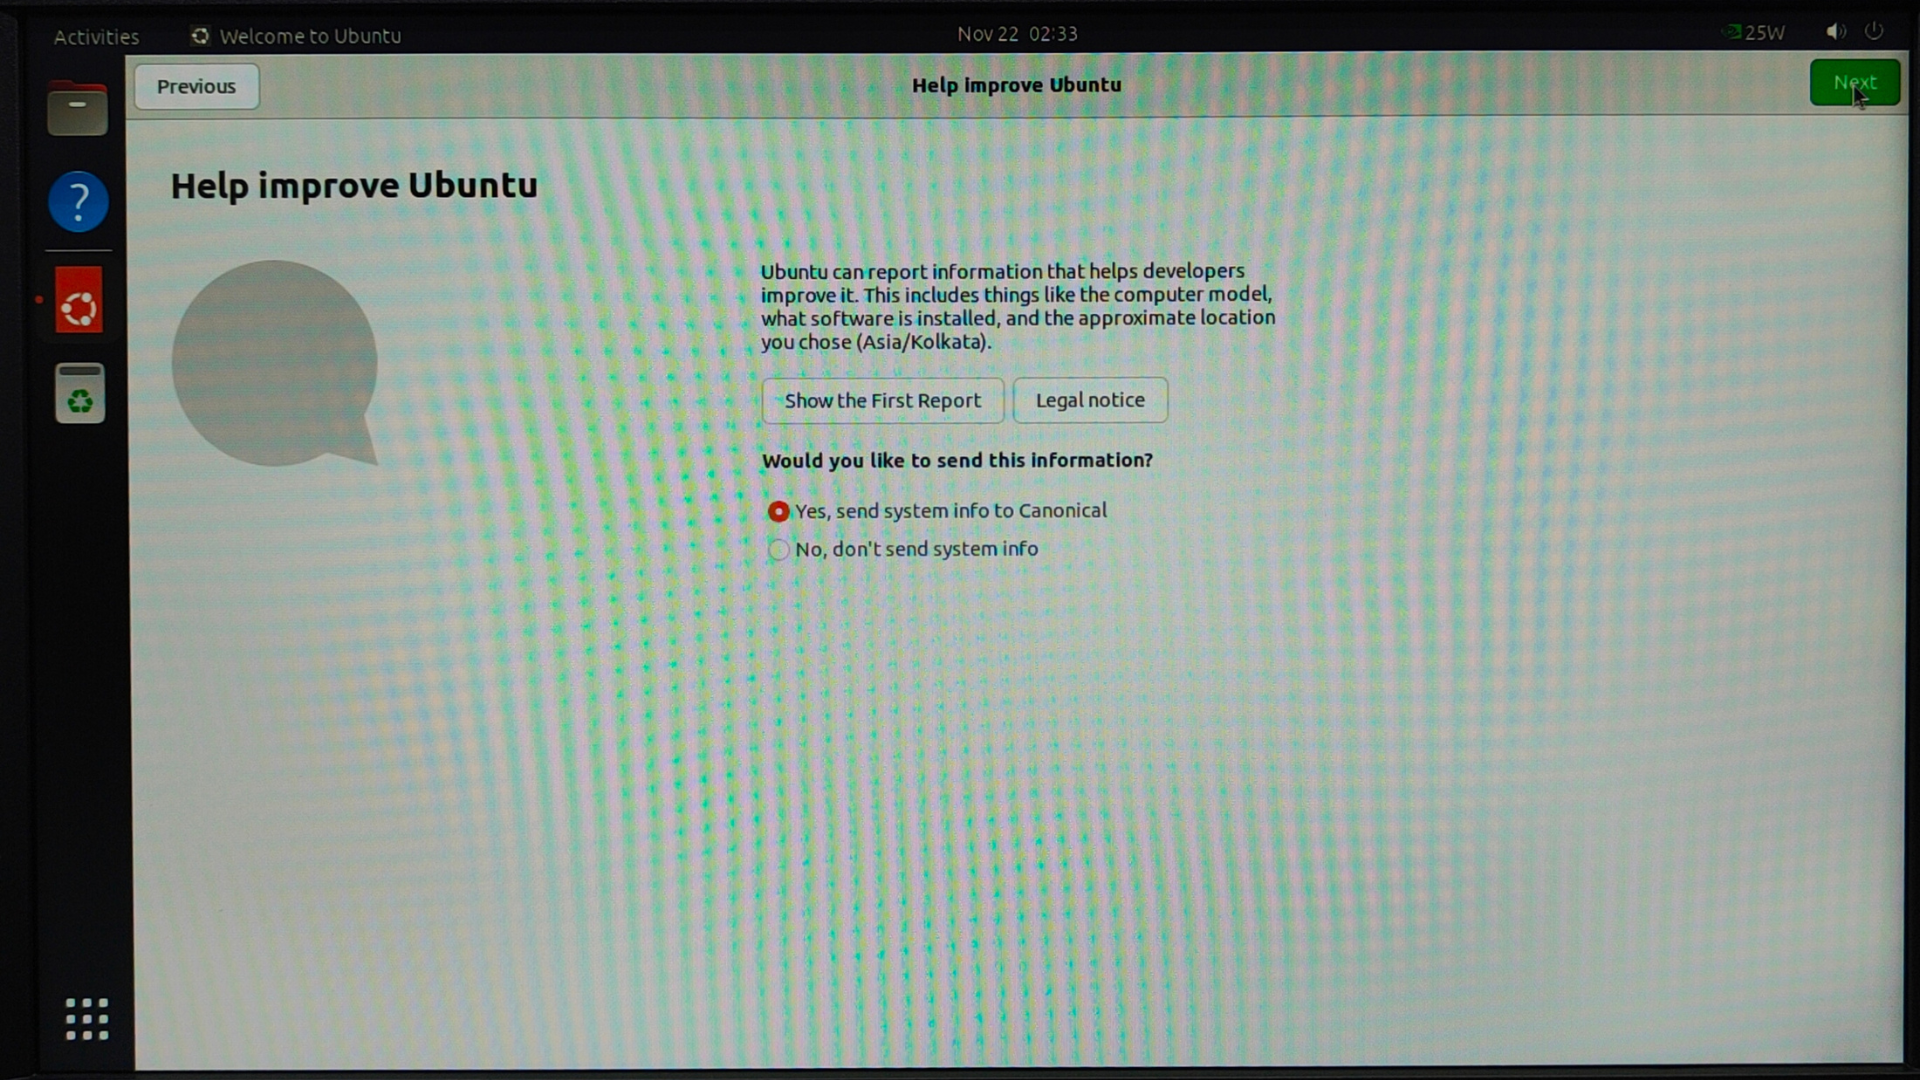
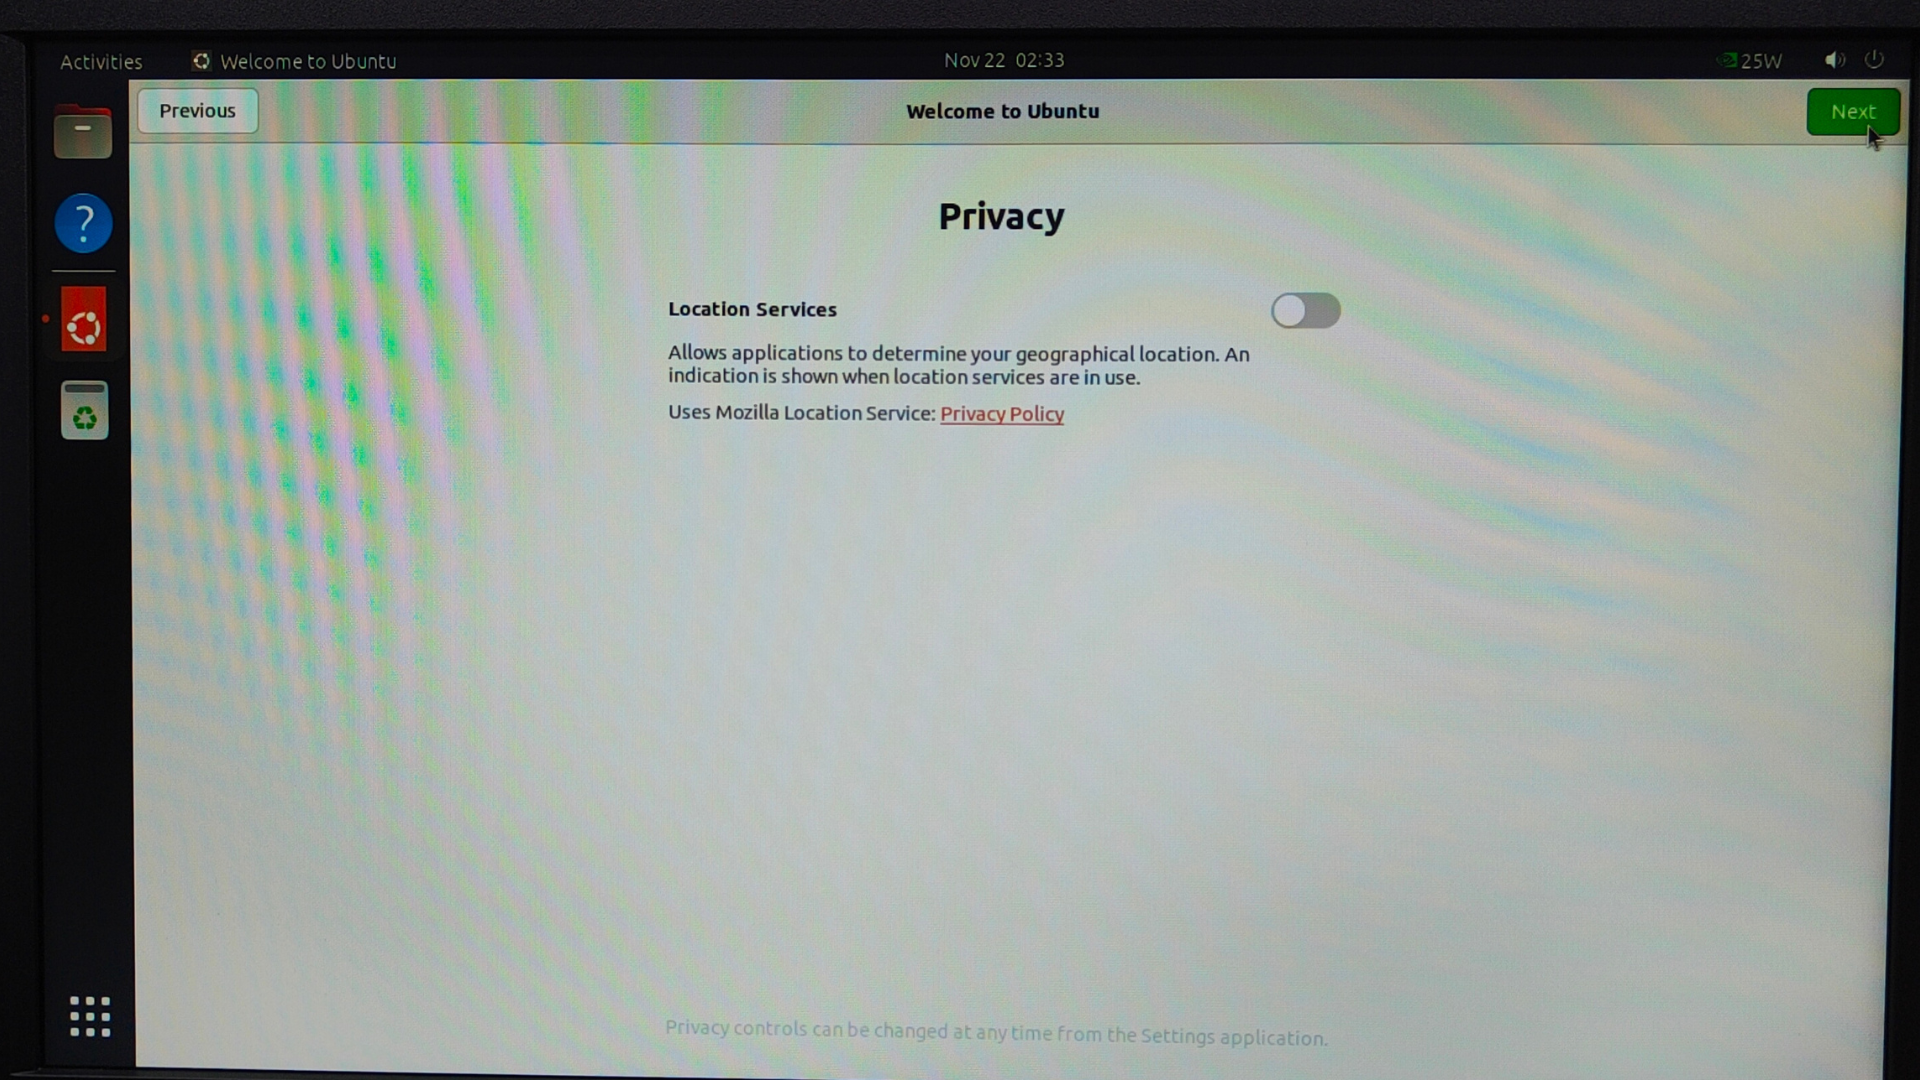
When you boot the first time, the Tanna TechBiz Eagle - 201 board will take you through some initial setup,
including: Review and accept NVIDIA Jetson software End User License Agreement.
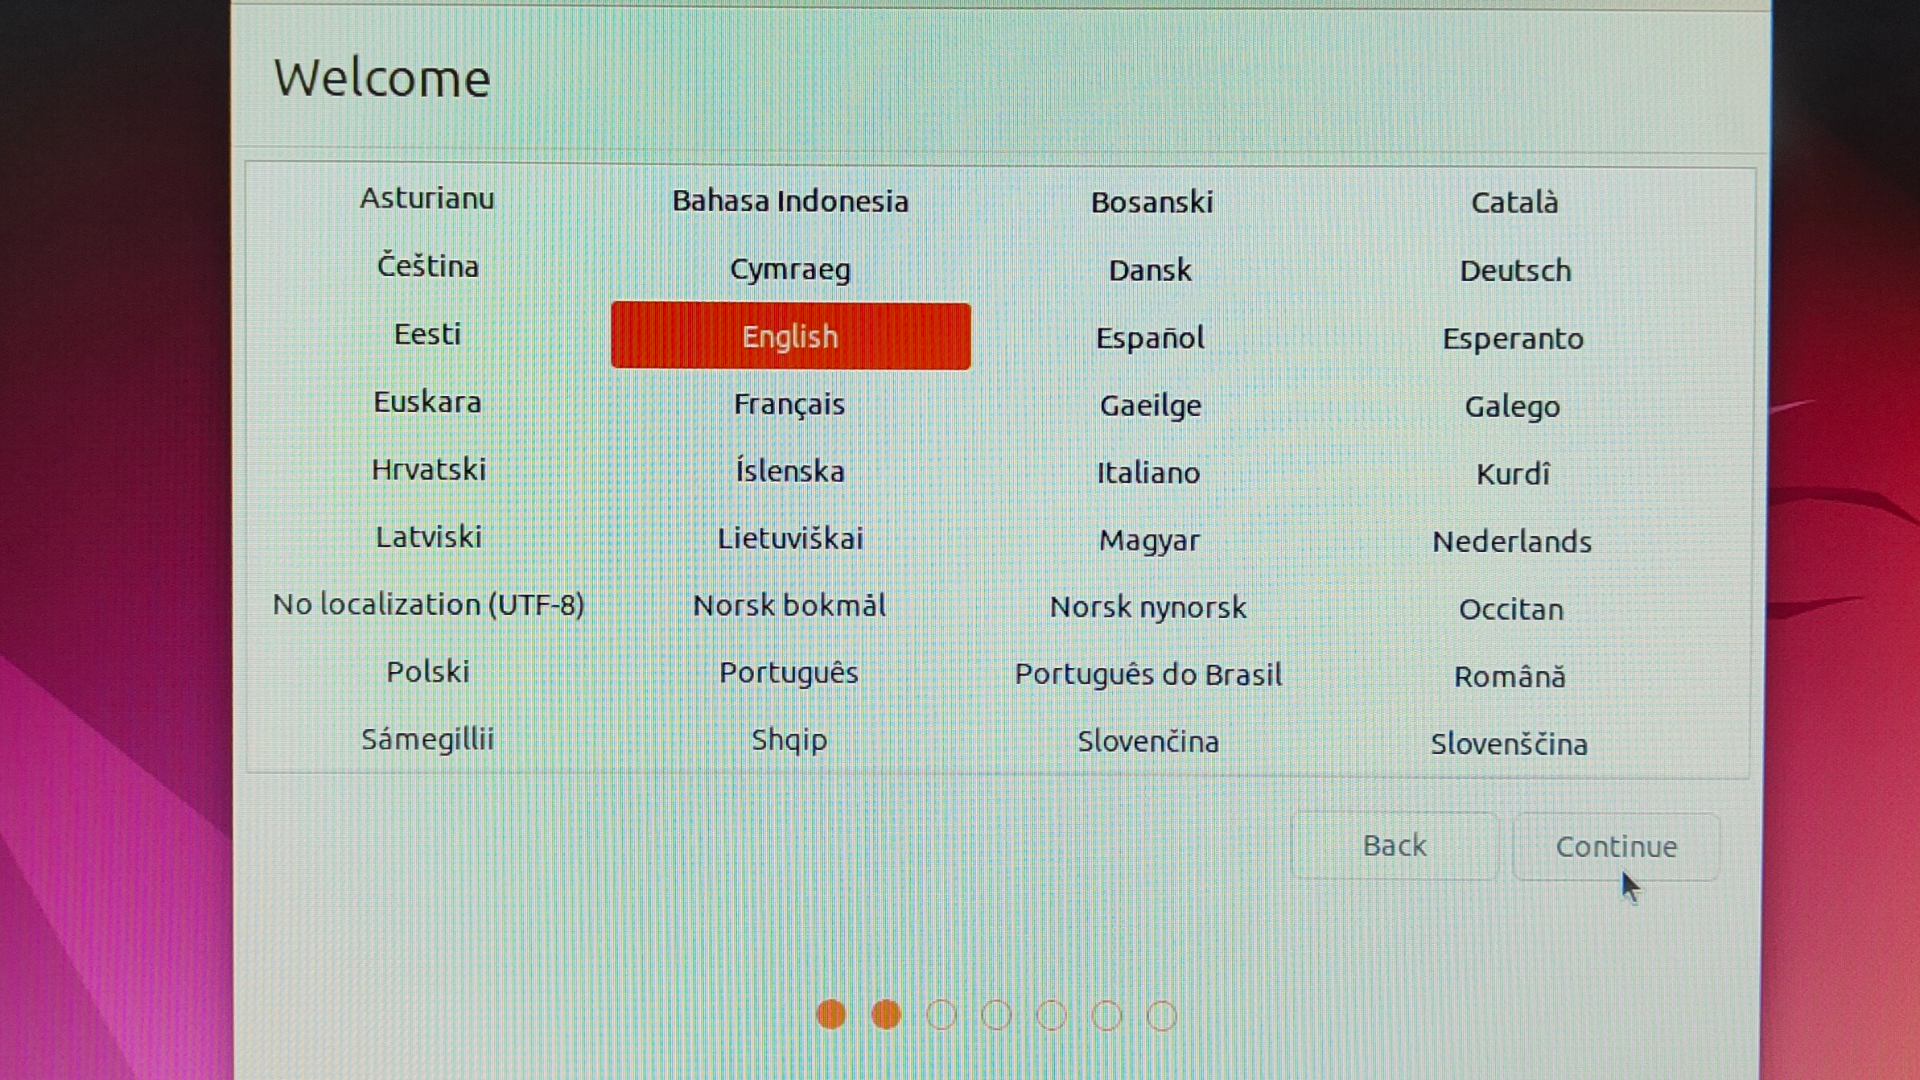
Select the system language.
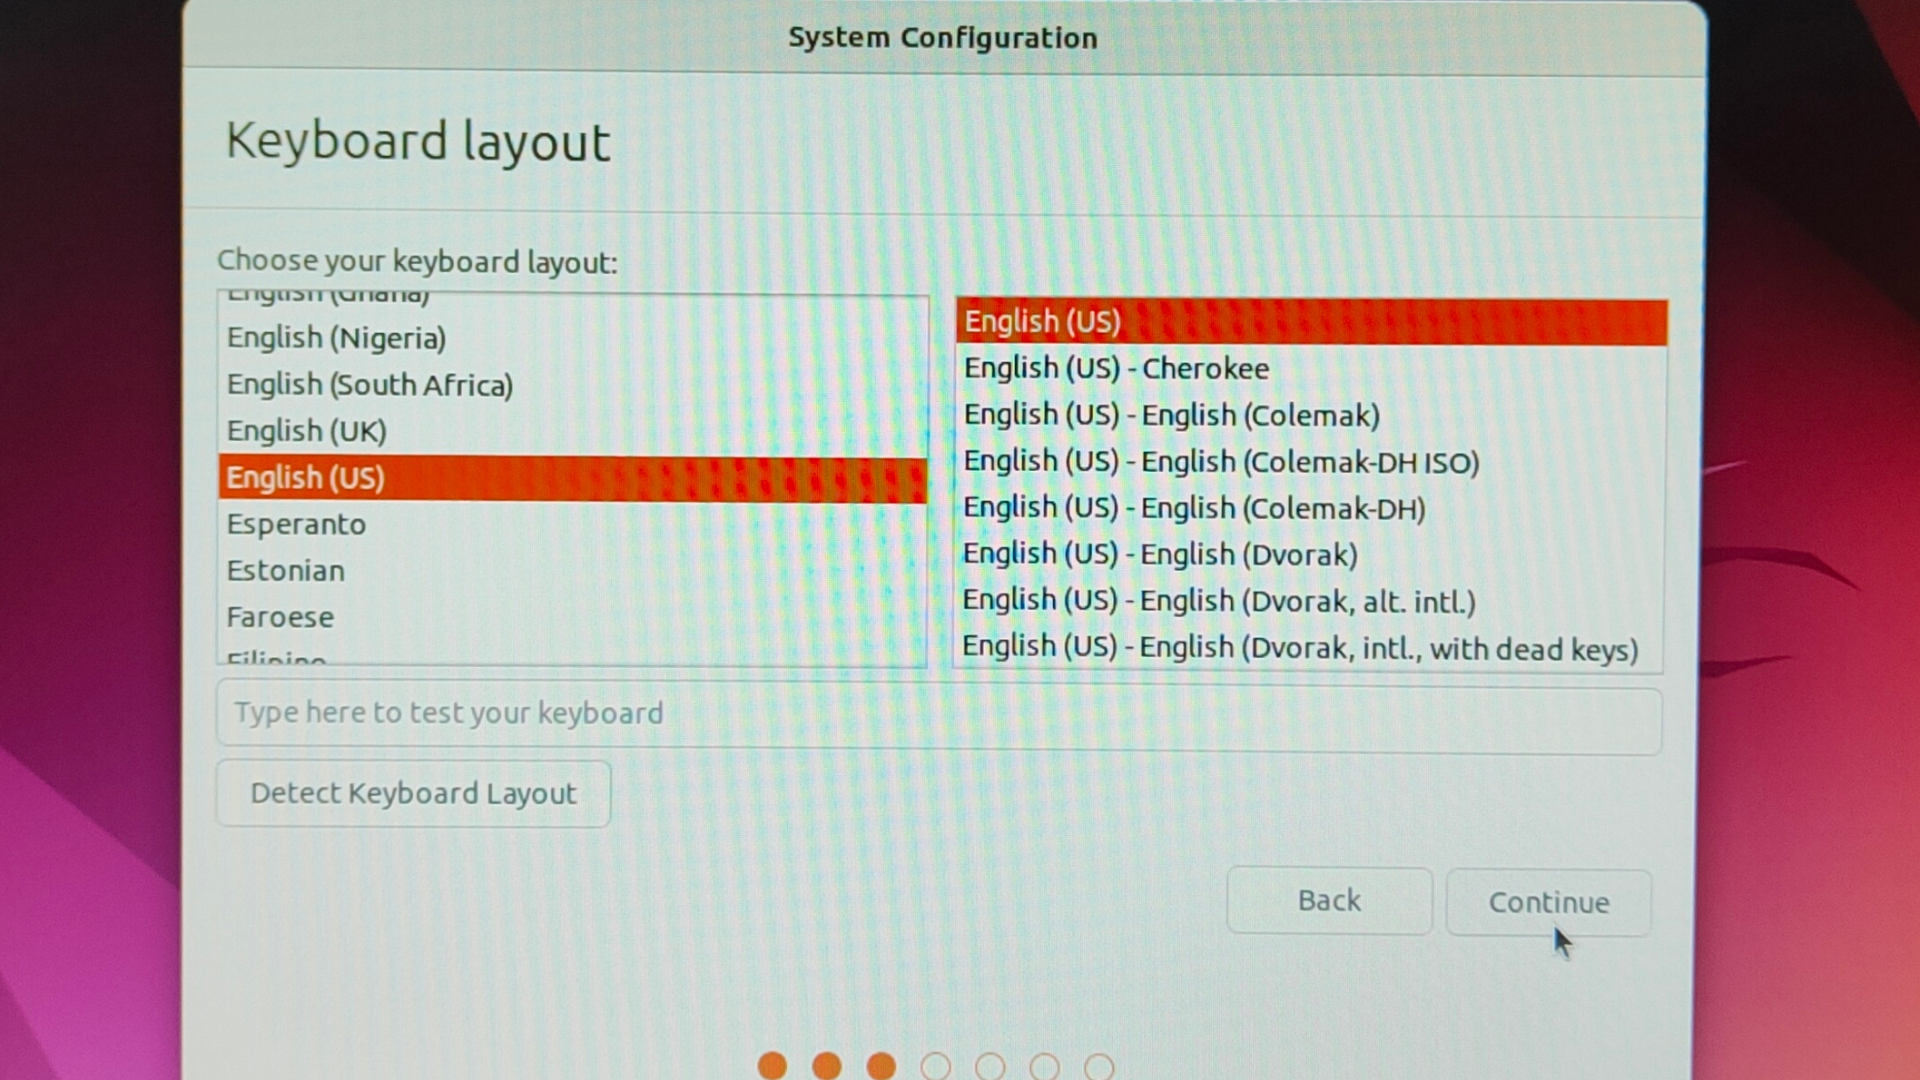
Select the keyboard layout.
Select the time zone.
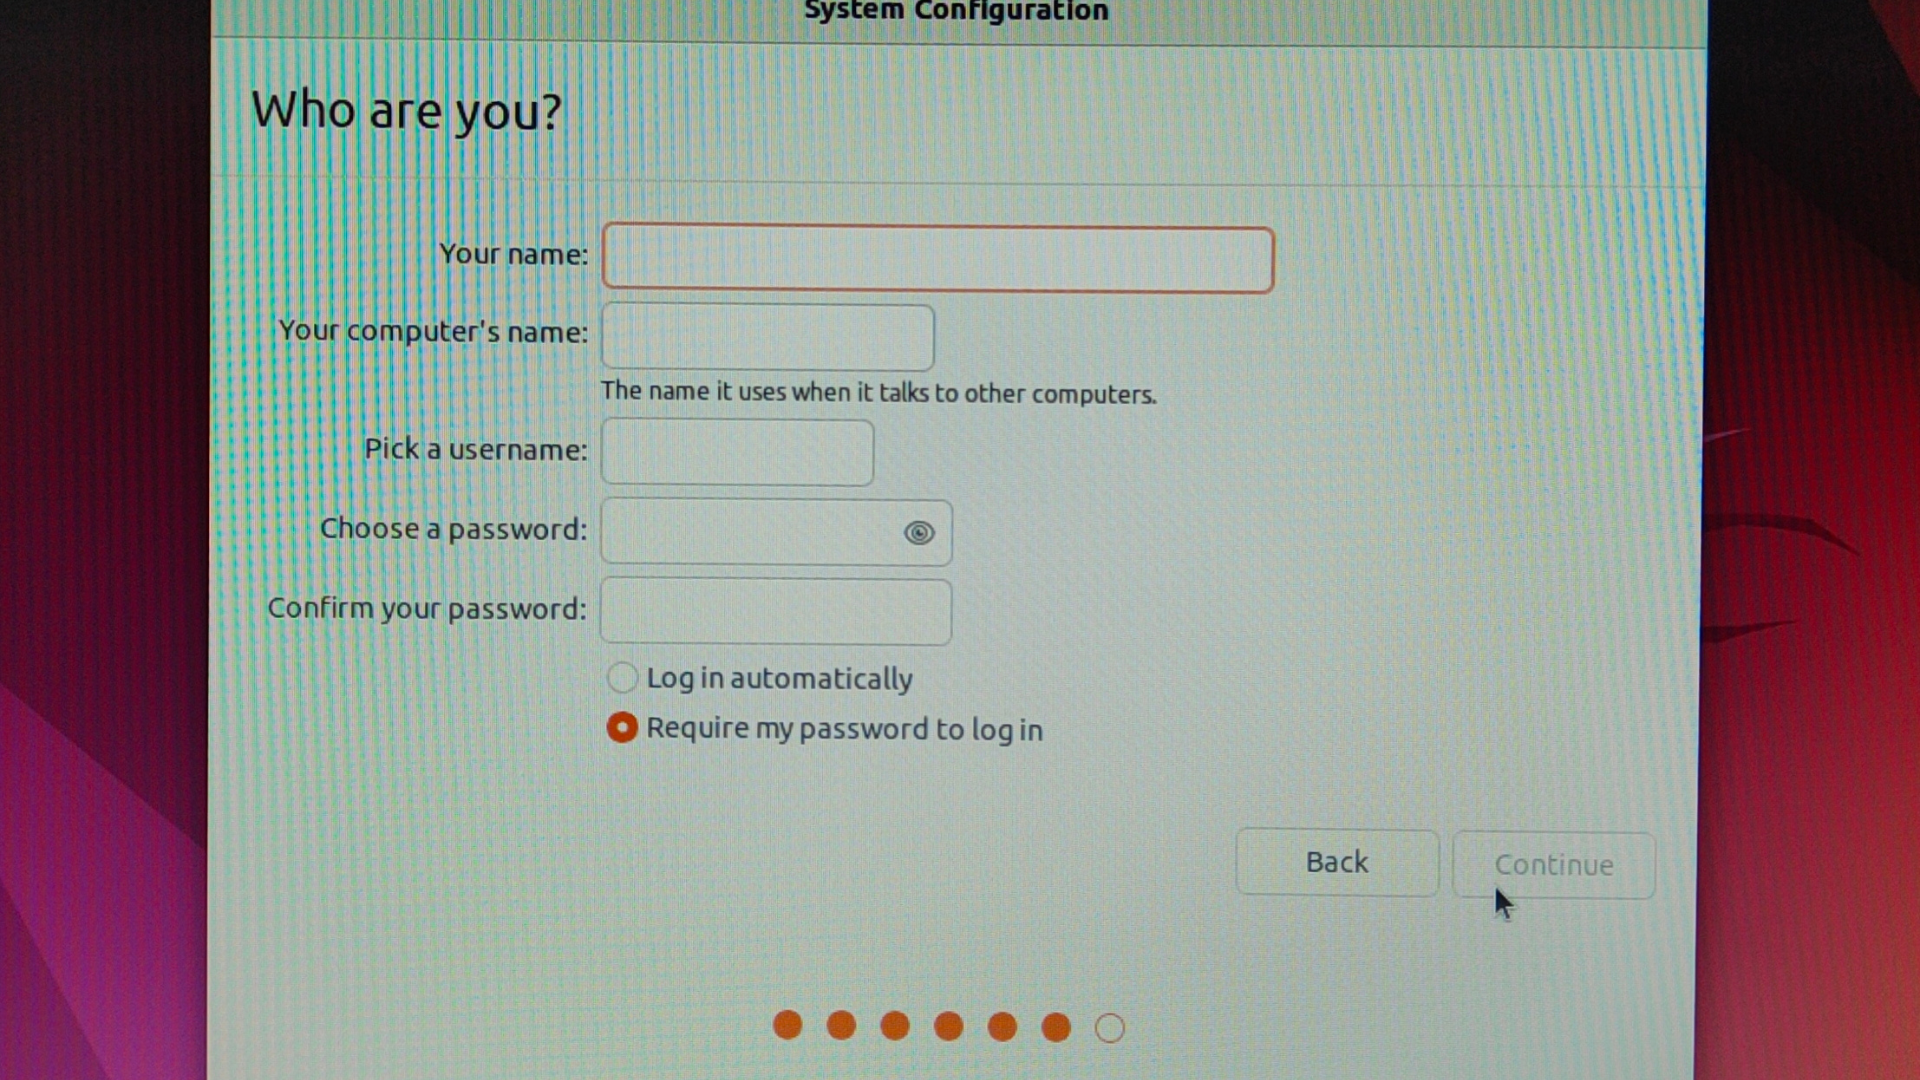
Create a username, password, and computer name. Be sure to select “Log in automatically.”
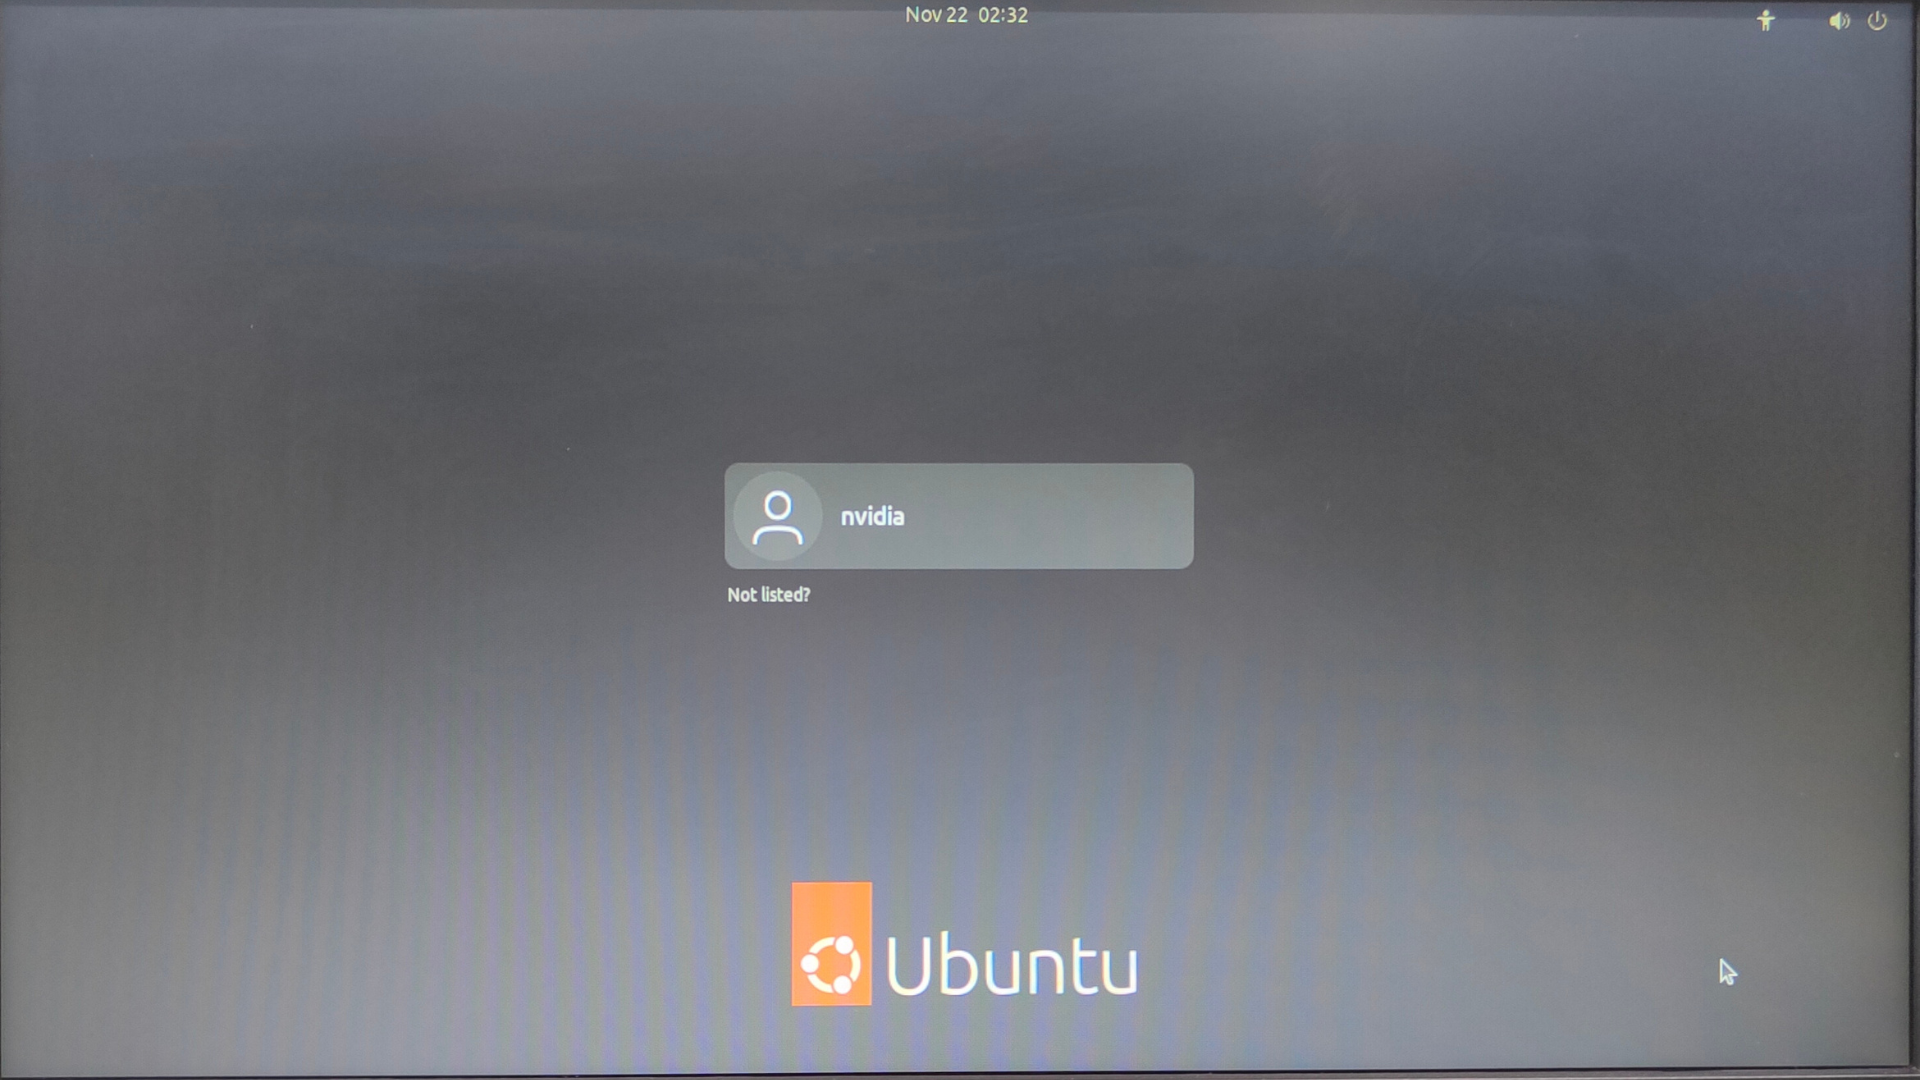
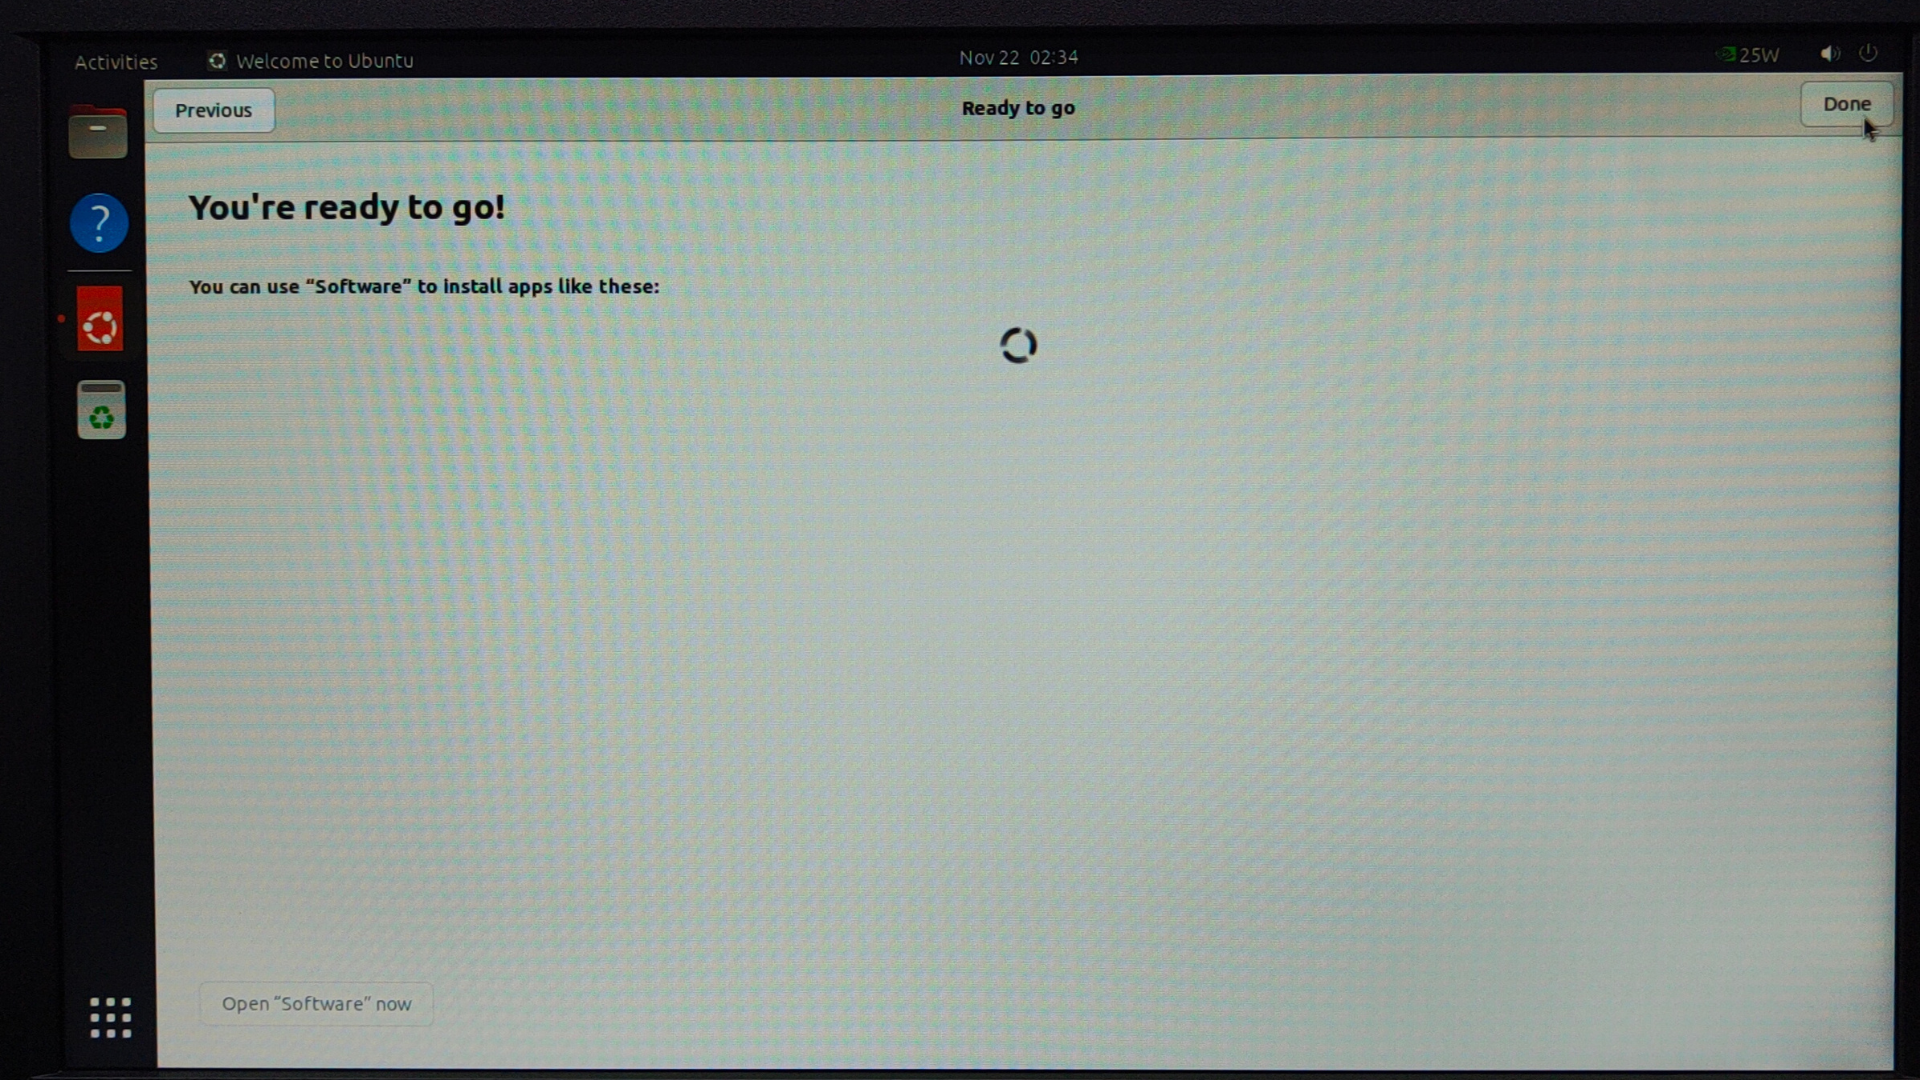
Here is the screen you should see now.
Install Chromium Browser and click Continue.
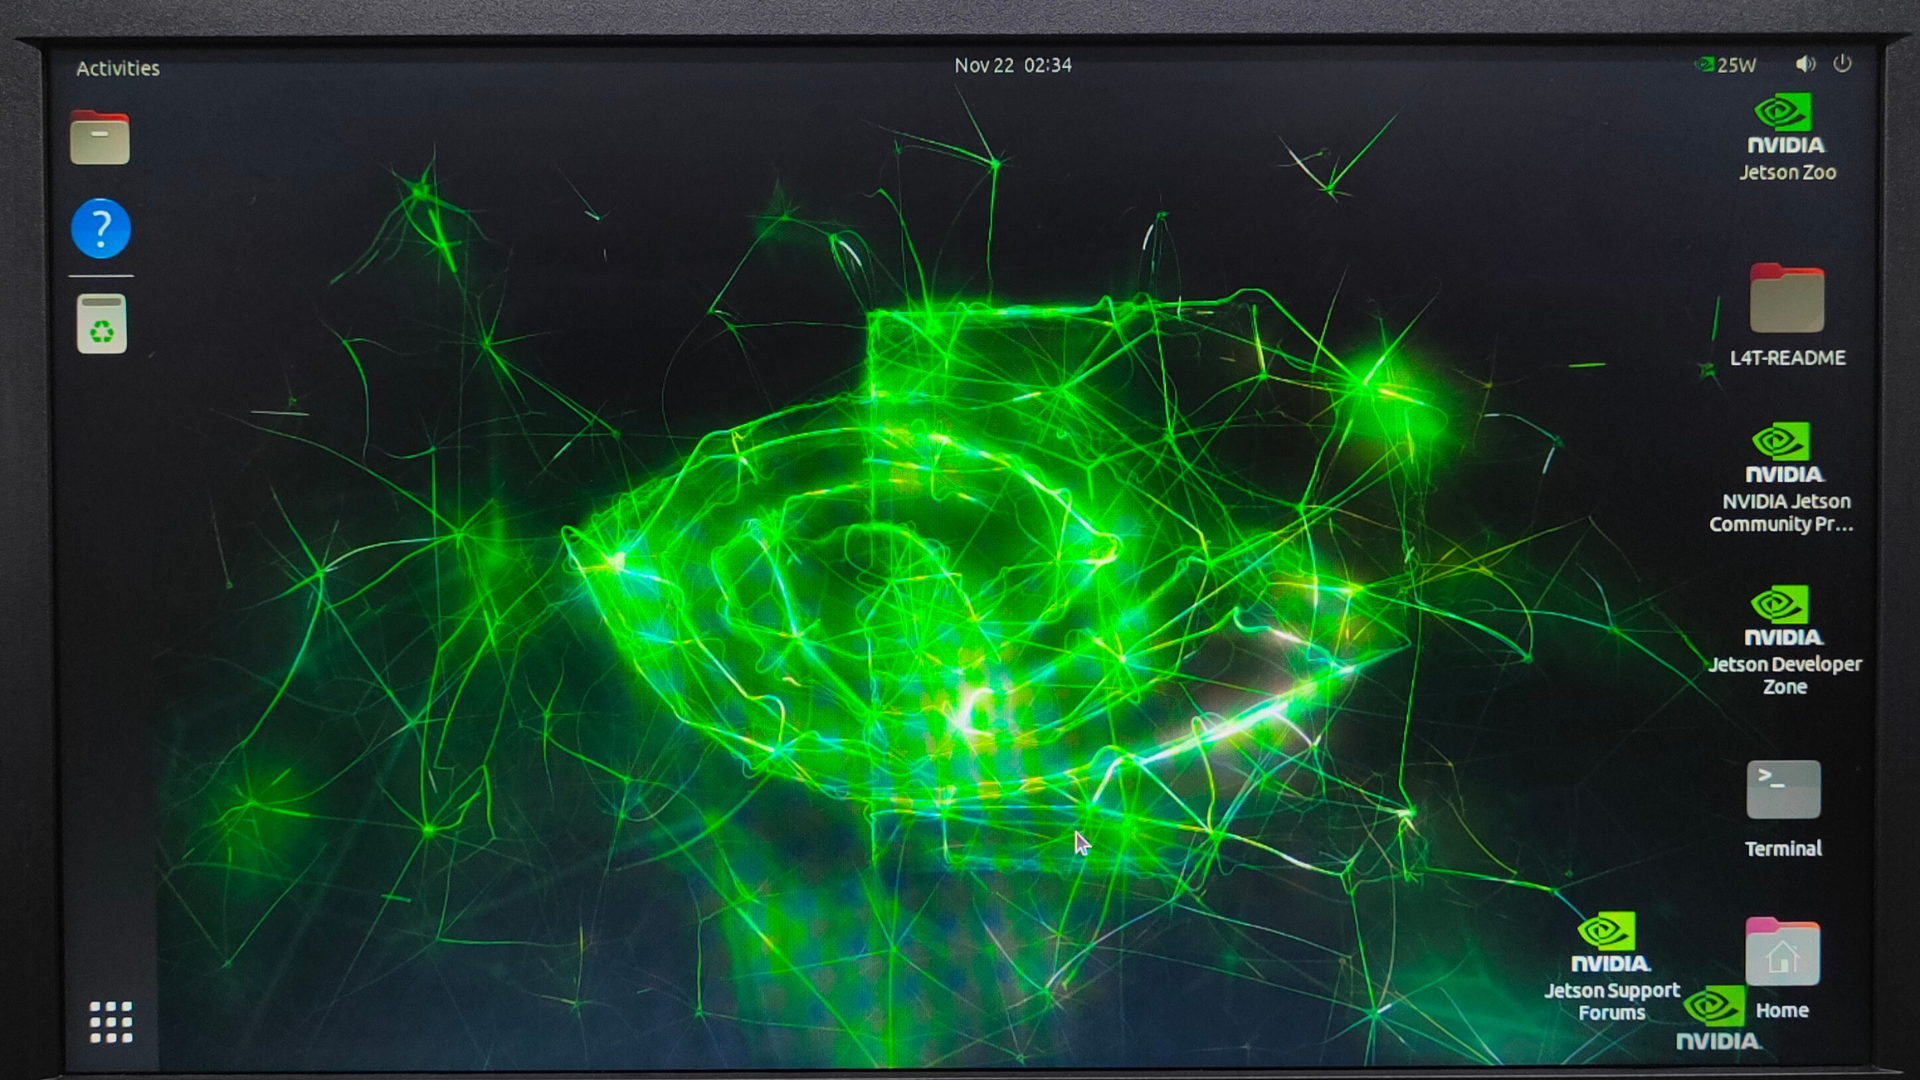
Your Nvidia will automatically reboot to the Ubuntu desktop.
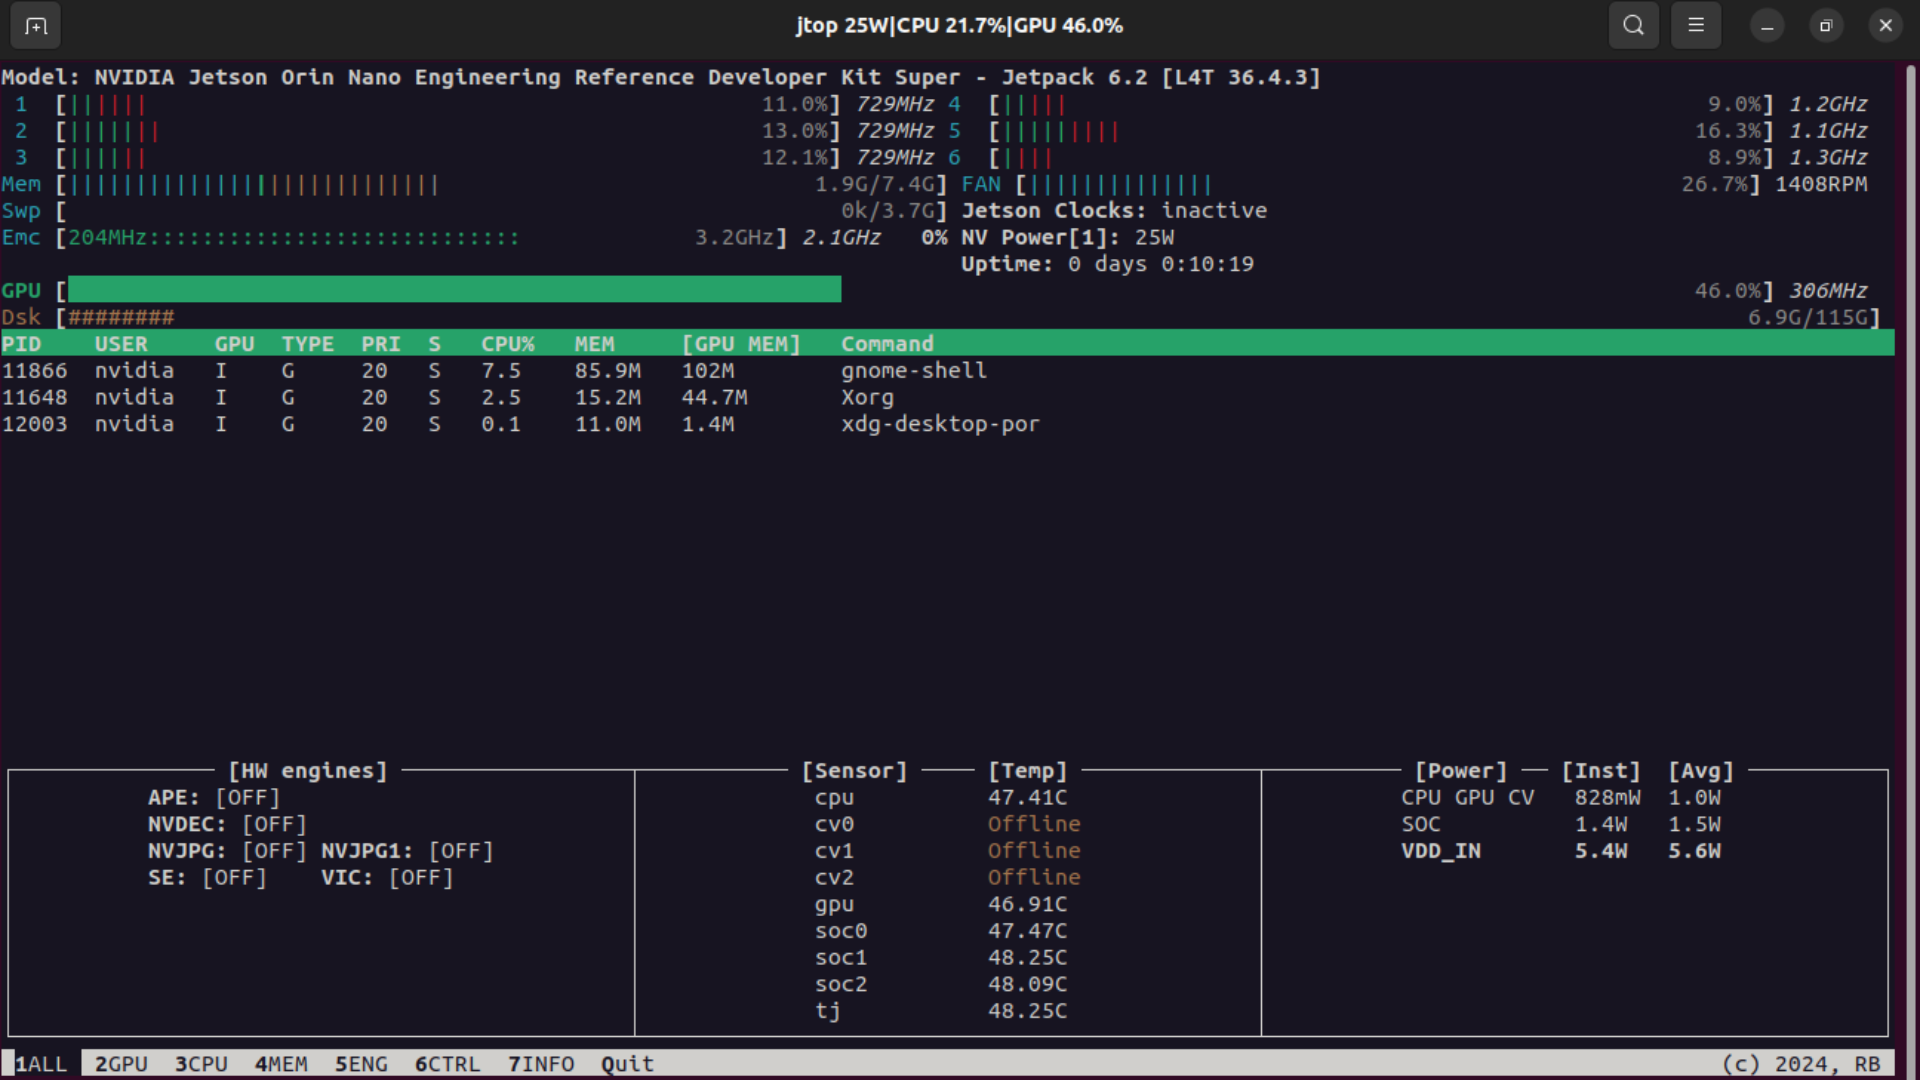
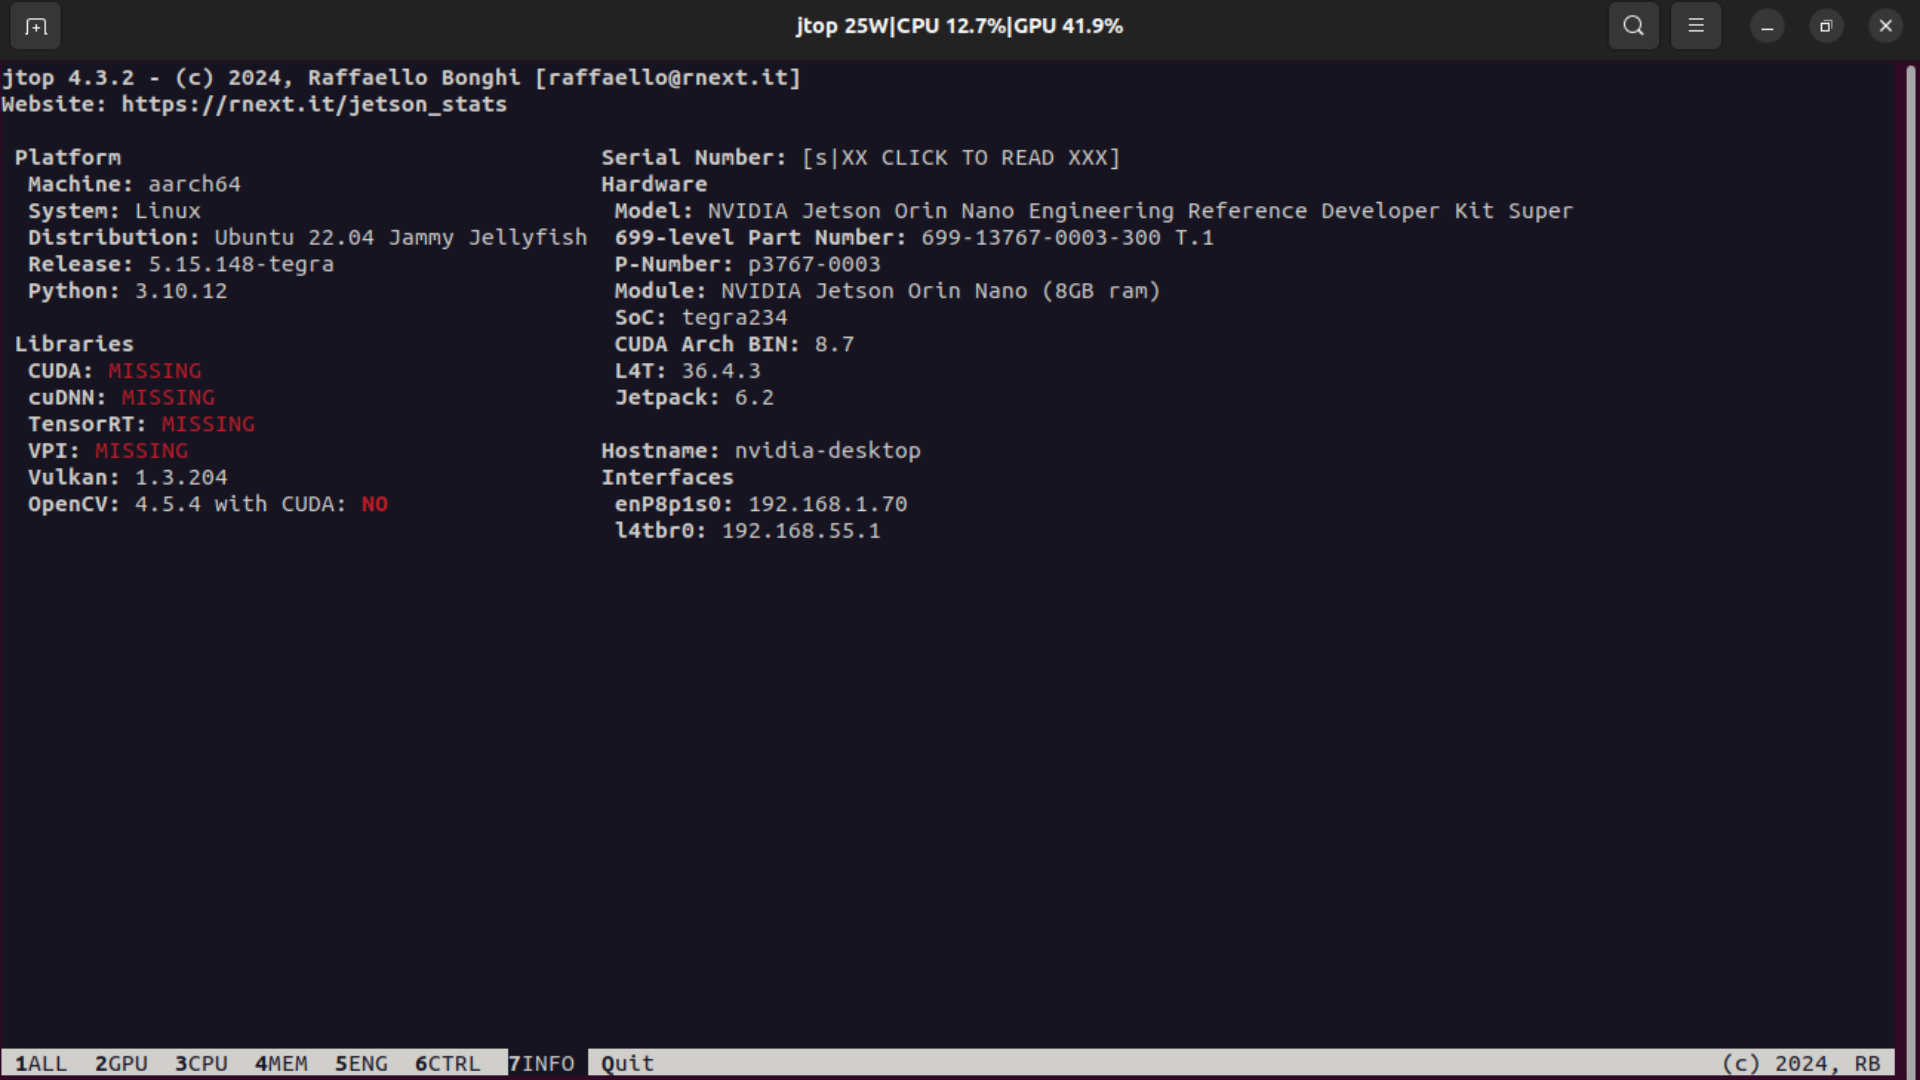
Here some commands for the checking of the BSP (JetPack) Version Installation on Eagle - 201
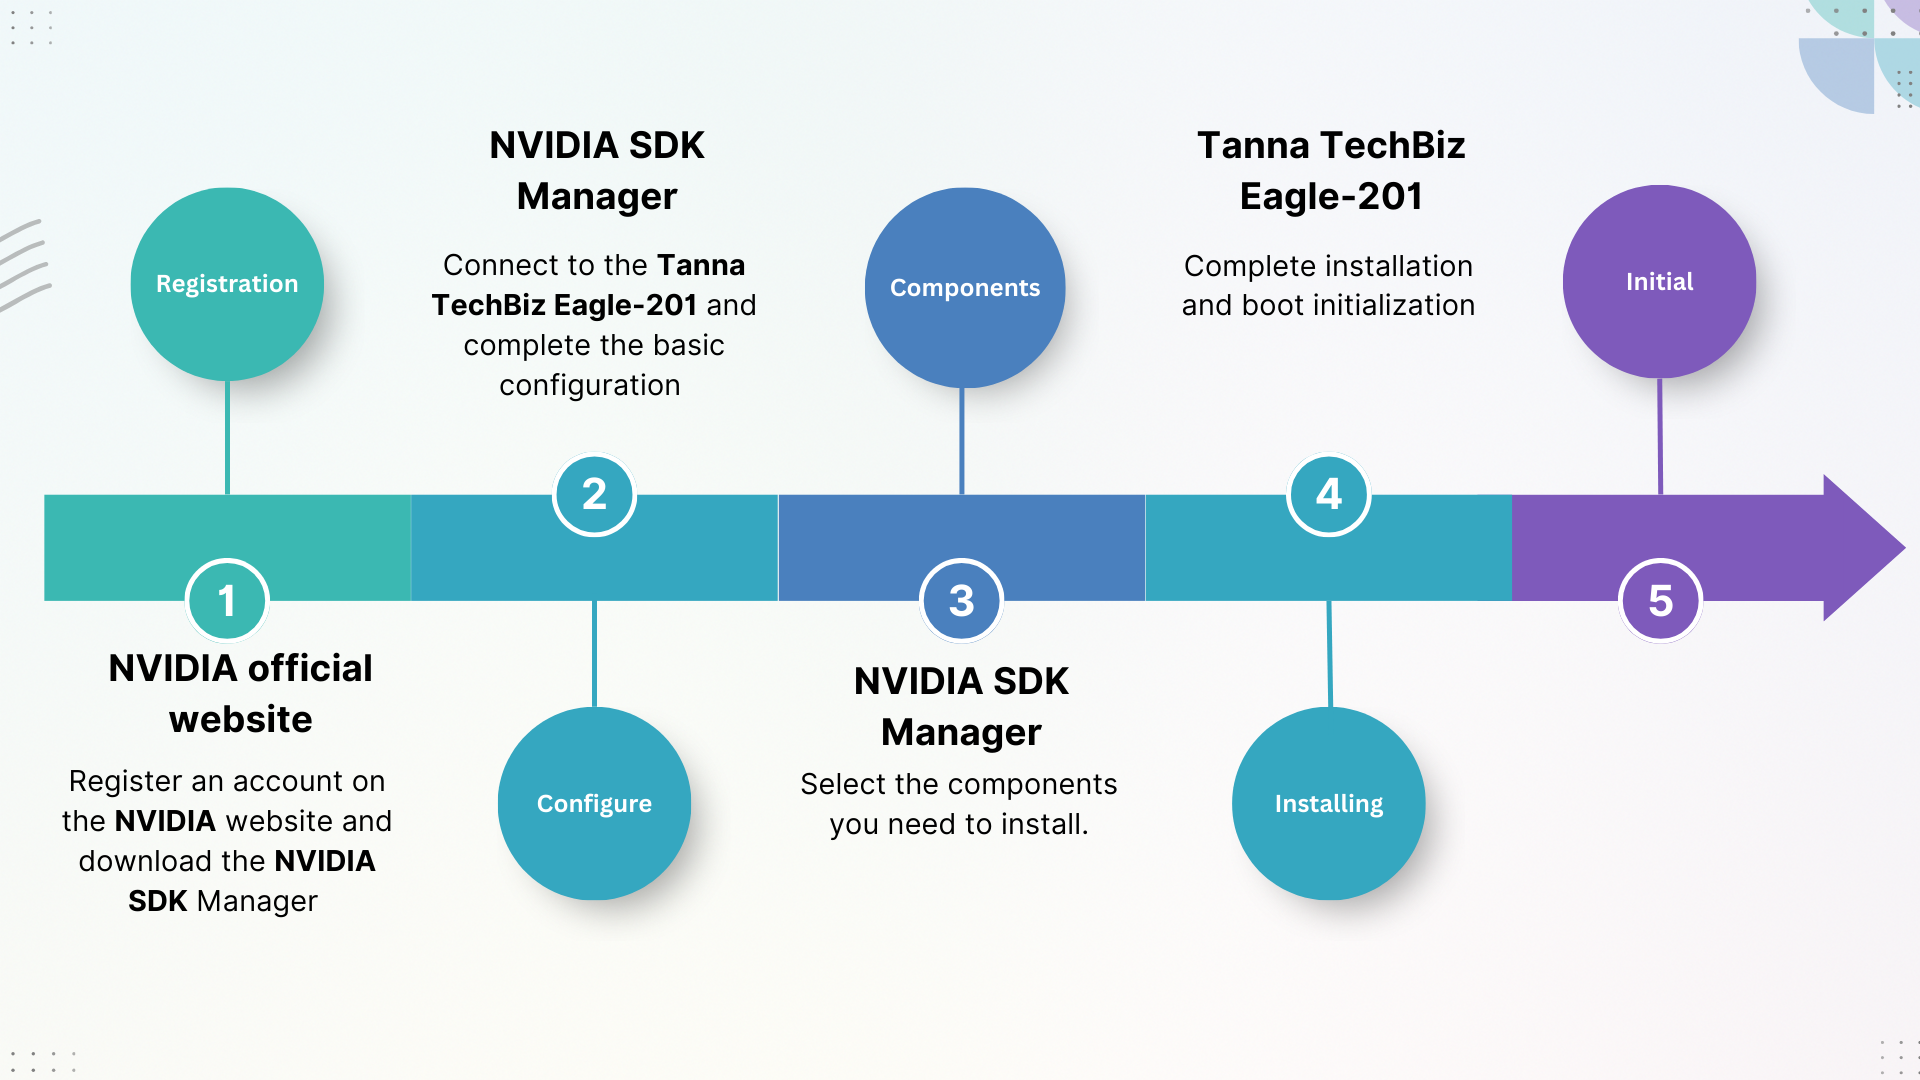
Next we will go through the tutorial about installing the system via NVIDIA SDK Manager. The an NVIDIA SDK Manager all-in-one tool that bundles developer software and provides an end-to-end development environment setup solution for NVIDIA SDKs. Thus, it is recommanded for the beginners.
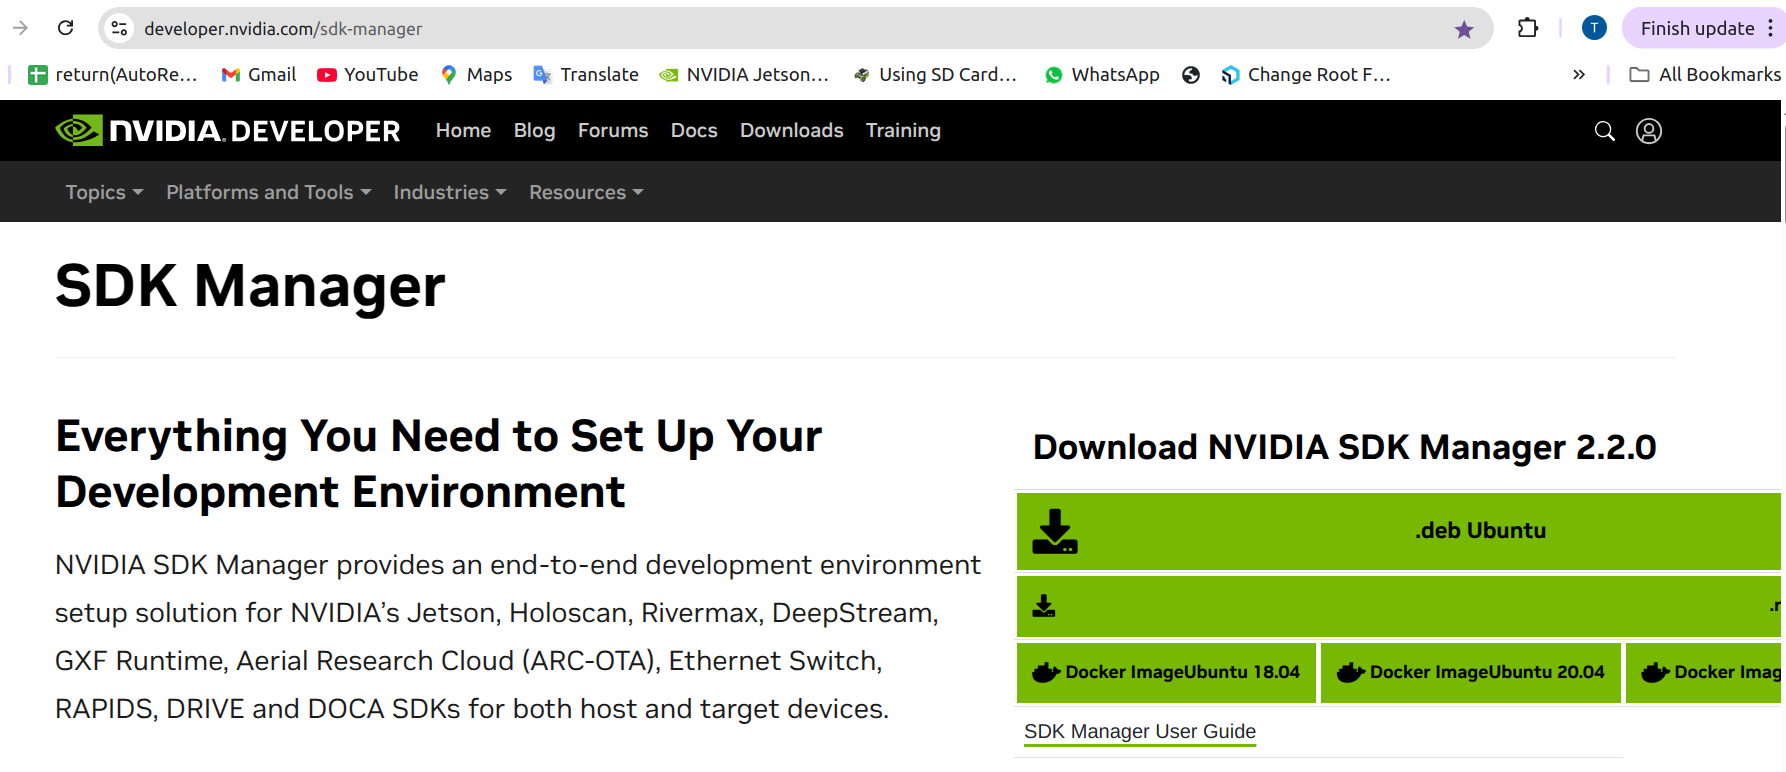
Step 1. Install NVIDIA SDK Manager on the Linux Host PC
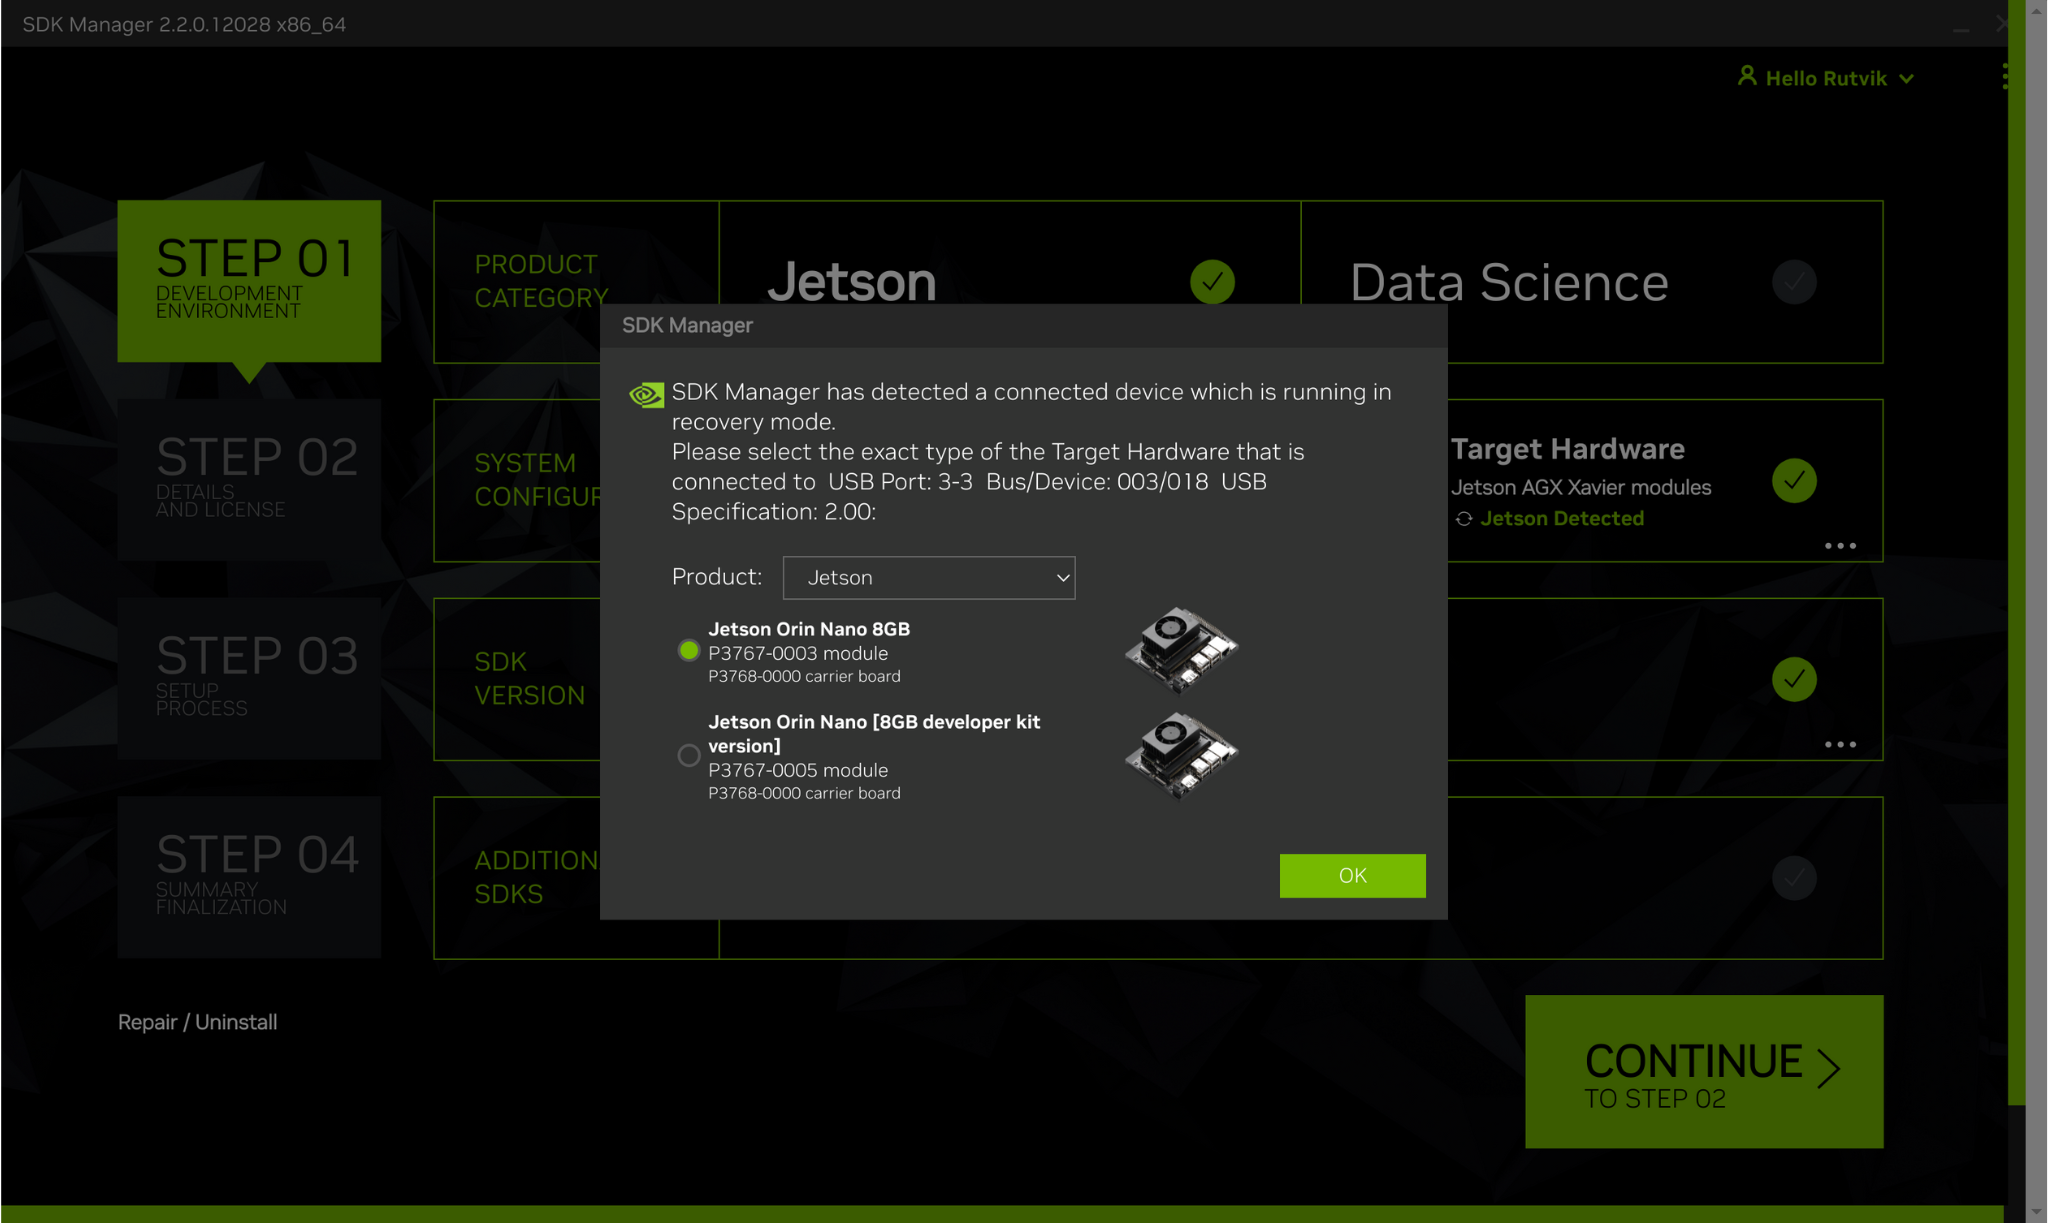
After logging in, you will be taken to the first screen where the first step of installing. Since we have already connected Tanna TechBiz Eagle-201, there will be a window pop up to let you select the hardware device.
the Tanna TechBiz Eagle-201 has equipped with NVIDIA Jetson Nano 8GB module, so we can choose the first one.
There are more selections for you to choose in the first screen:
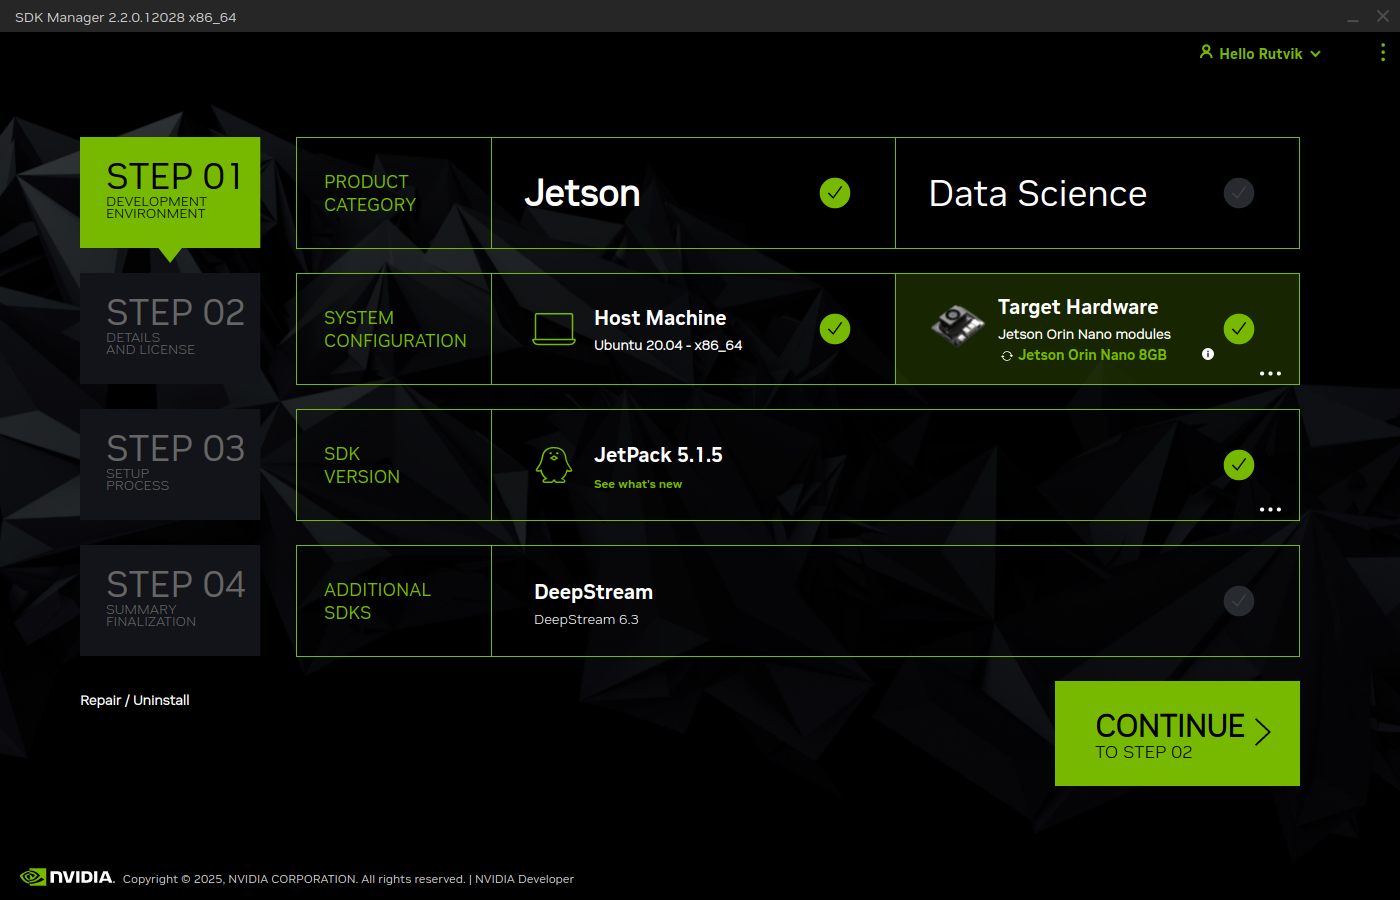
The Jetson in the Product Category panel need to be selected.
In the Hardware Configuration panel, we recommend that you do not select Host Machine. This will take more time to install the NVIDIA components for your current Ubuntu host. You can choose it if you need.
In the Target Operating System panel, we can select different operating system and JetPack version. But be careful the version of JetPack, different modules may support different type of JetPack. We recommand "JetPack 5.1.5" here.
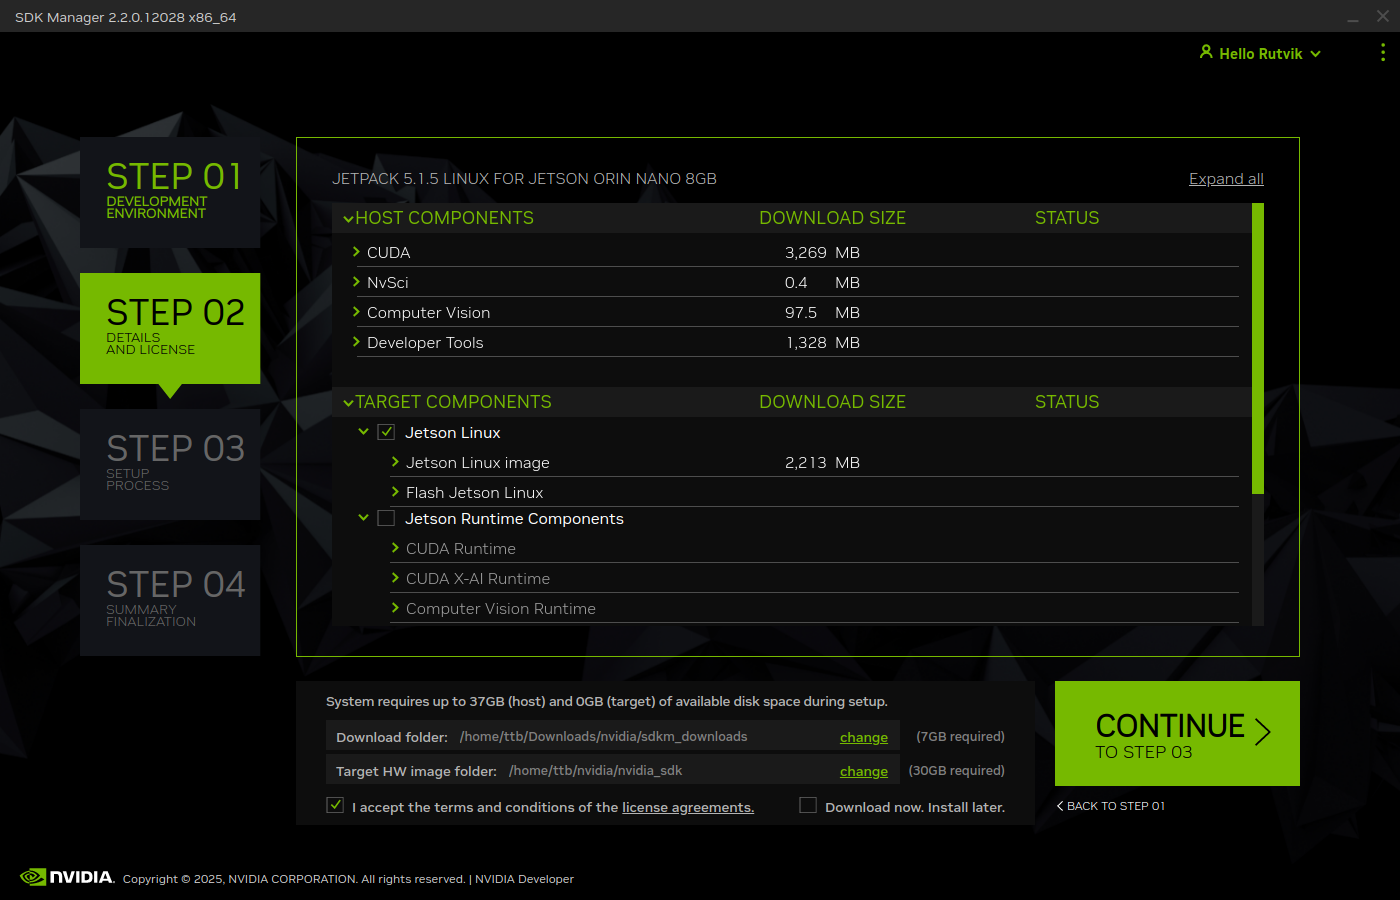
If you only need to install the system, you can uncheck the Jetson Runtime Components & Check I accept the terms and conditions of the license agreements.
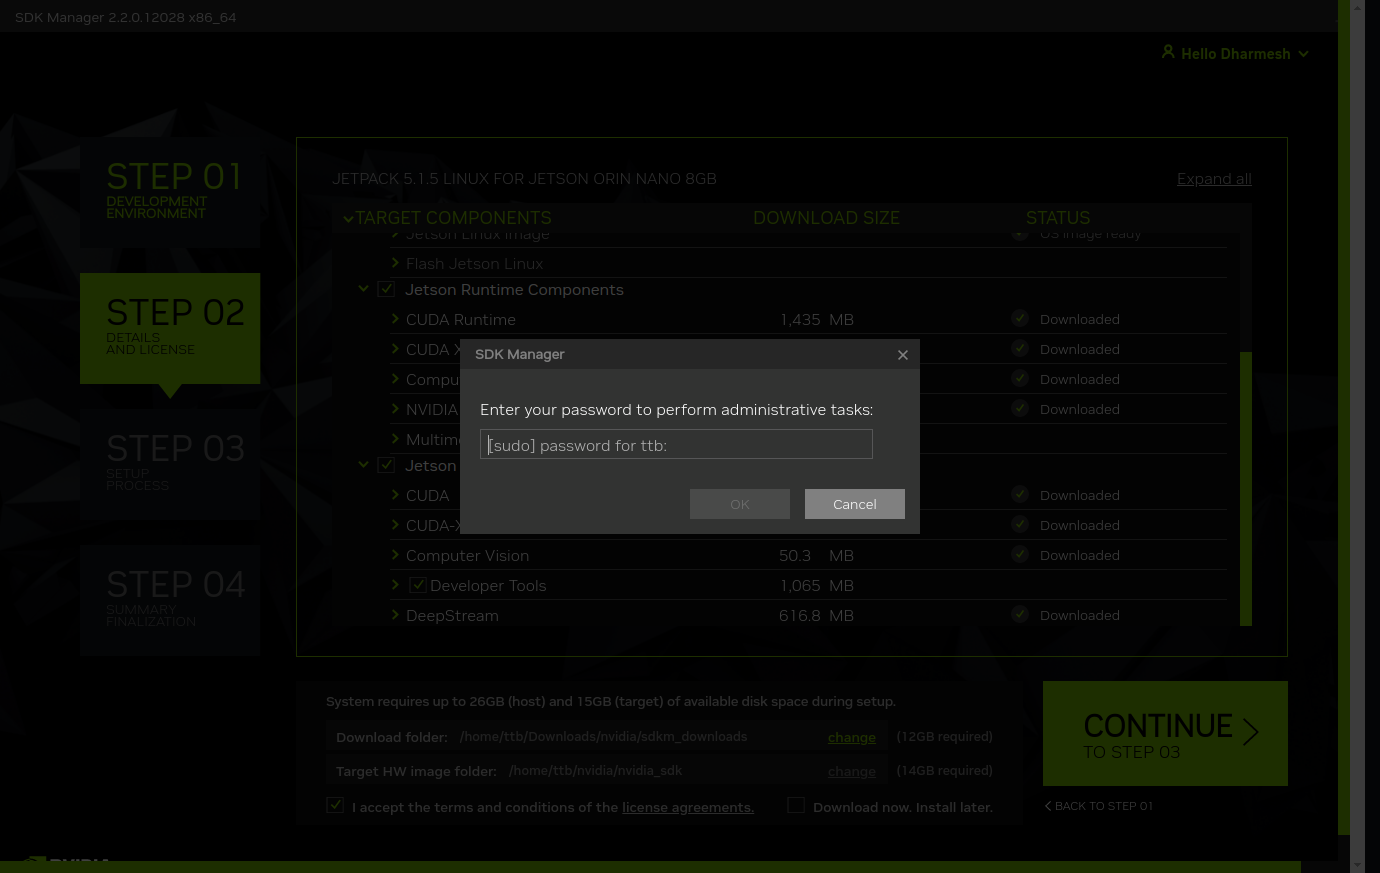
Before the installation begins, SDK Manager prompts you to enter your sudo password.
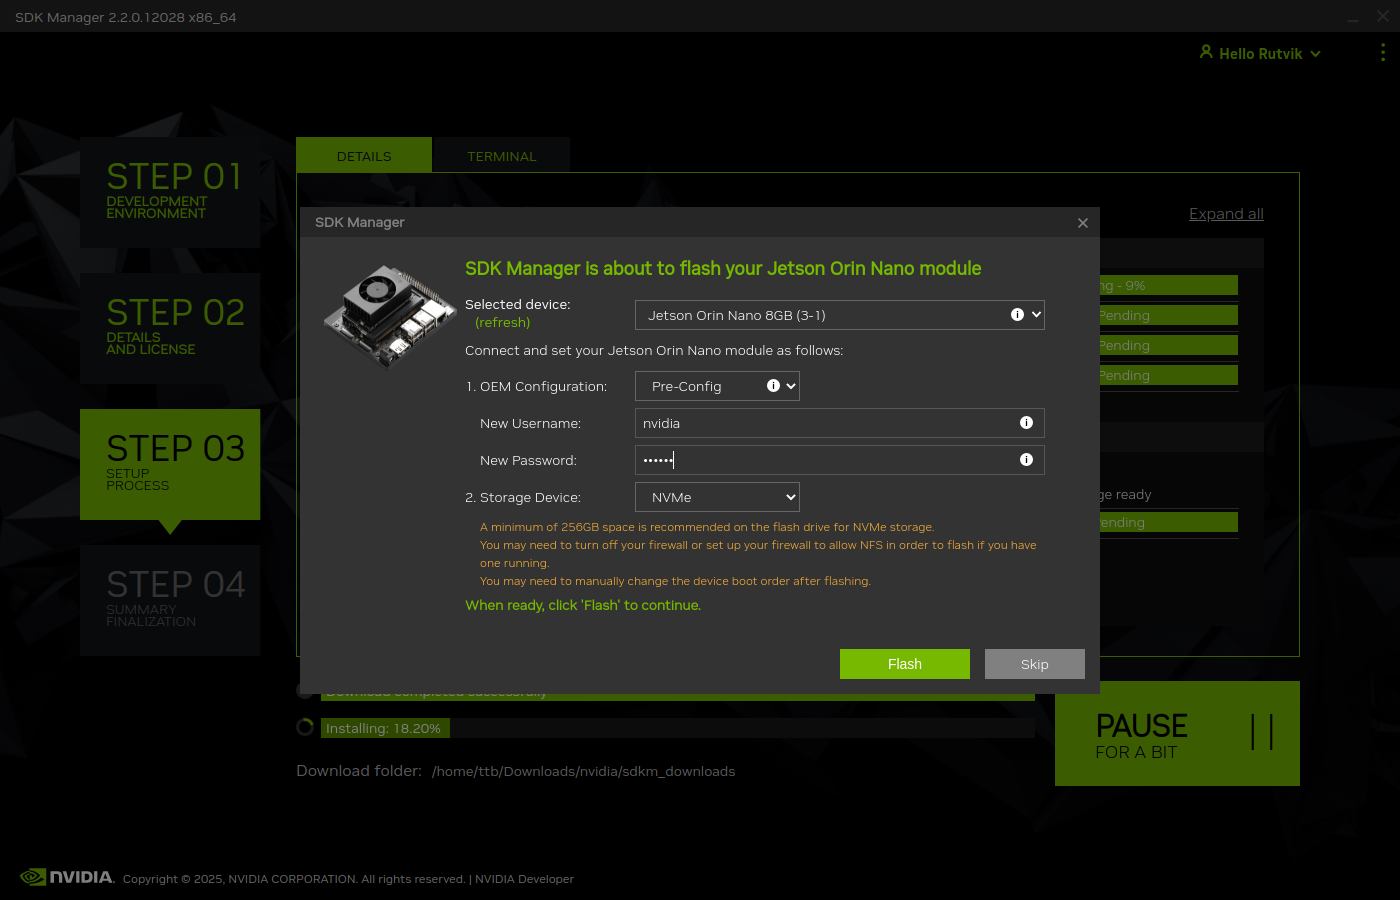
After a while, we will be asked to set up the new system for our Tanna TechBiz Eagle-201. Since we manually force into recovery mode.
Meanwhile, we choose the default Pre-Config.
After that, we need to enter the name and password of our new Jetson system to our Tanna TechBiz Eagle-201, it is set by yourself.
When ready, click Flash to continue.
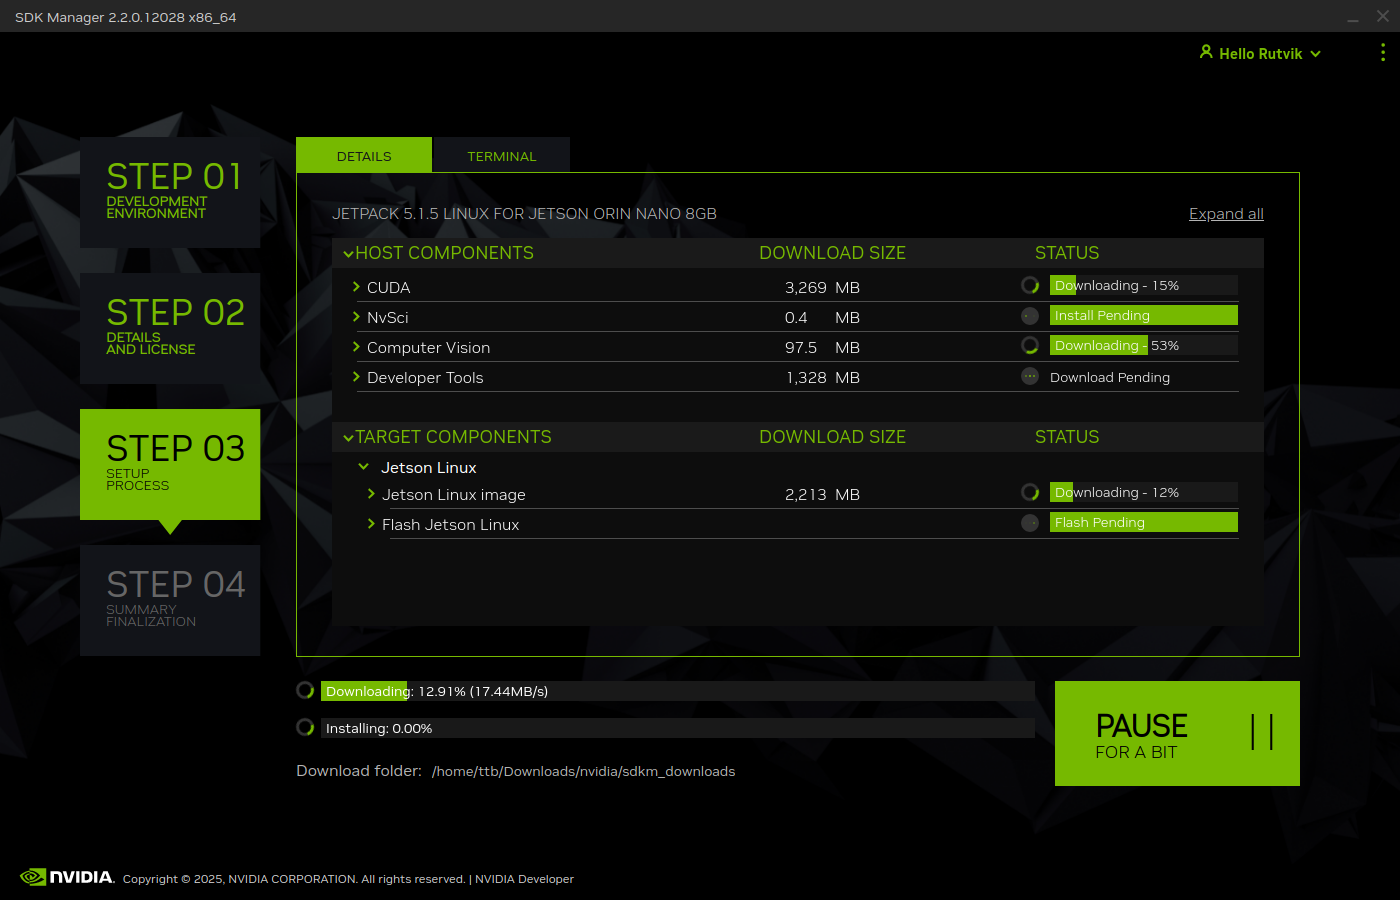
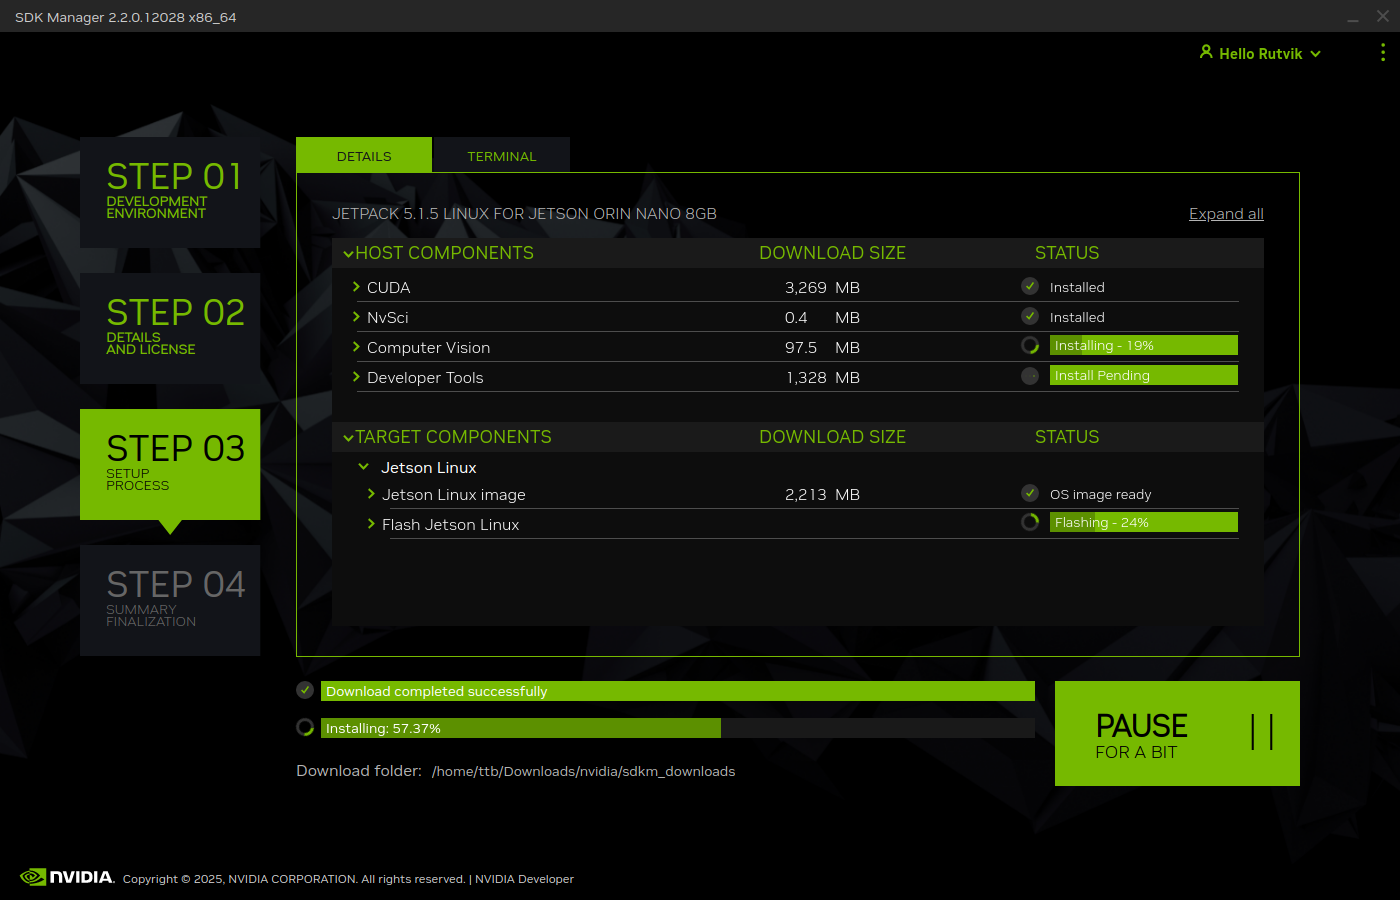
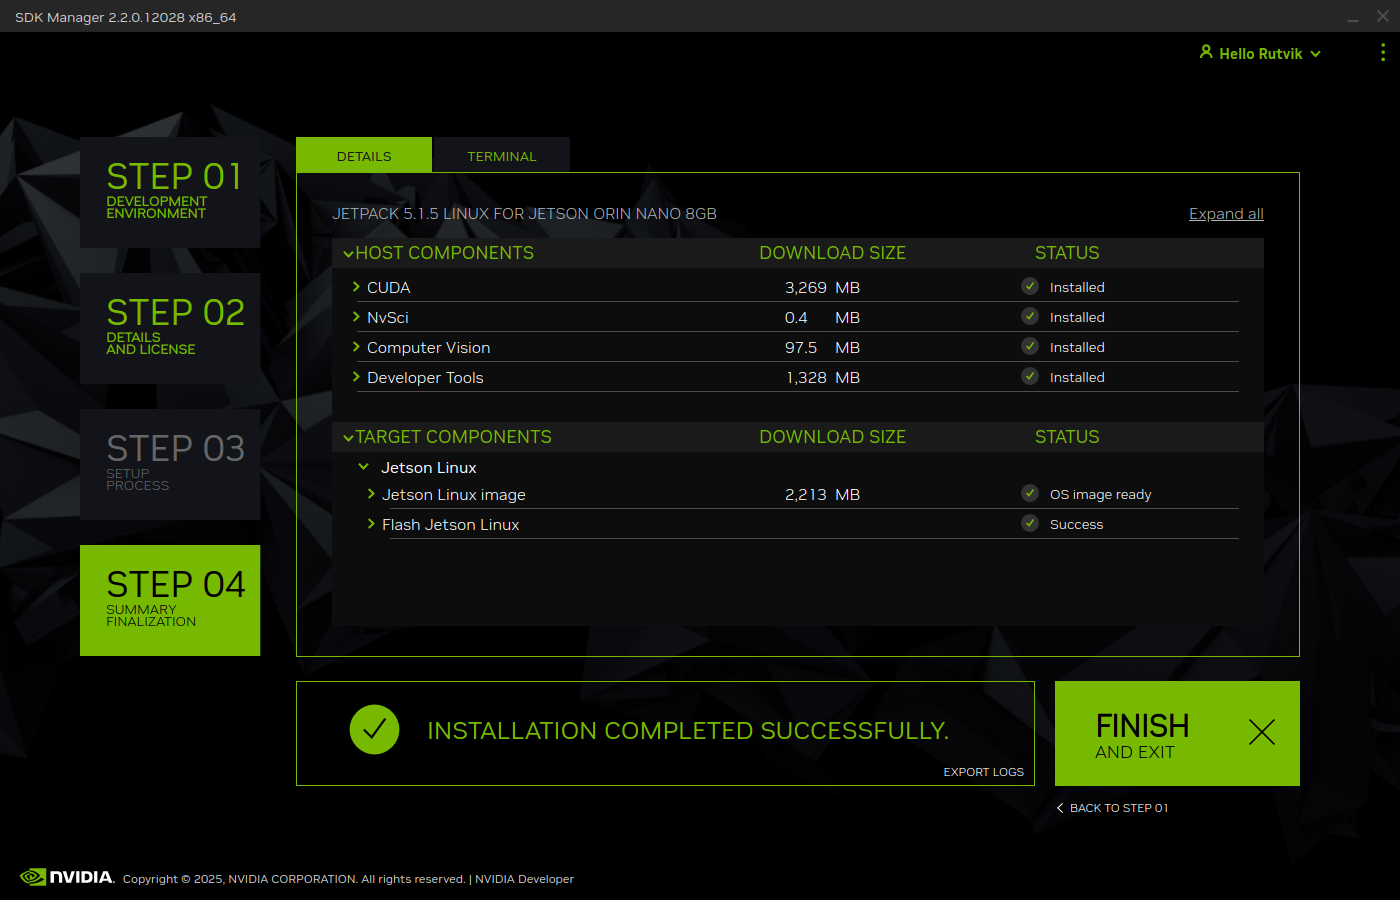
The display shows the progress of the download and installation of the software. Please wait patiently for the installation to complete.
In this case, we can pull out the jumper and restart the Tanna TechBiz Eagle-201. Then we need to connect the Tanna TechBiz Eagle-201 to a monitor via DP & Keyboard amd Moush ,enter the password you entered in step 3 (SDK Manager), and log in to the main interface.
!!!Attention Be sure to unplug the jumper and exit force recovery mode before re-powering into the system.
Your Nvidia will automatically reboot to the Ubuntu desktop.
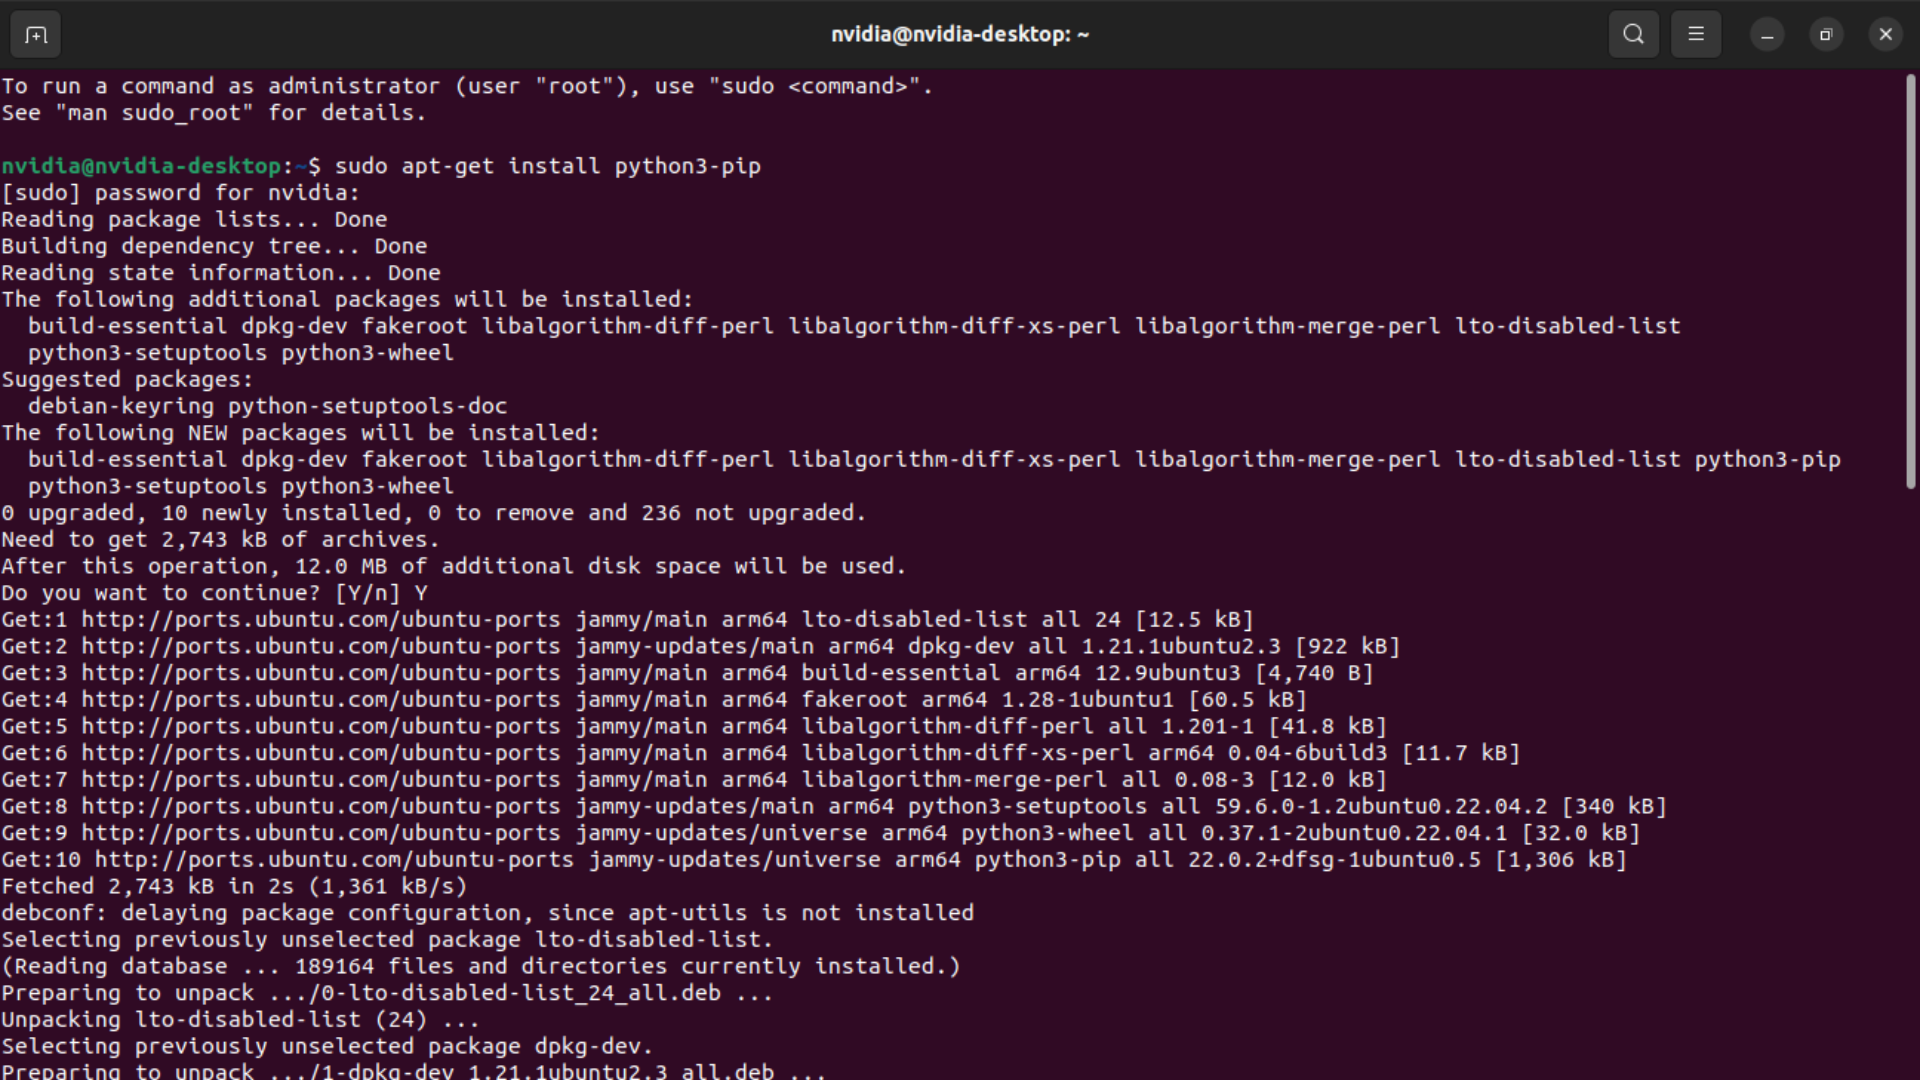
Here some commands for the checking of the BSP (JetPack) Version Installation on Eagle - 201
sudo apt-get install python3-pip
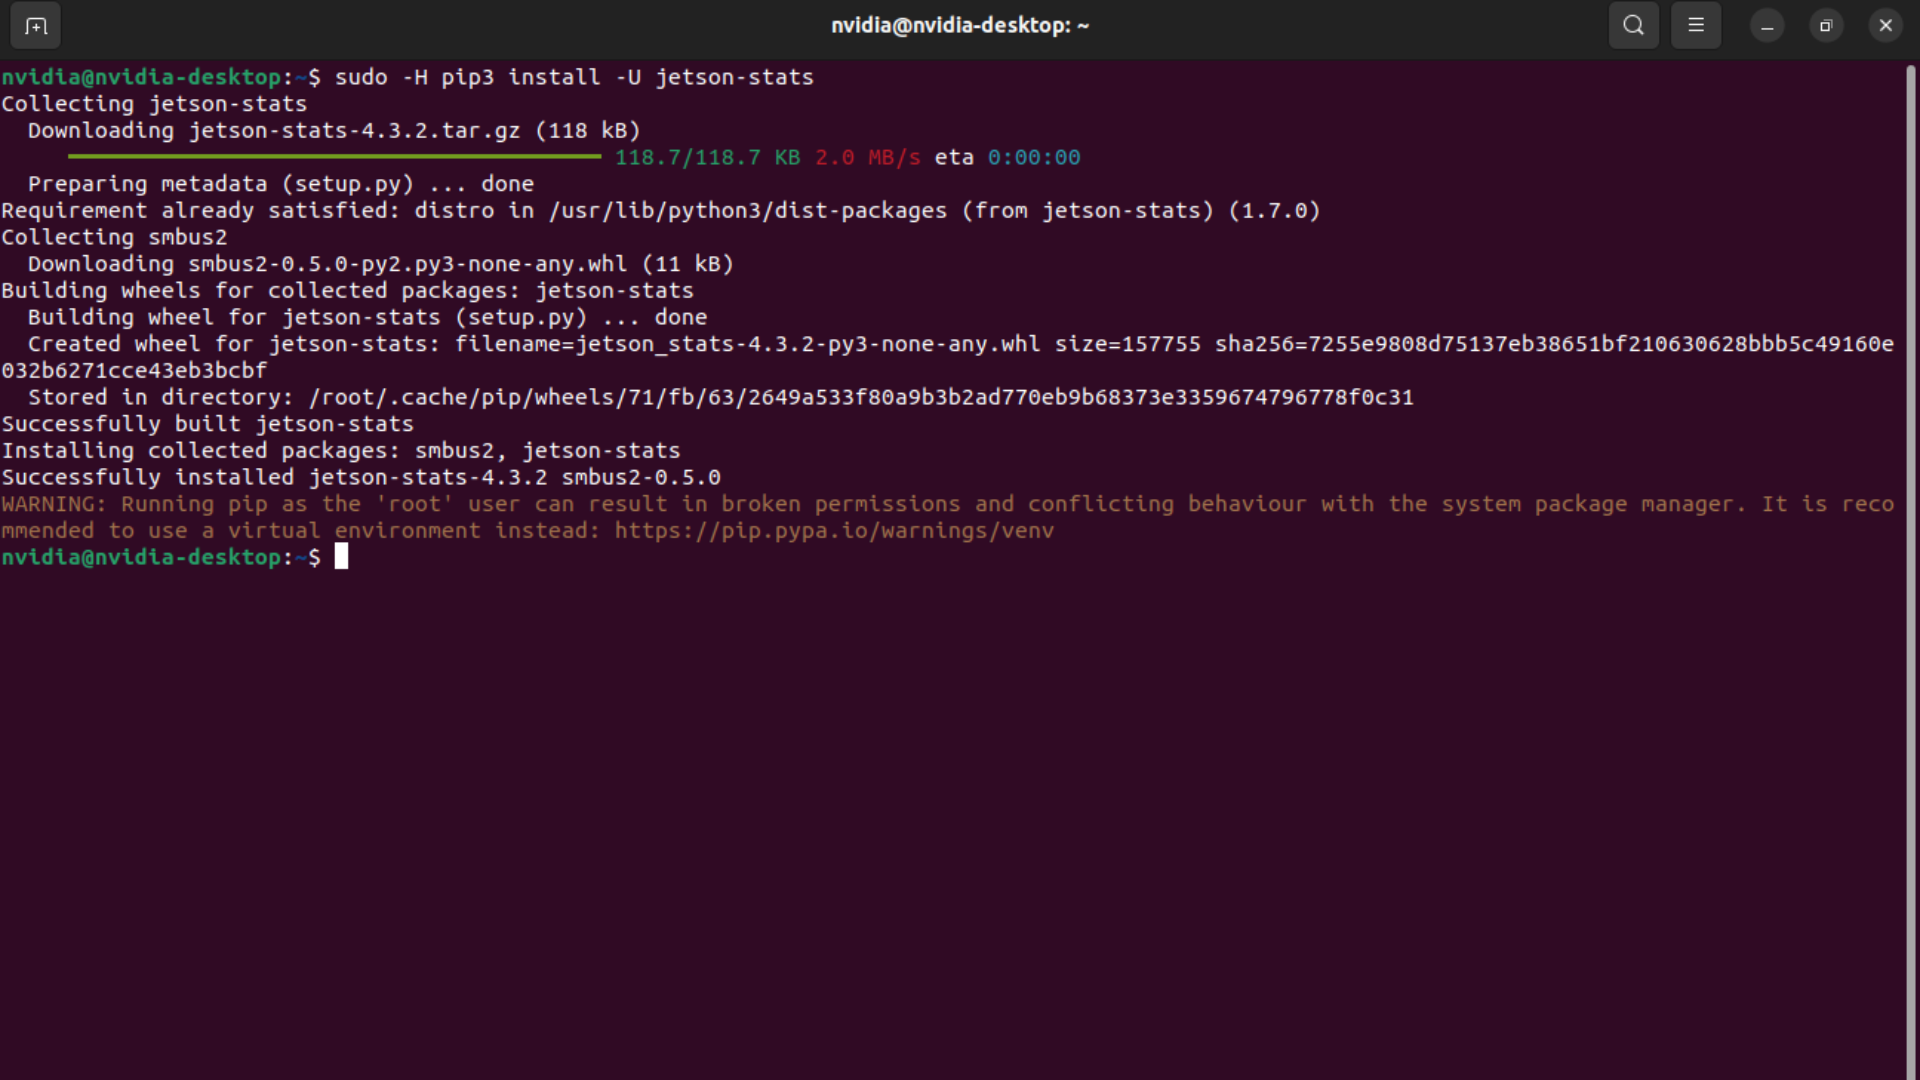
sudo -H pip3 install -U jetson-stats
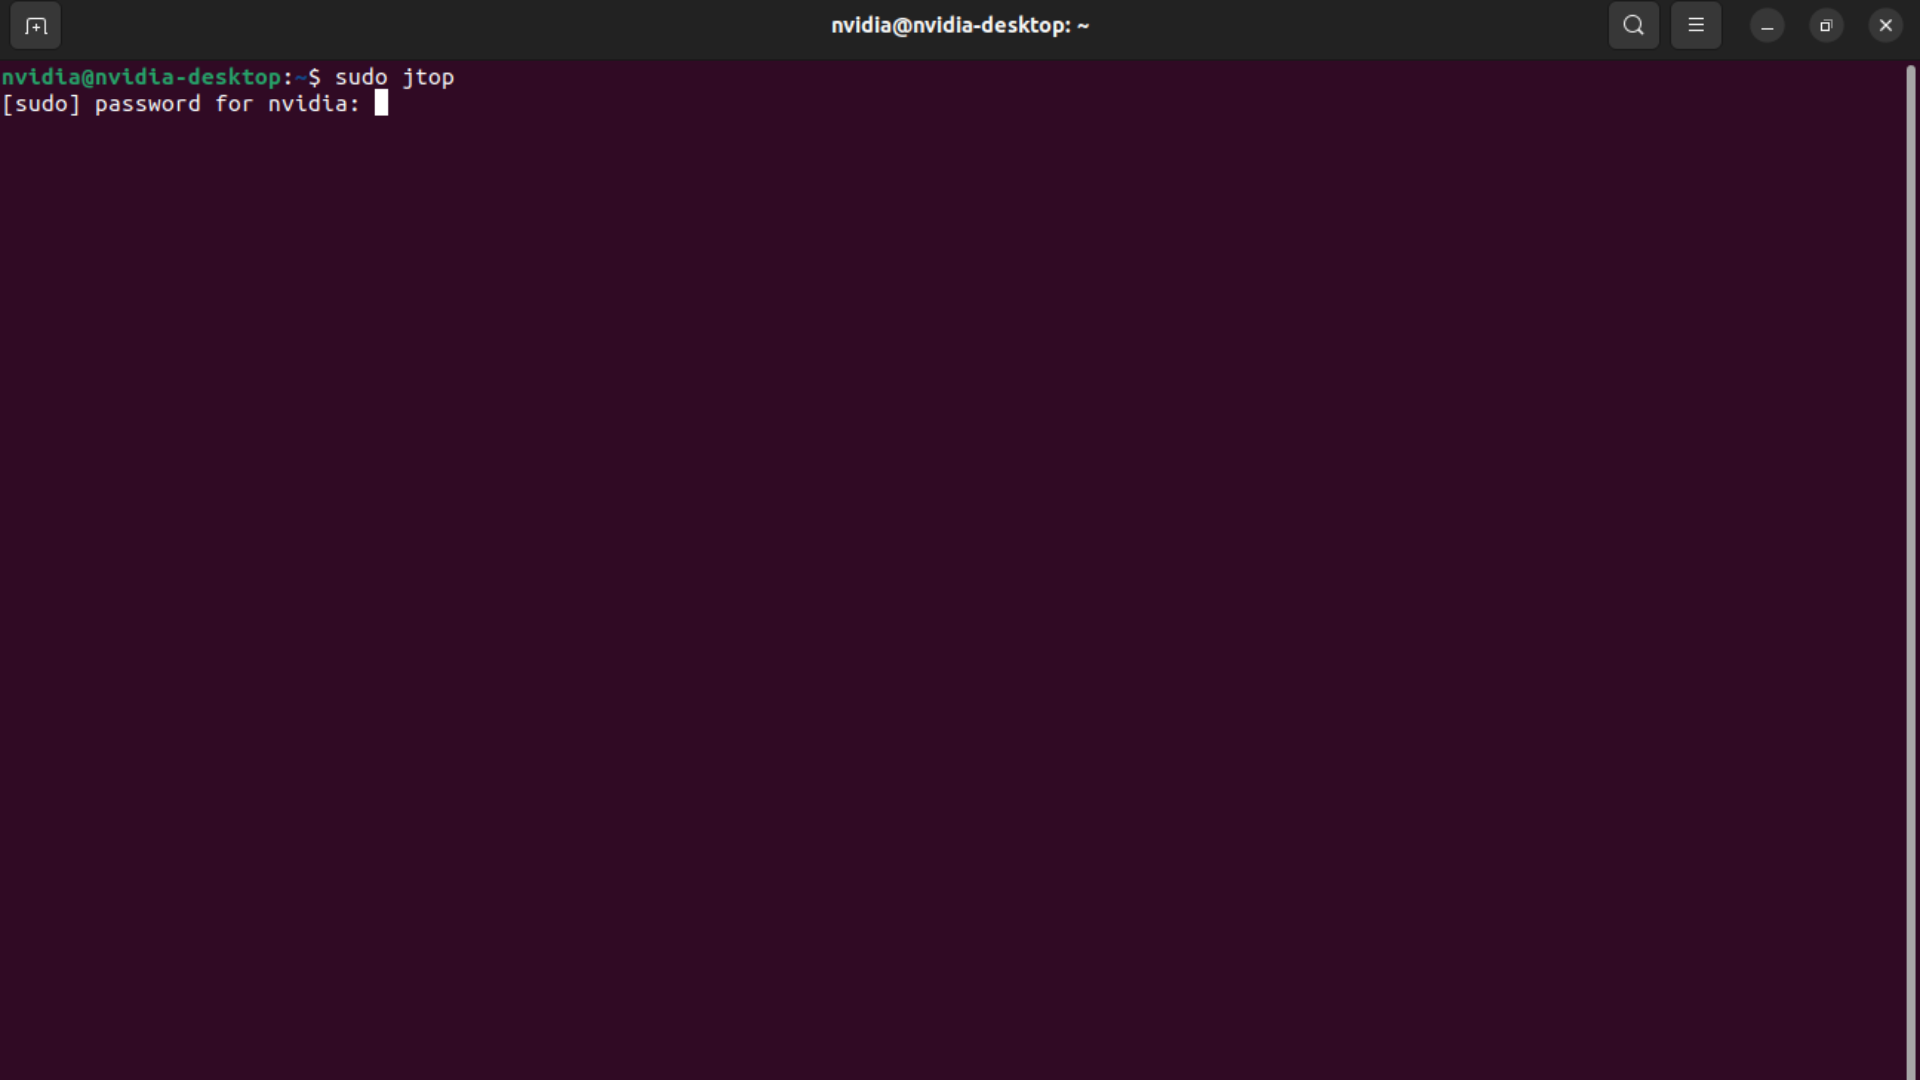
sudo jtop
Special thanks to our fellow Engineer and Colleague -Kishan & Dharmesh


 July 16, 2026