How to Move Your Root File System from eMMC Flash to an M.2 SSD
What You Will Learn:
How to format the M.2 device as ext4.
How to copy the root file system.
How to assign the M.2 device as the new root file system.
When using a Jetson module, moving your root file system from eMMC flash to SSD storage on an M.2 slot can significantly improve boot time and performance. In this tutorial, we’ll walk you through each step to transfer your root file system from the eMMC flash to an M.2 SSD.
In previous versions, mounting the SSD through a service introduced a delay because the eMMC-mounted root had to be loaded first. By making the SSD your primary root file system, the Jetson module will boot directly from it. Note: The Jetson module won’t boot without the SSD until the extlinux.conf file is updated. To avoid issues, make a backup of your system before proceeding.
Step 1: Connect and Format the M.2 SSD
Connect your M.2 SSD to the appropriate slot, and attach the basic peripherals (Ethernet, HDMI, keyboard, mouse).
Power on the device.
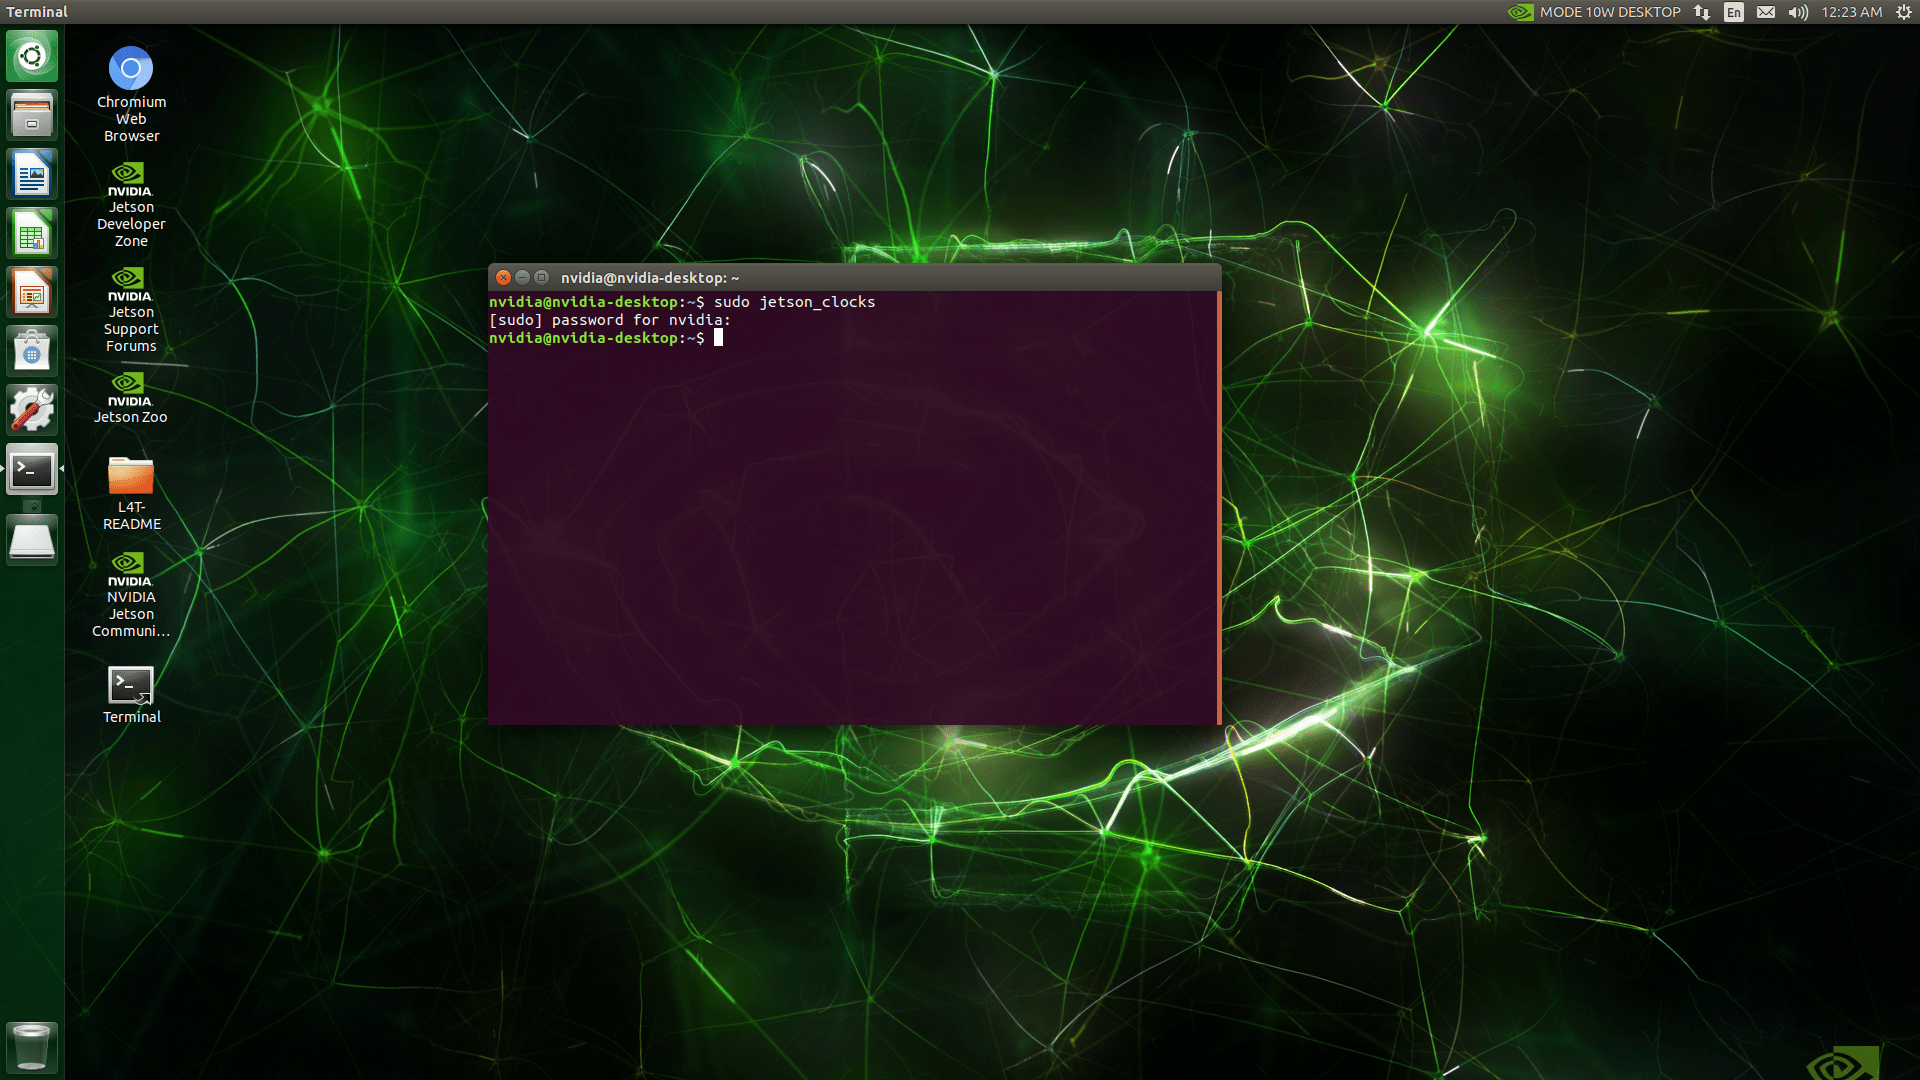
Open a terminal and enter these commands:
sudo jetson_clocks
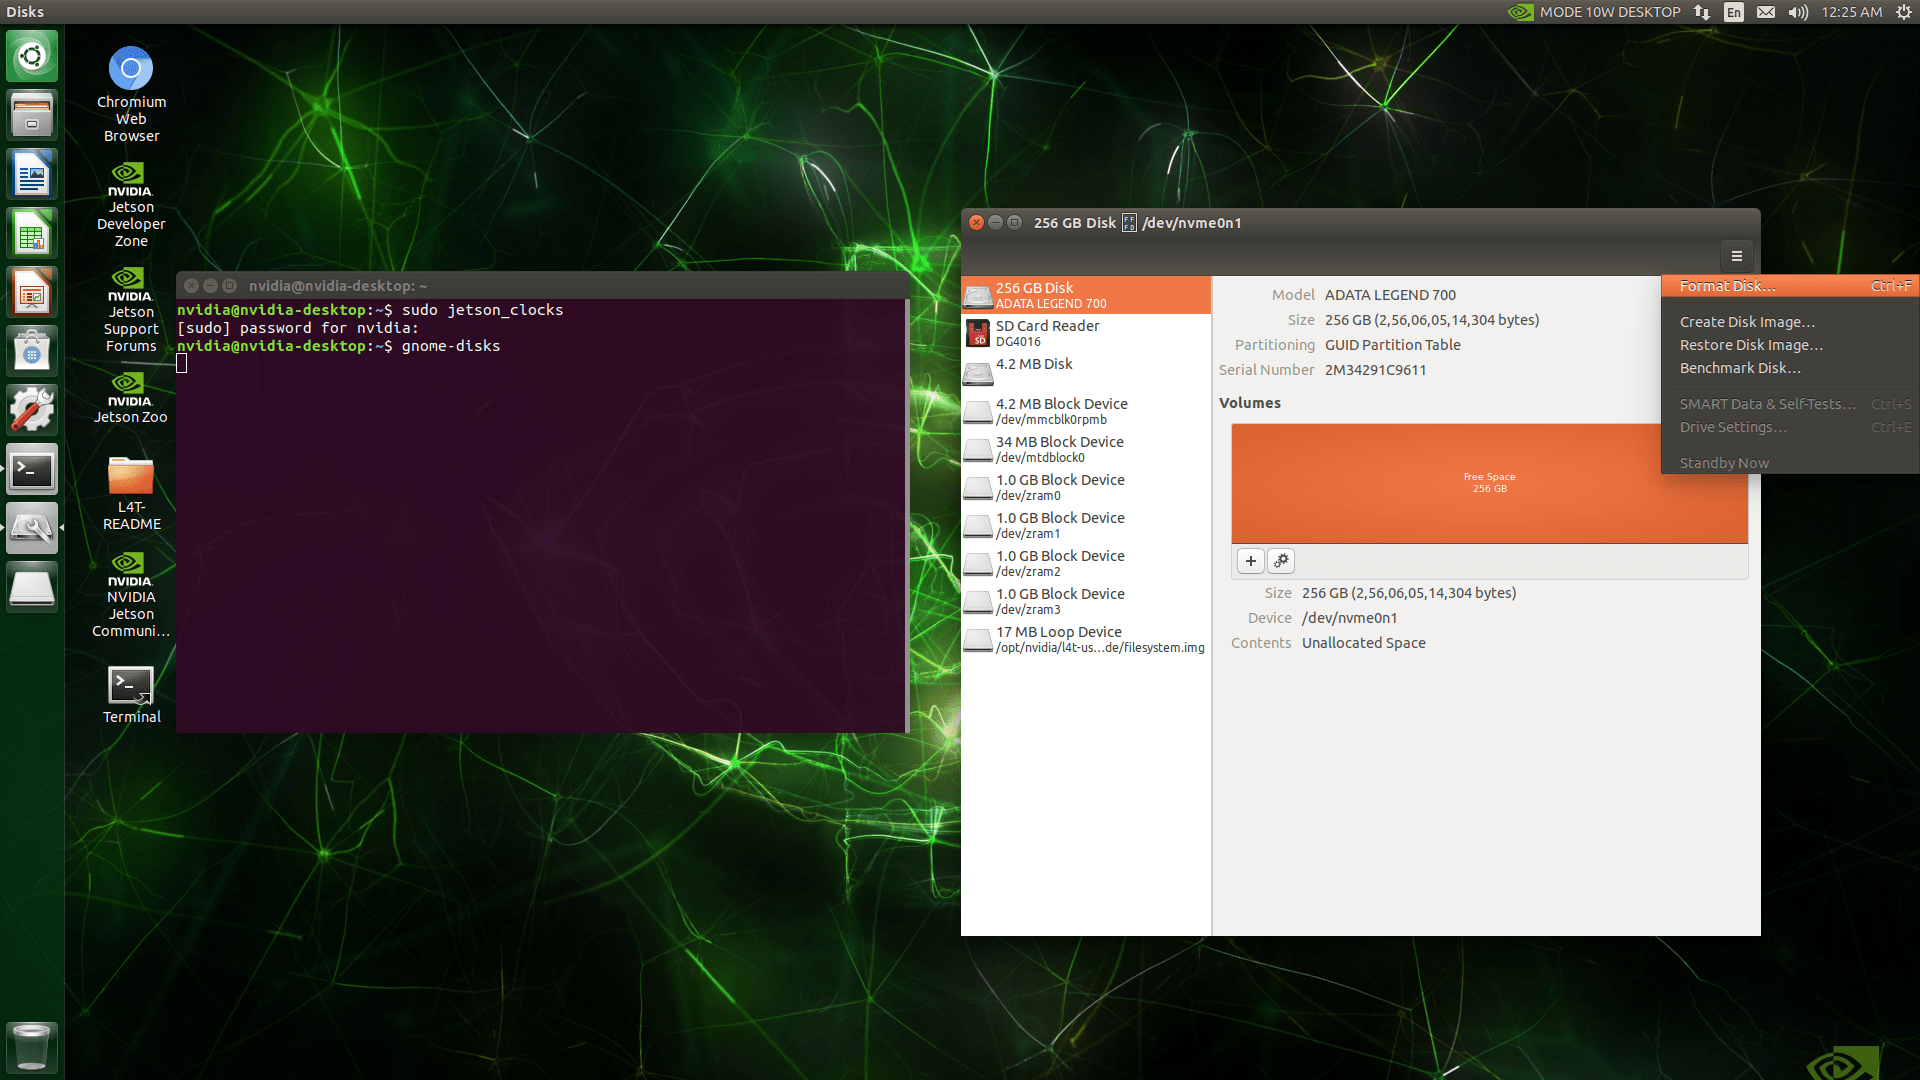
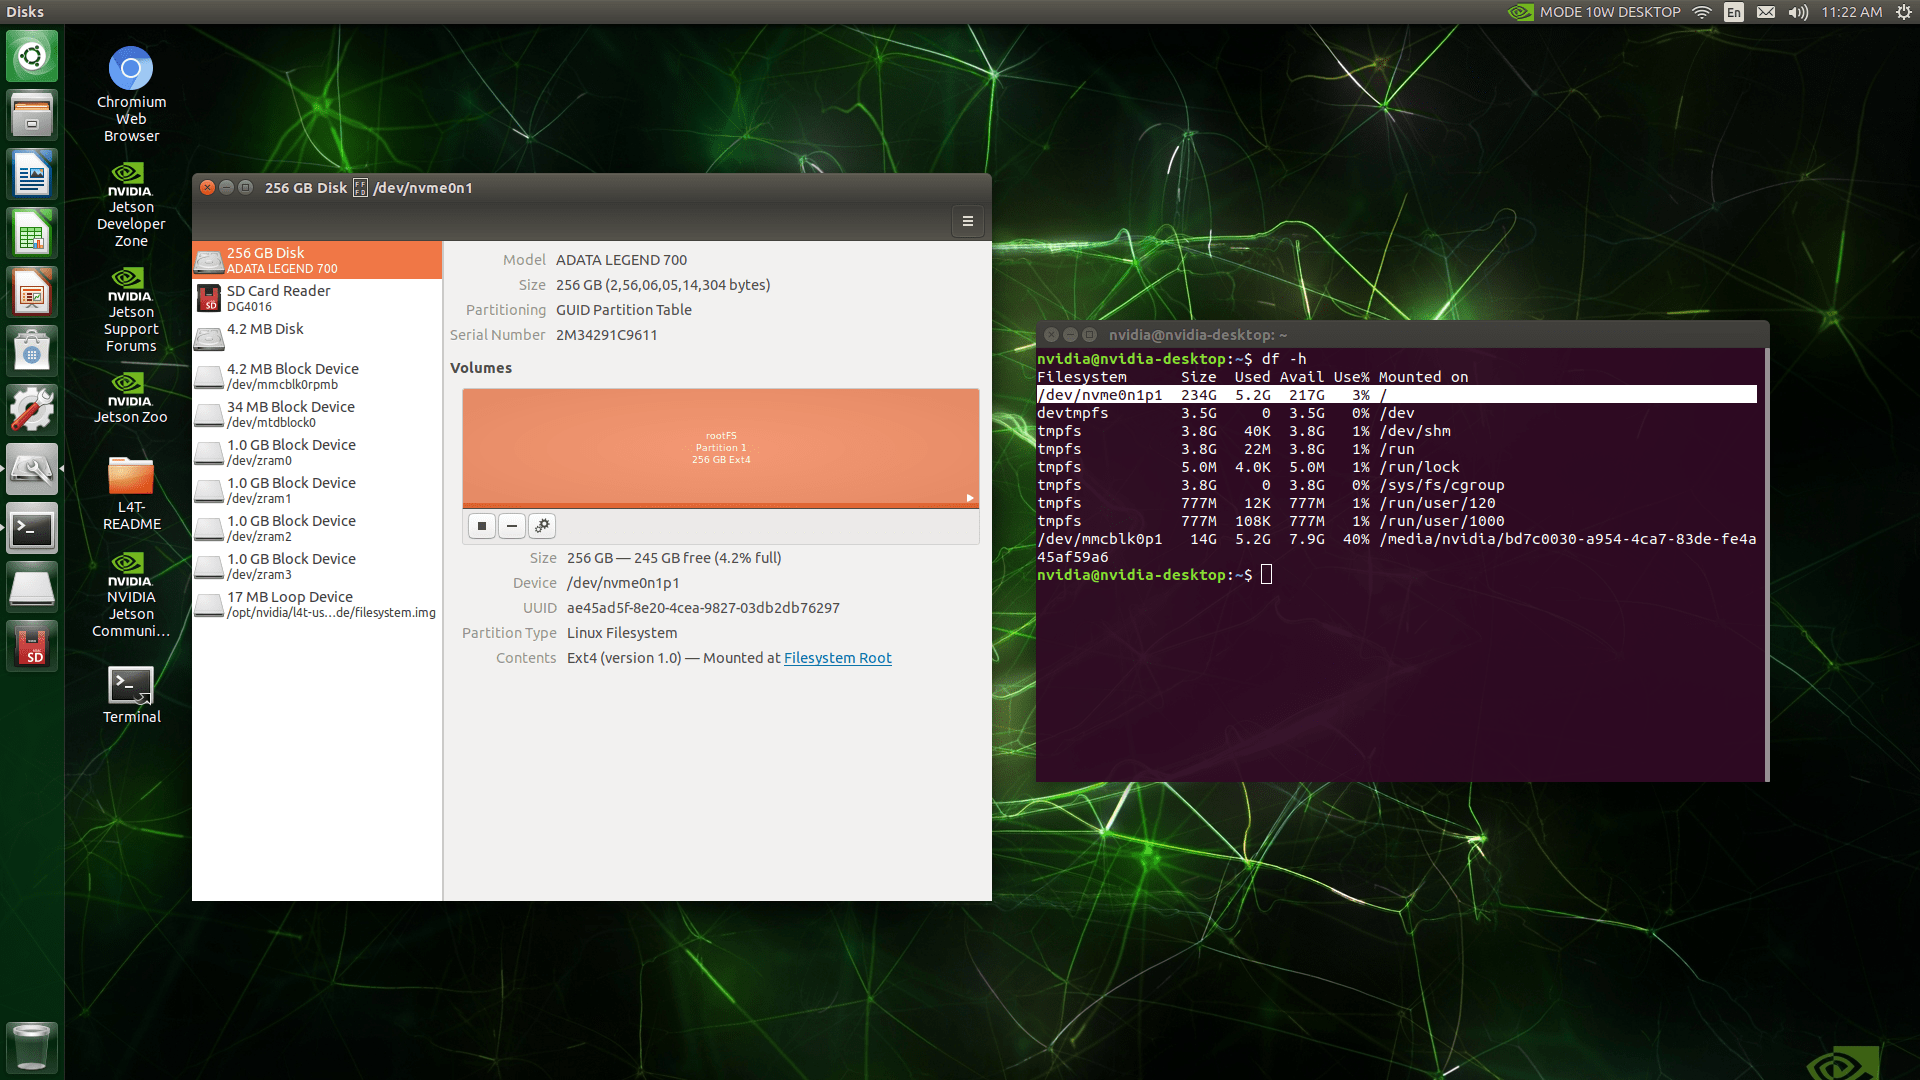
gnome-disks
The sudo jetson_clocks command allocates maximum resources, and gnome-disks opens the GNOME Disks application, allowing you to manage storage devices.
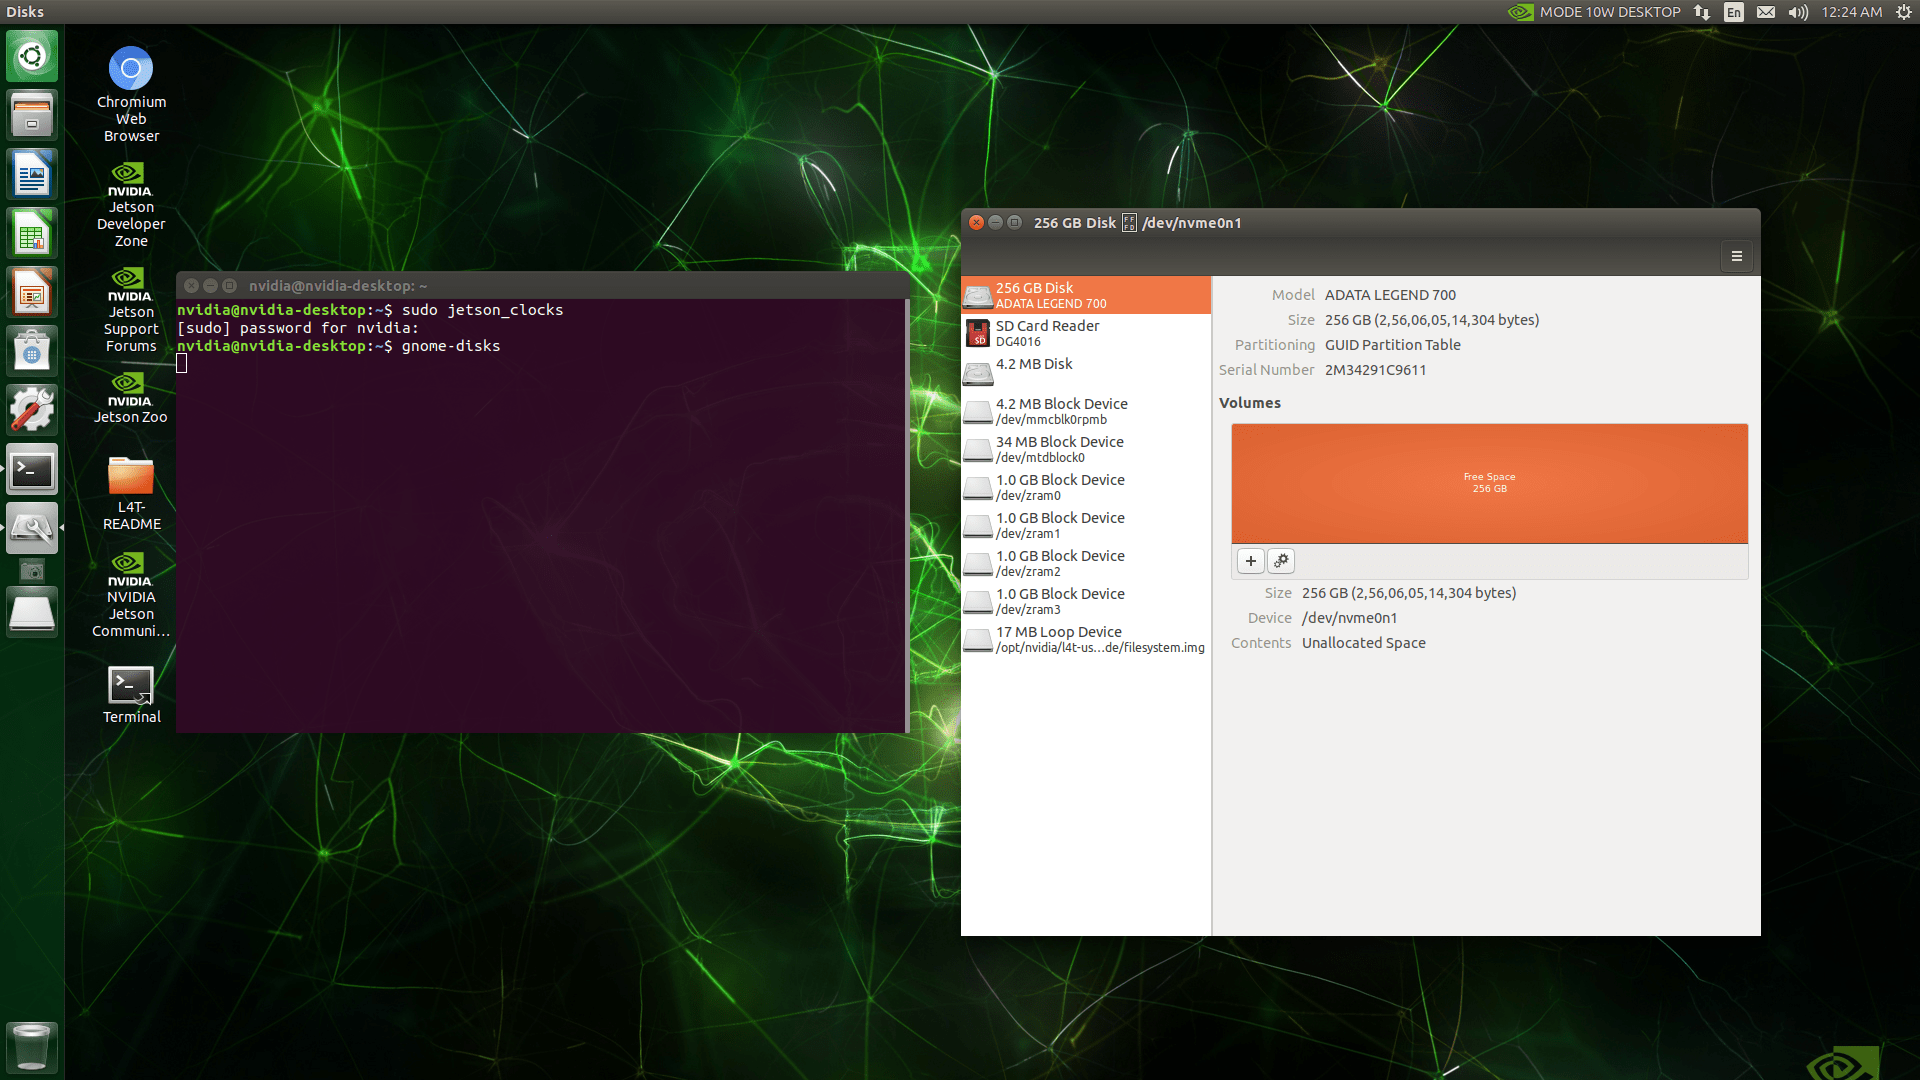
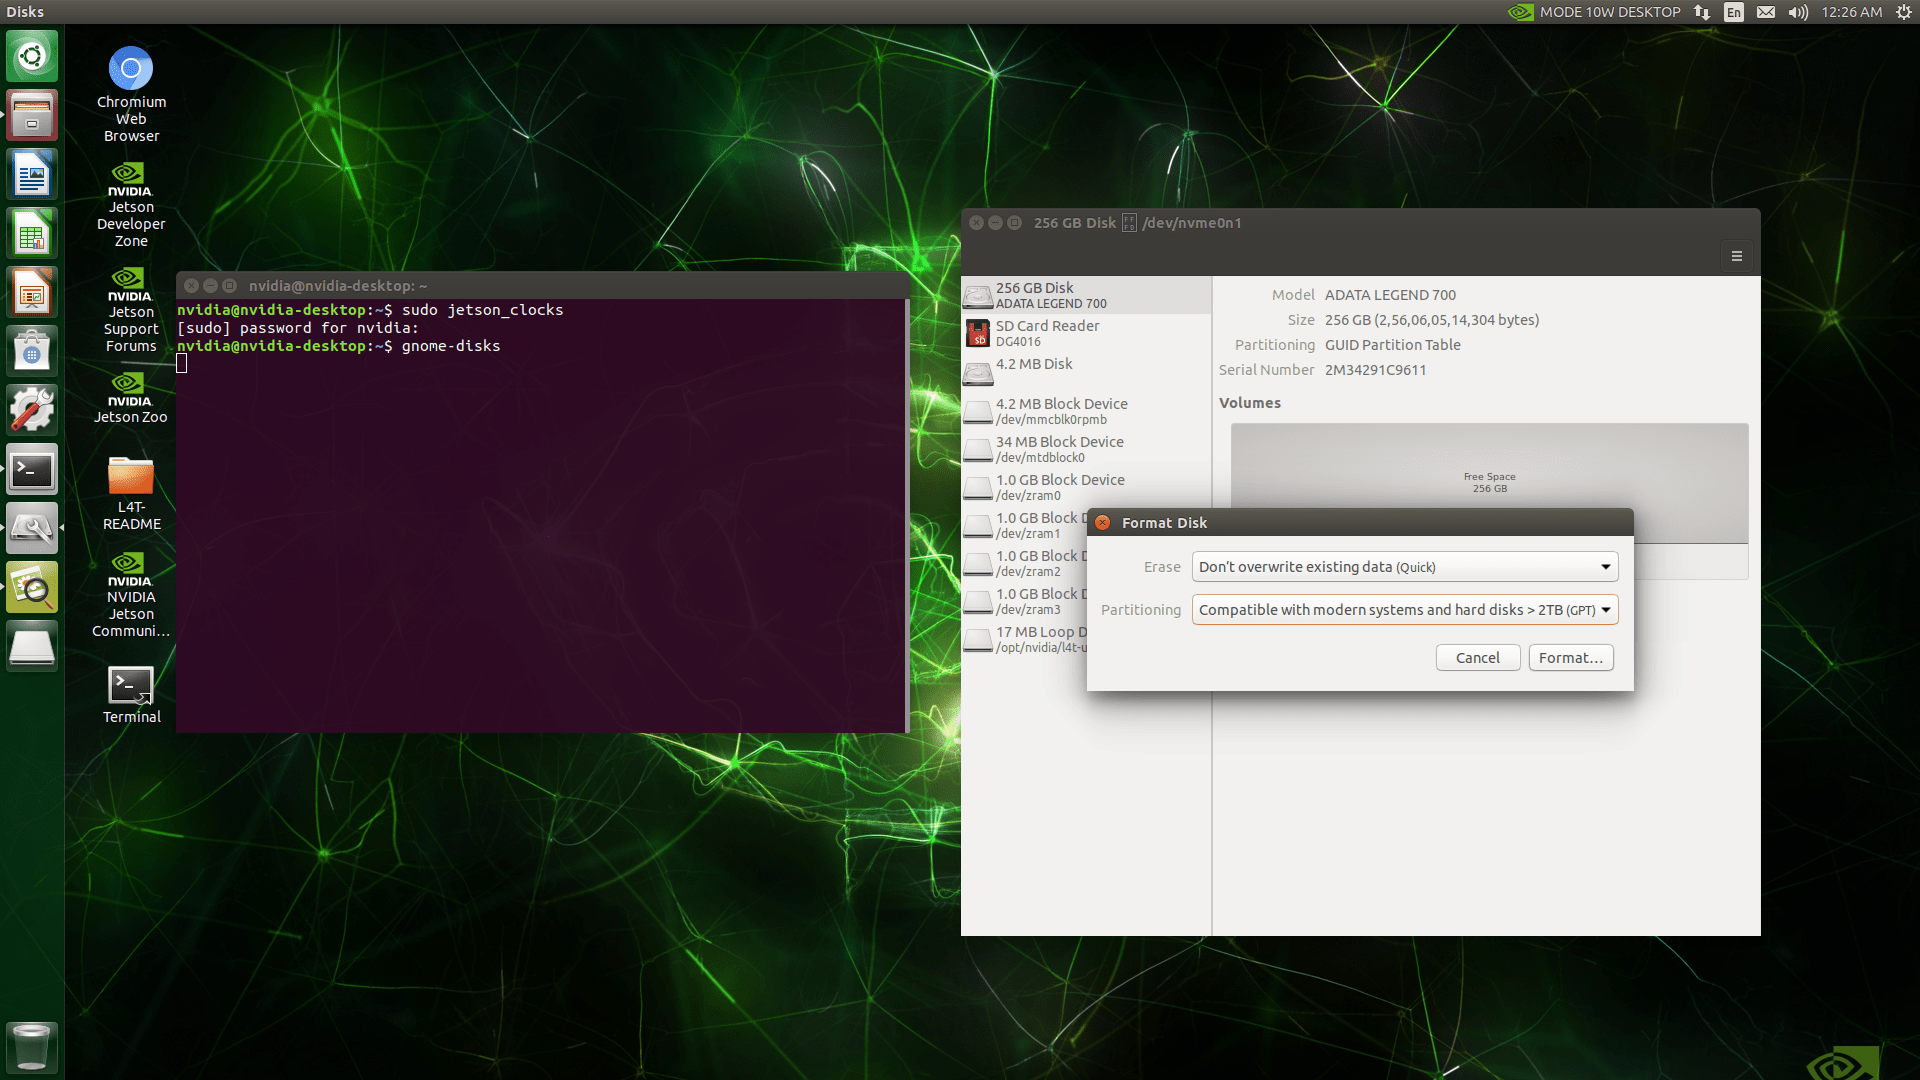
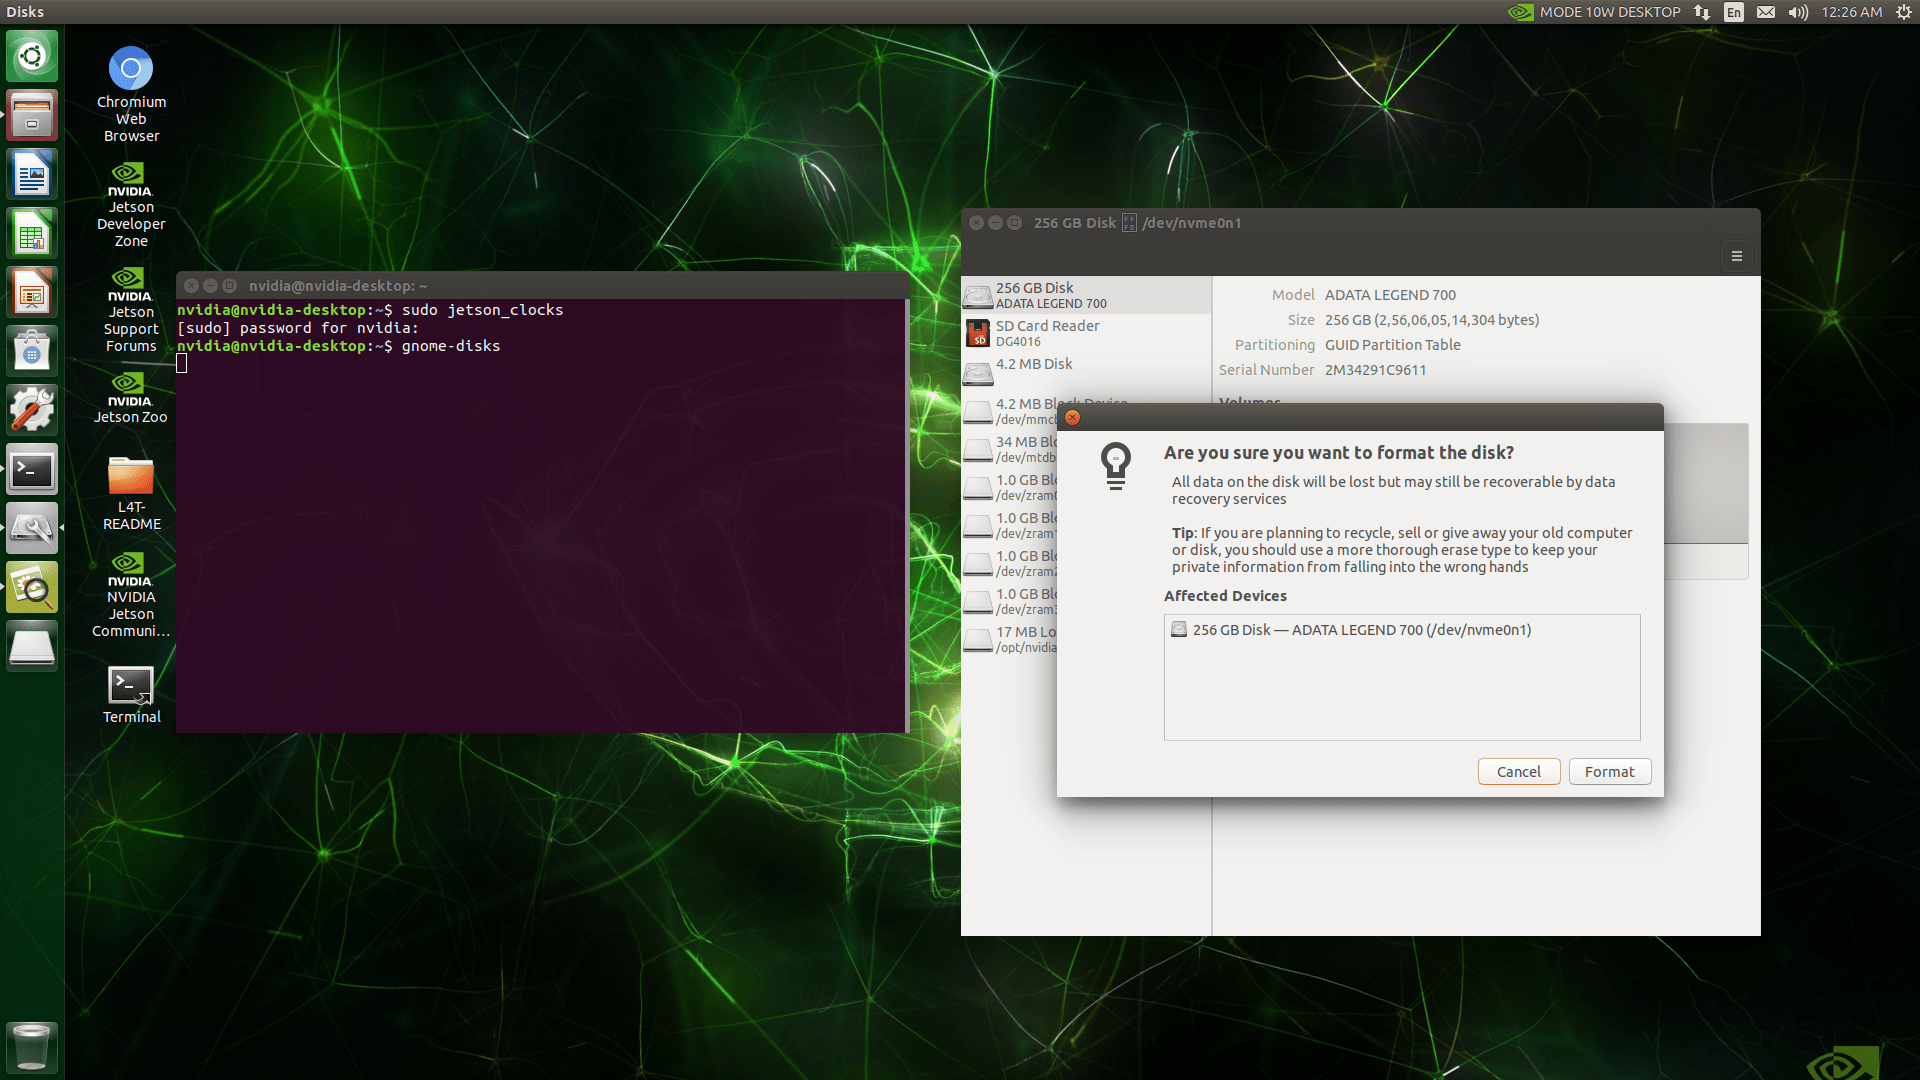
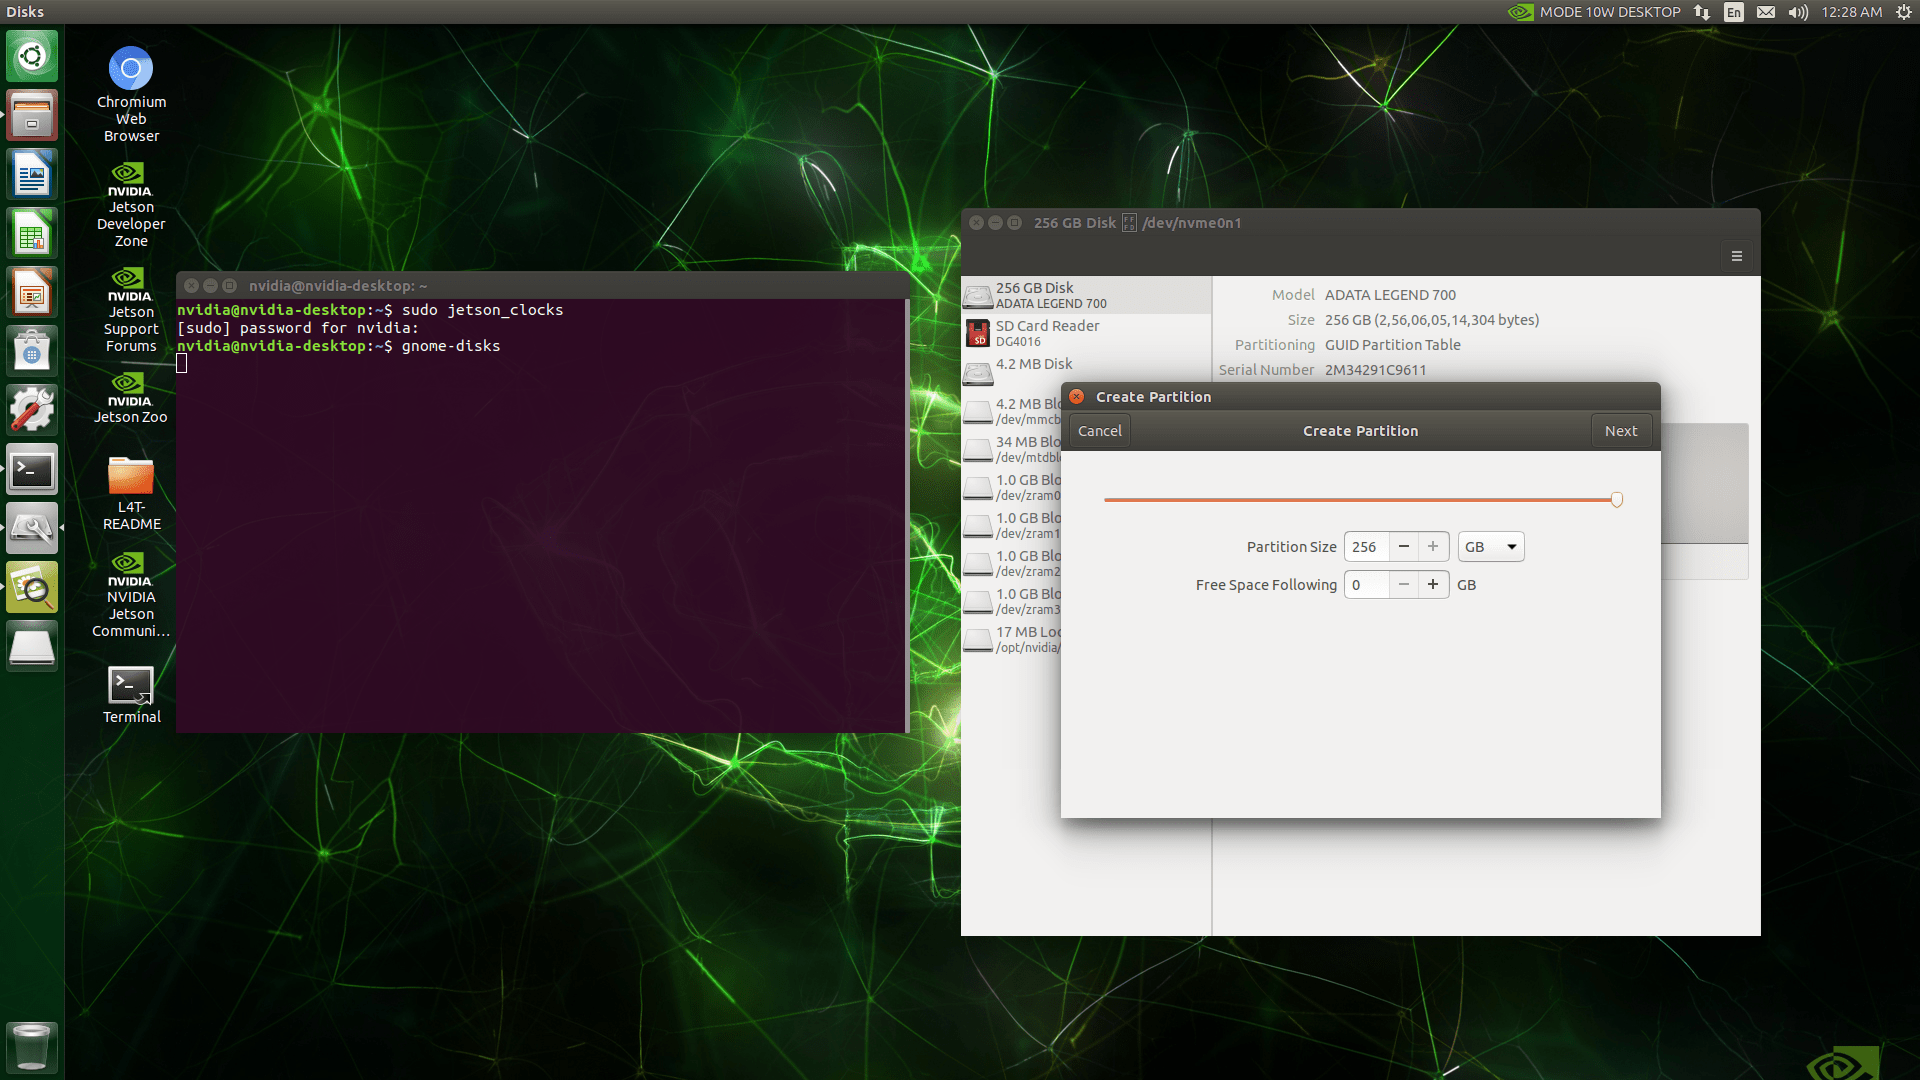
In GNOME Disks, select the SSD and format the entire disk.
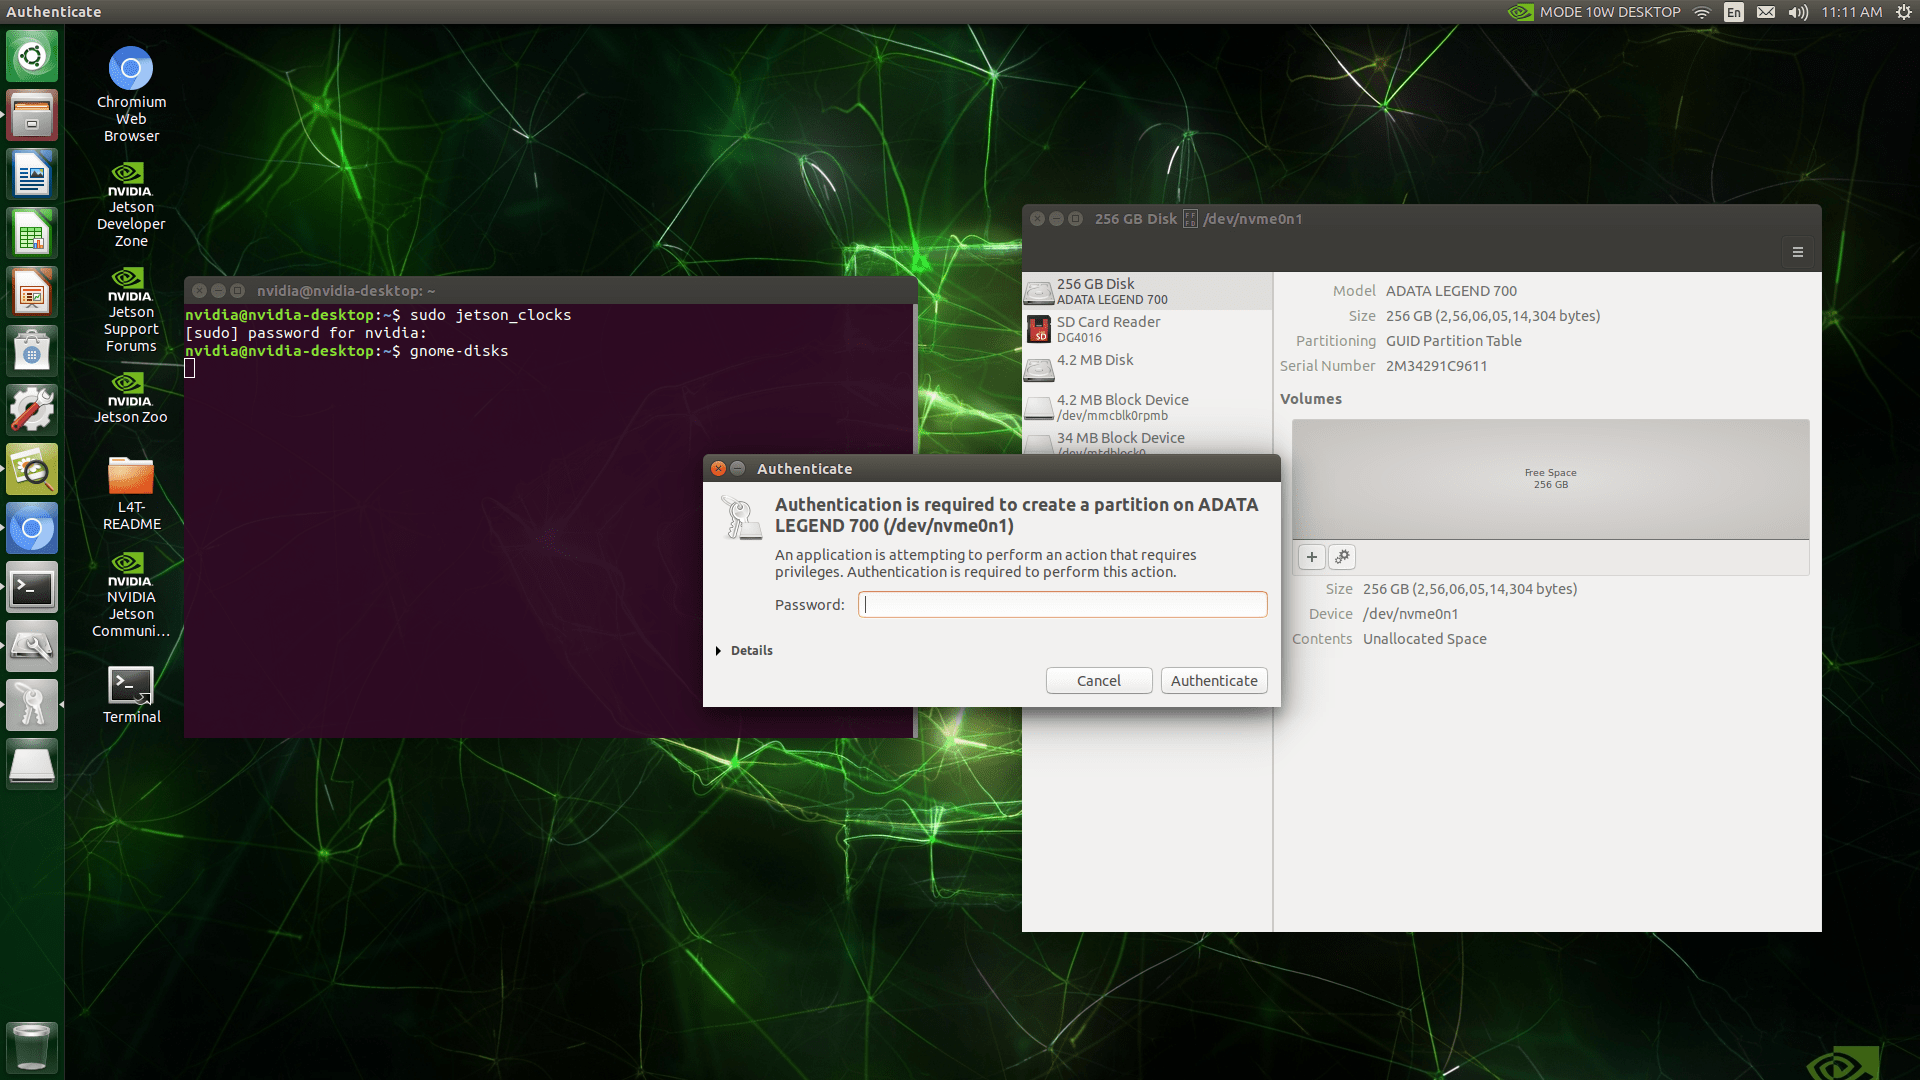
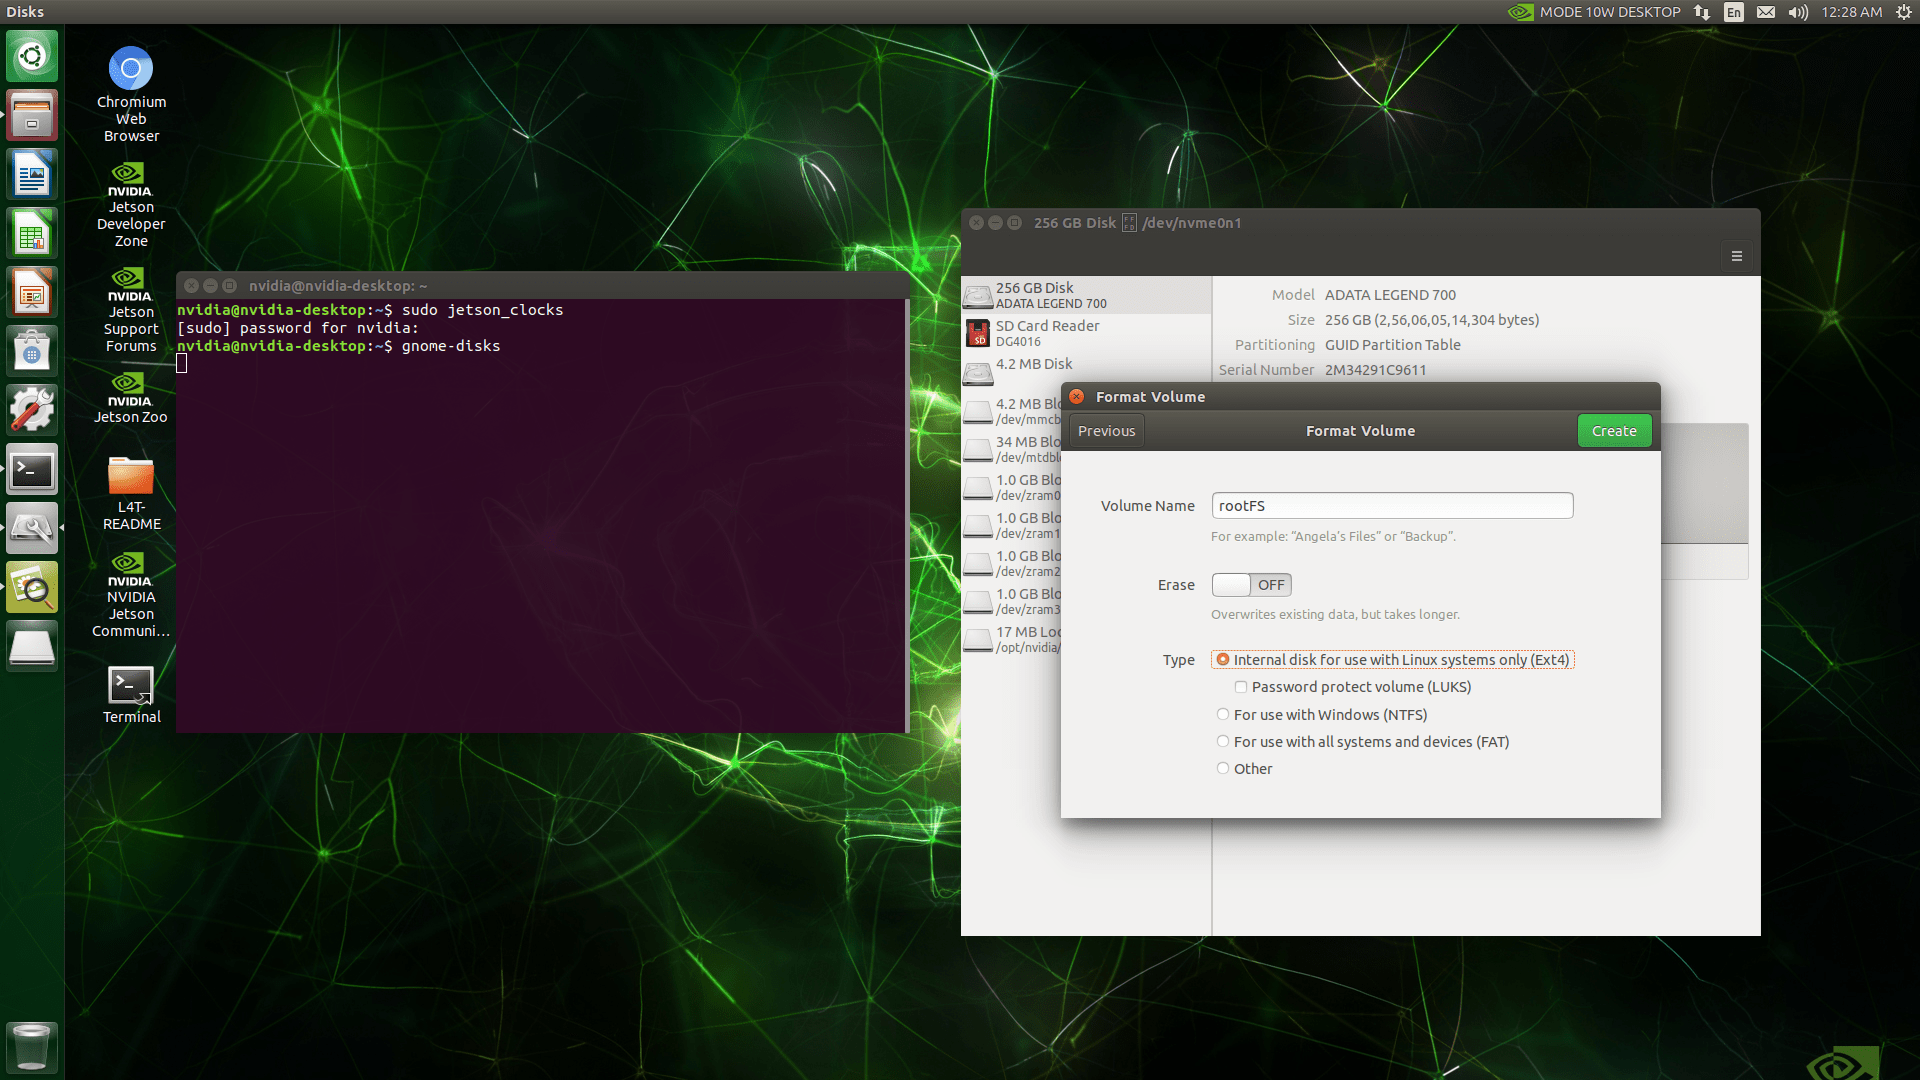
Create a new partition on the SSD and format it as ext4. Ensure the partition size is at least as large as the current root file system.
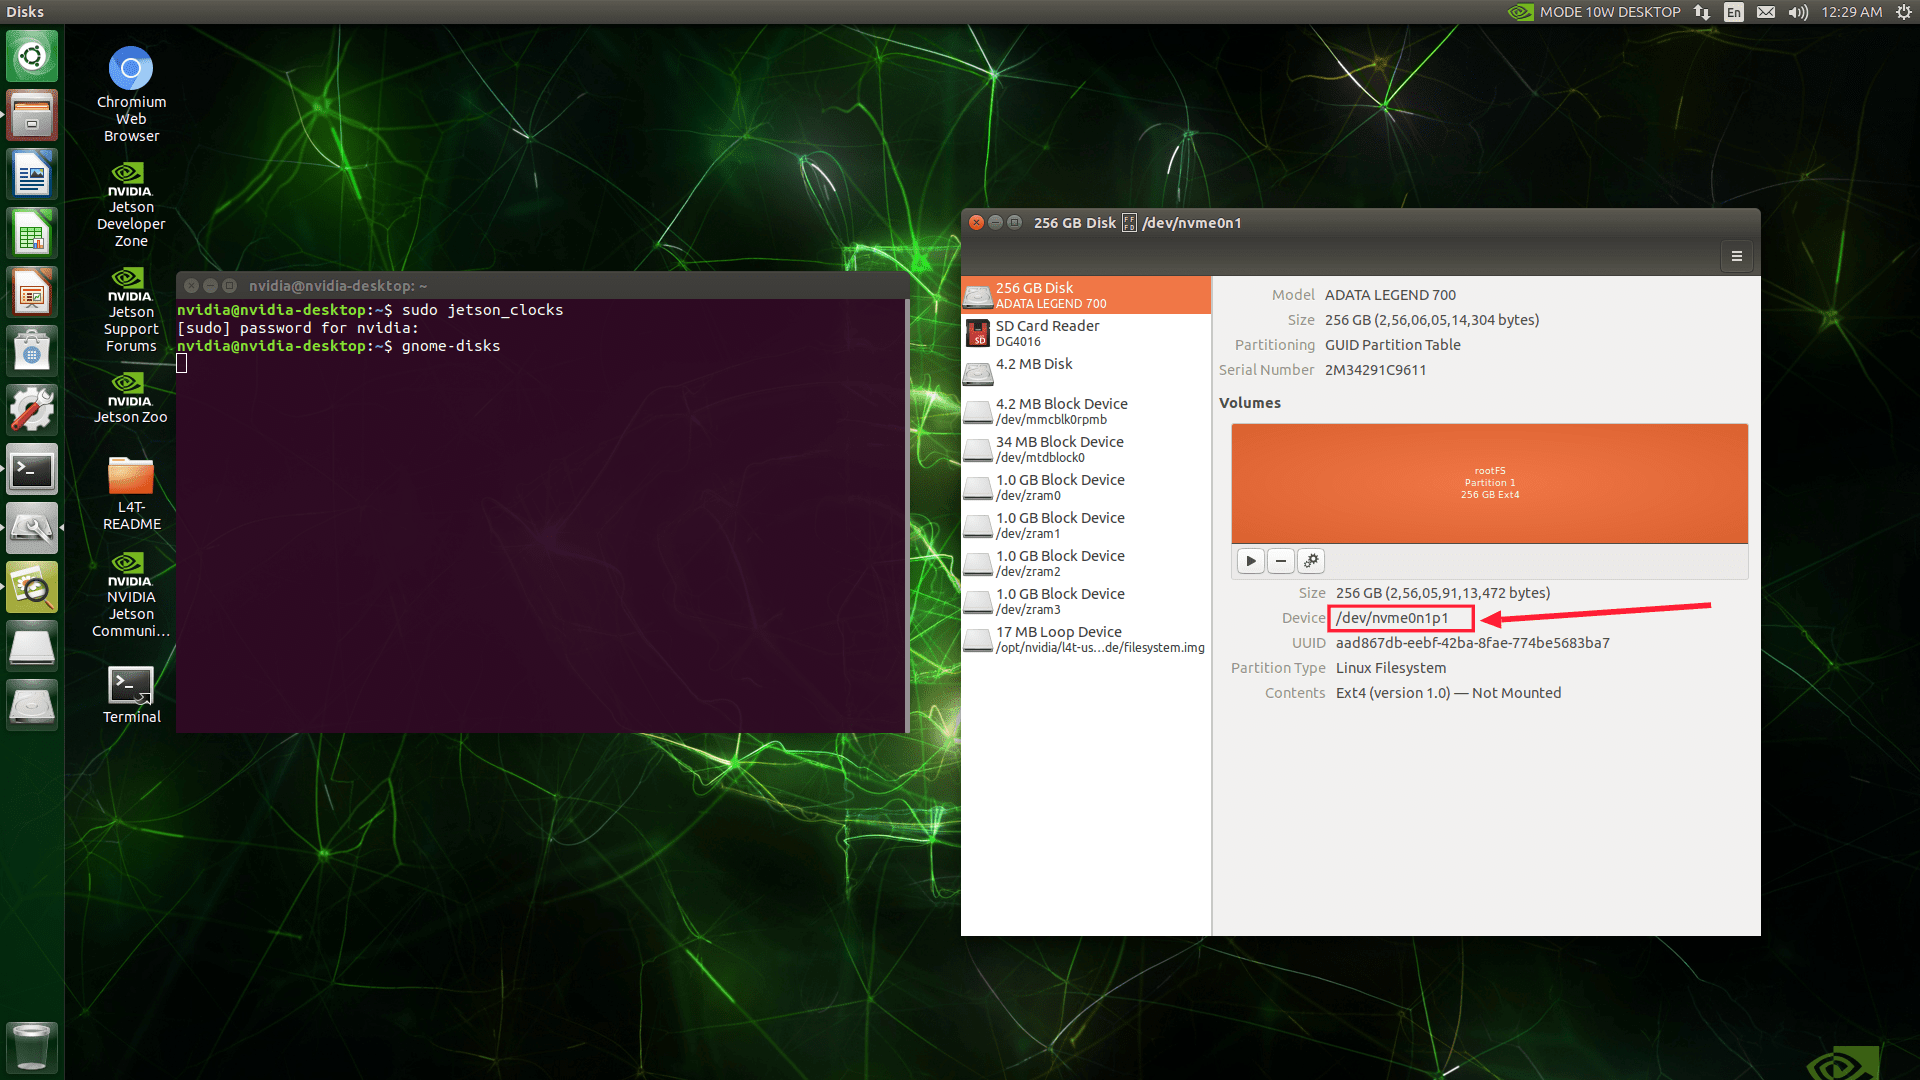
Take note of the SSD partition’s name, typically something like /dev/nvme0n1p1.
Step 2: Copy the Root File System to the SSD
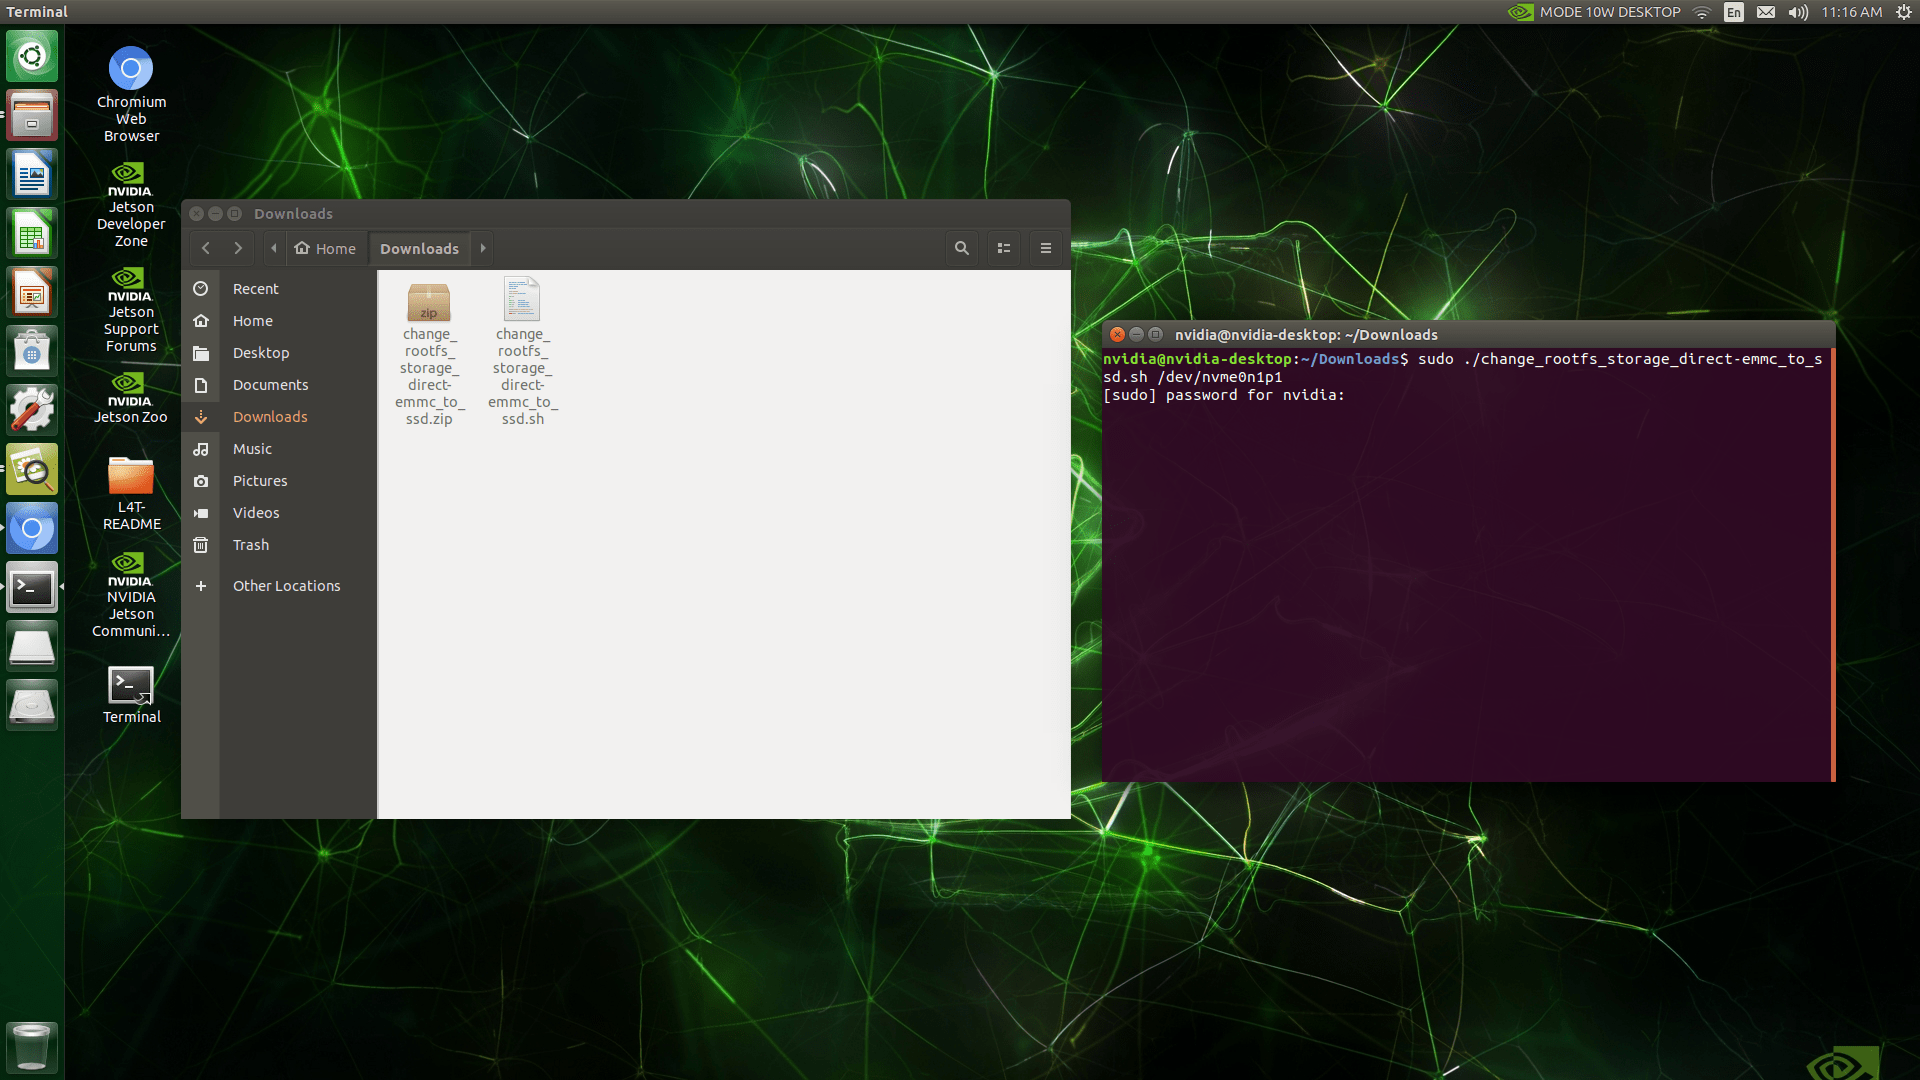
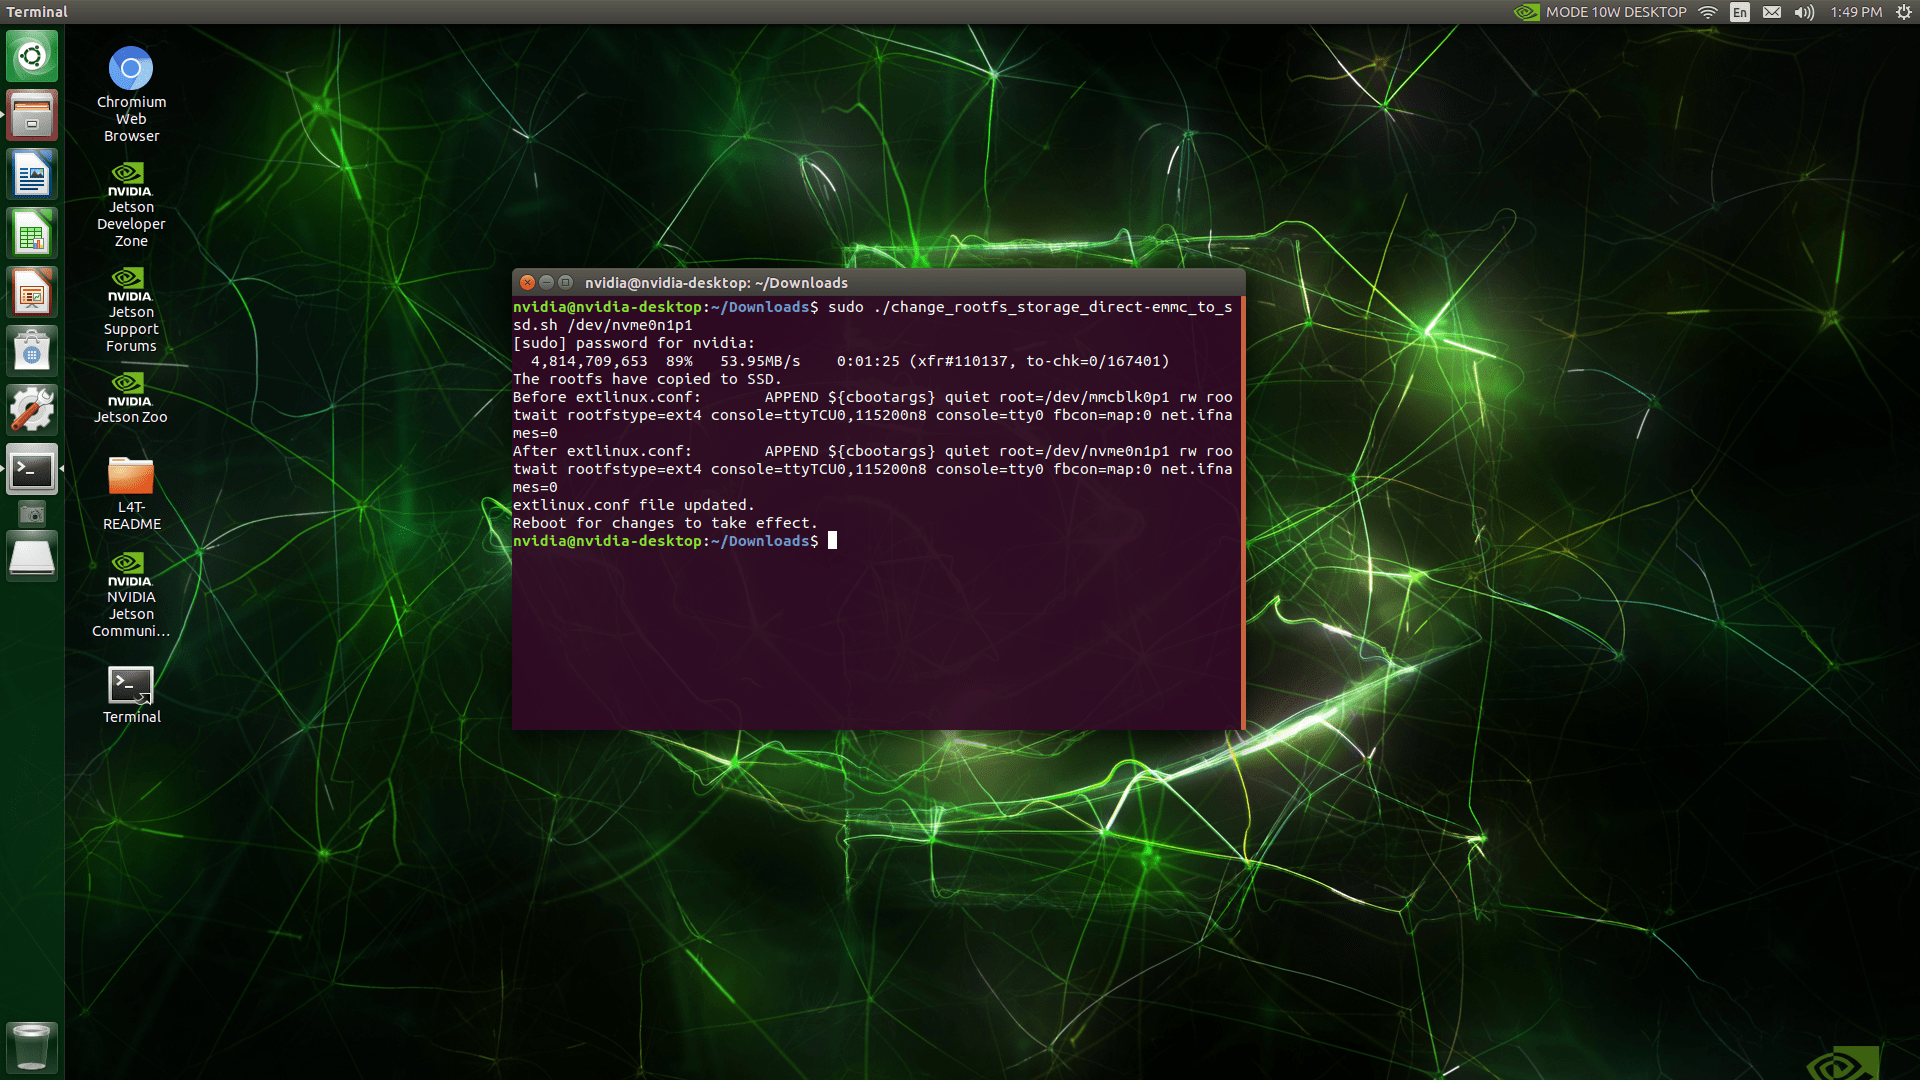
Download the script file from hereand extract it. Then, run it with this command below:
In the terminal, run the script with this command (replace {EXTERNAL_STORAGE} with the path of your SSD partition):


 LeeTop A203 Carrier Board for Jetson Nano/Tx2 NX/ NX₹11,599.00 ₹13,686.82
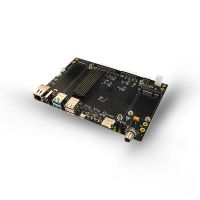
 LeeTop A206 Carrier Board For Nvidia Jetson NX Module₹12,899.00 ₹15,220.82
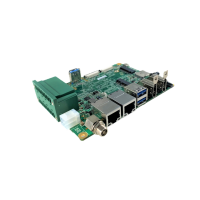

 July 16, 2026