How to Run Android on a Banana Pi Board?
April 17, 2025 377

How to Run Android on a Banana Pi Board?
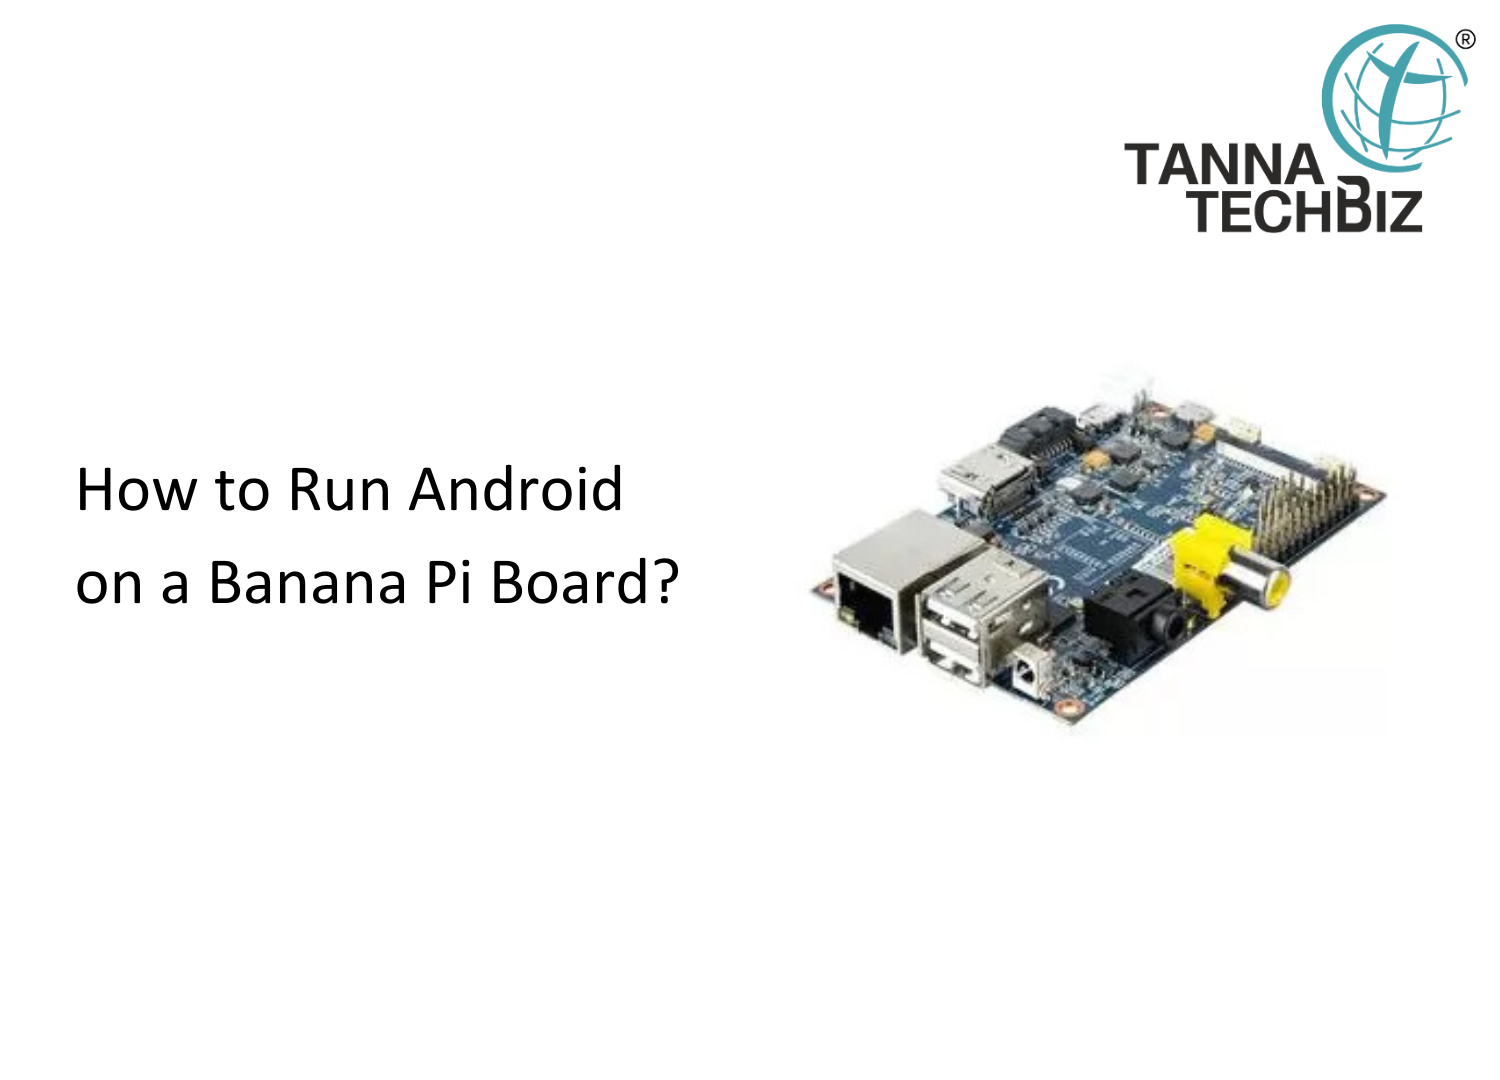
Making Android run on a Banana Pi board is not as complicated as one might suppose. To have an even better experience as well as more performance, putting Android on internal storage, such as eMMC is an excellent choice. This makes your setup more efficient as well as more stable if, for example, you intend to use it for an extended period.
Step-by-Step Guide to Run Android on Banana Pi
Select Your Board and Tool
First, determine which Banana Pi device you have. That's important because all models use unique chips, and that will determine which tool to use. If it has an Allwinner chip, such as the BPI-M64 or BPI-M2 Ultra, use the PhoenixCard tool.
Go to the Banana Pi official wiki and grab the Android image corresponding to your board. Plug in a microSD card to your computer, open the PhoenixCard tool, and load in the image file. Don’t forget to select “Startup!” before writing to the card. Once complete, plug in the card to your Banana Pi and boot it on. The system will install Android onto internal storage automatically and reboot by itself.
For Amlogic Models, Use the USB Burning Tool
The process is different if you have an Amlogic chip Banana Pi, such as BPI-M5. Connect your board to the PC using an OTG cable. Power on your device while pressing the boot button so that it goes directly into recovery mode.
Now, start the Amlogic USB Burning Tool on your computer, load the image file, and begin the flashing process in the program. Once completed, remove your board from the computer and restart it. After rebooting, the device will boot to Android, completing the installation wizard.
Also Read : Best Displays and Monitors for Banana Pi Computers
How This Approach is Superior
Installing Android on internal storage avoids the sluggishness and issues that, at times, accompany SD cards. You have a cleaner, quicker configuration. Once in, you can install apps, install services from Google, and configure hardware such as cameras or touch screens.
Final Thoughts
Stick to using official Banana Pi tools and images to prevent issues and achieve maximum performance on your board.


